3DGin the studio
Guide
The Guide tool lays a construction line in the 3D view through two points, in any direction, running on without end. Every 3D tool snaps to the guides and to the points where they cross, and the guides stay out of the project's drawings.
What it is
A guide is a construction line in space. You lay it through two points: the first is any point the snapping offers, and the second sets the direction, in any direction at all. Near the x, y or vertical axis the direction holds on that axis, and Shift keeps it there.
Once laid, the guide runs far past the model both ways. Every 3D tool snaps to it: a point on a guide is marked On guide, and the point where two guides cross, or where a guide crosses an edge, is a point of its own. While a drawing tool shows its plane under the pointer, each guide's trace on that plane is drawn dashed, with a dot where the guide pierces it, so you see what you can land on before you reach it.
Guides are a drawing aid. They are kept for each project in this browser or on this computer, never in the project itself and never on a drawing or a sheet.
When to use it
- To mark a height, an alignment or an offset before drawing on it.
- To find a point in space where two directions meet, then draw a line or place a shape there.
- To line up bodies with a reference that is not part of the model.
The steps
Take the tool. Press
G, or click Guide among the construction tools.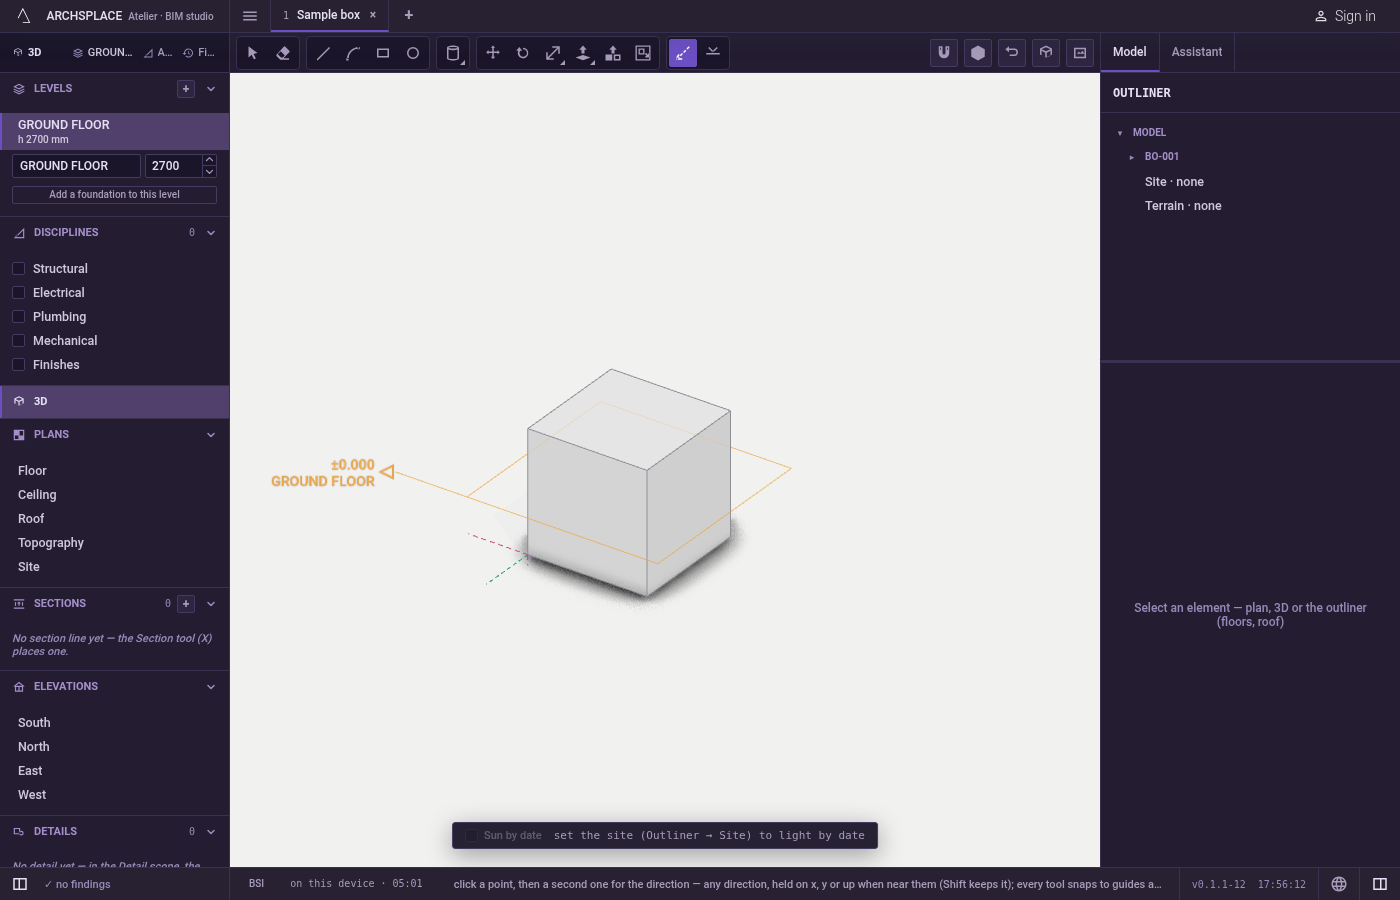
Click the first point. The marker shows what the click takes: a corner, a midpoint, an edge, a face or the ground.
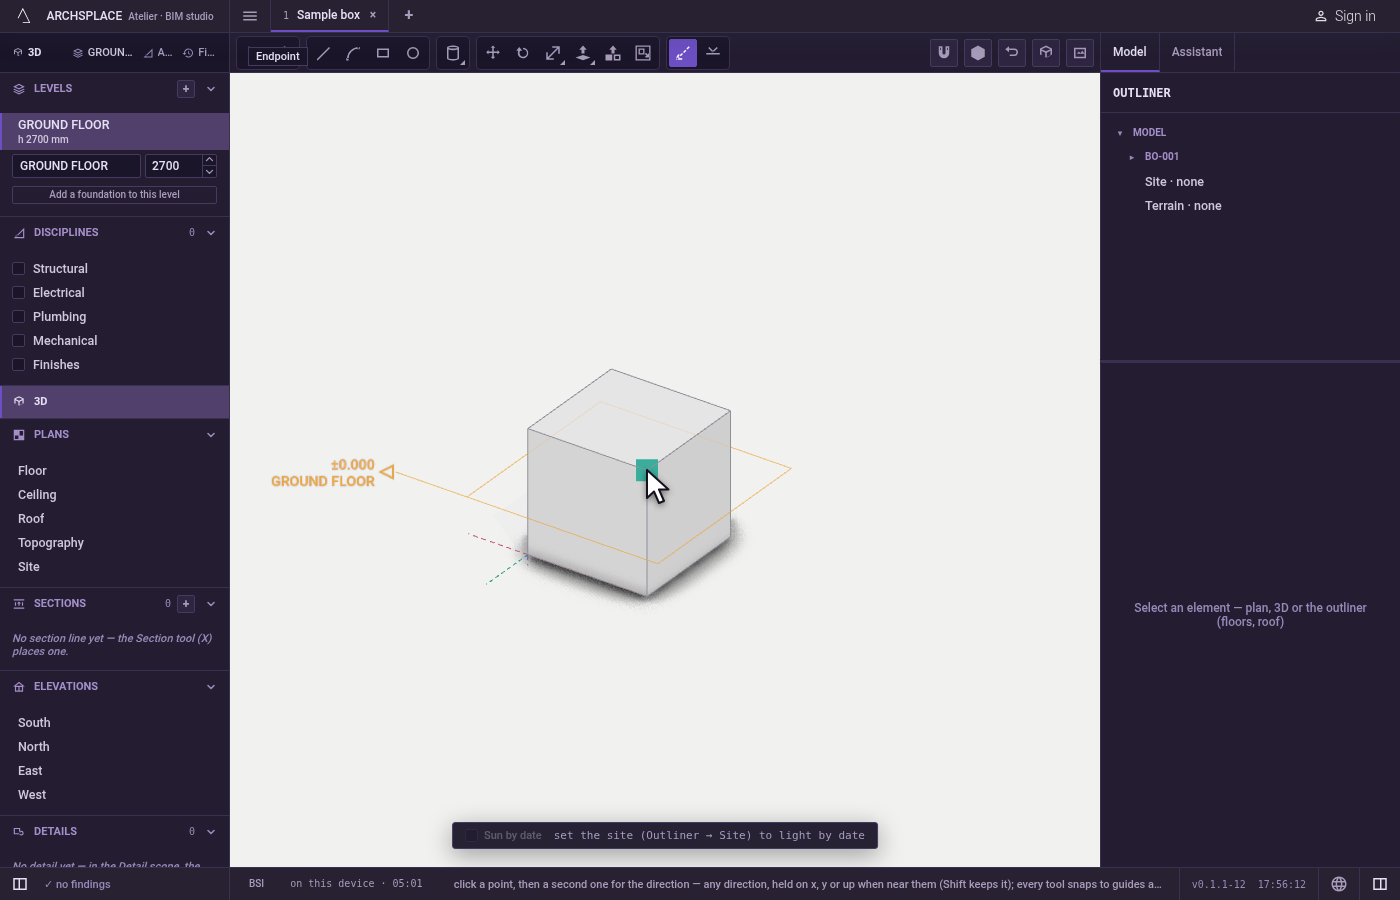
Click a second point for the direction. A ghost of the guide follows the pointer. Near an axis the direction holds on it;
Shiftkeeps it held.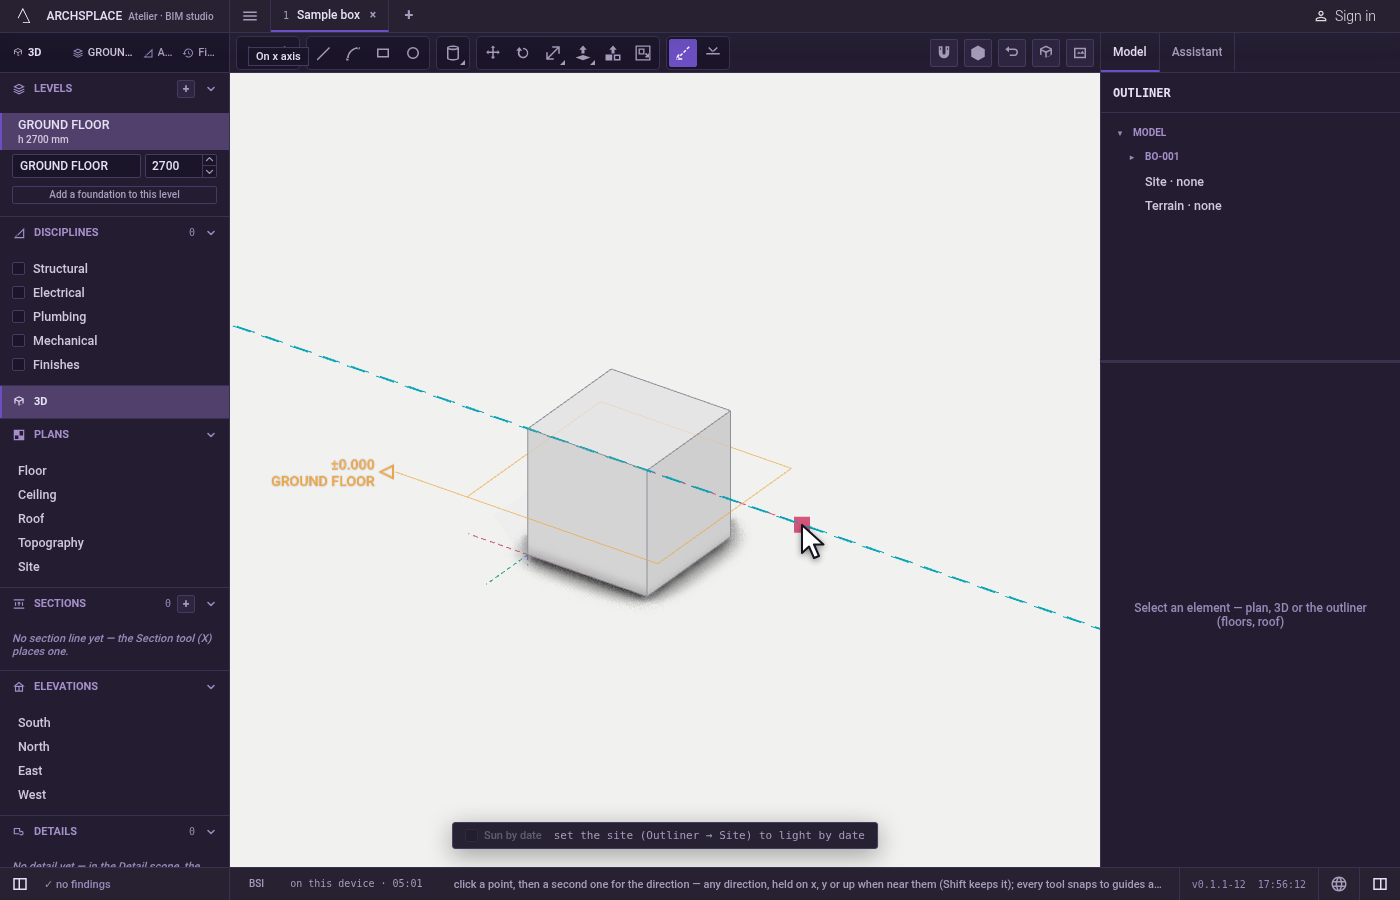
Lay the next one. The tool stays in hand.
Escapetakes back a first point you clicked by mistake.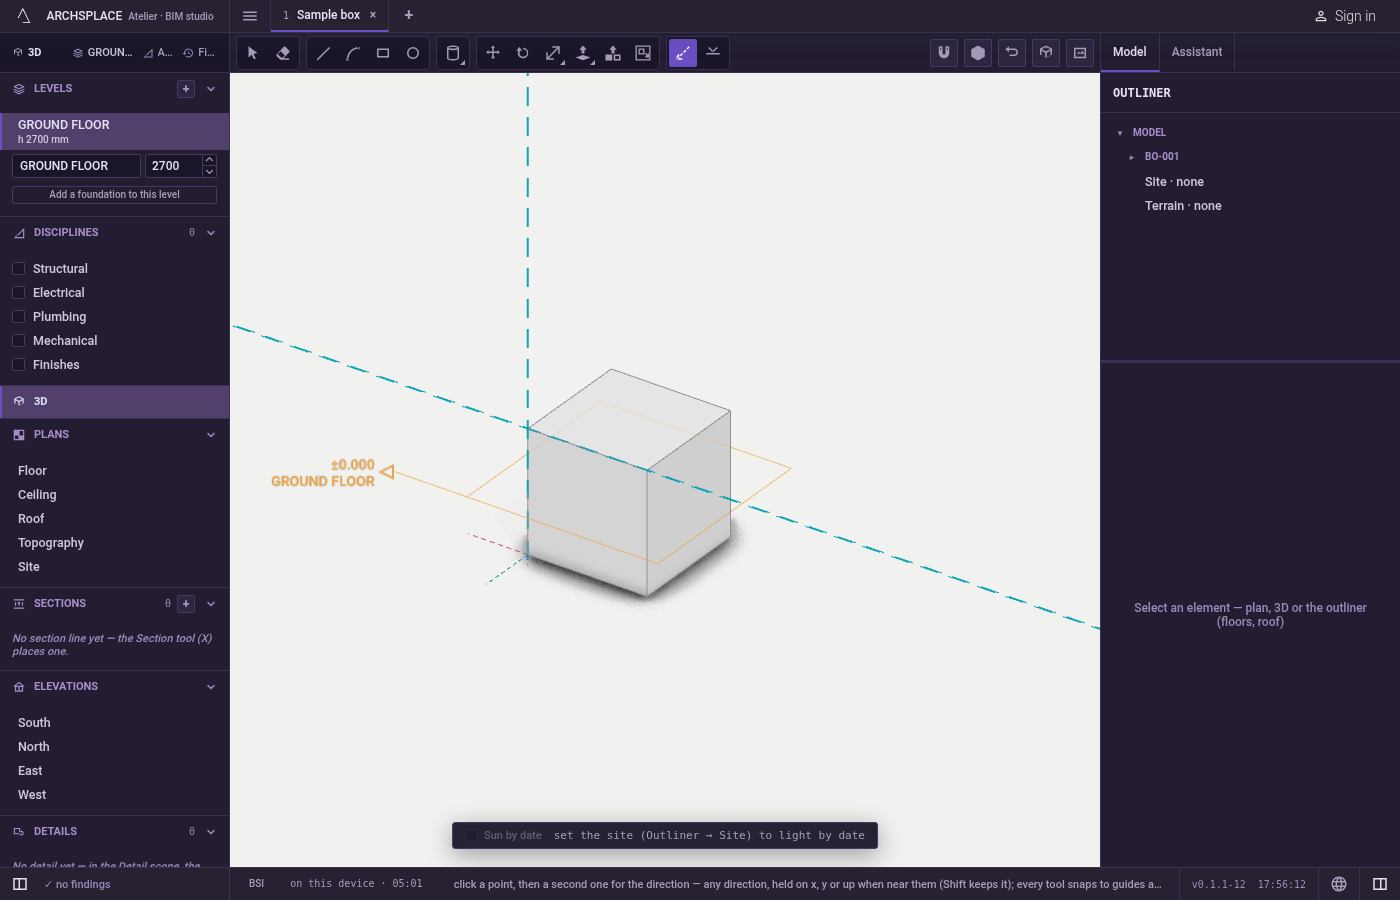
Select, hide or delete guides. With Select, click a guide where it stands in front of the model;
Shift-click adds more.Deleteremoves the selected guides.Ctrl+;(⌘;on a Mac) hides or shows them all.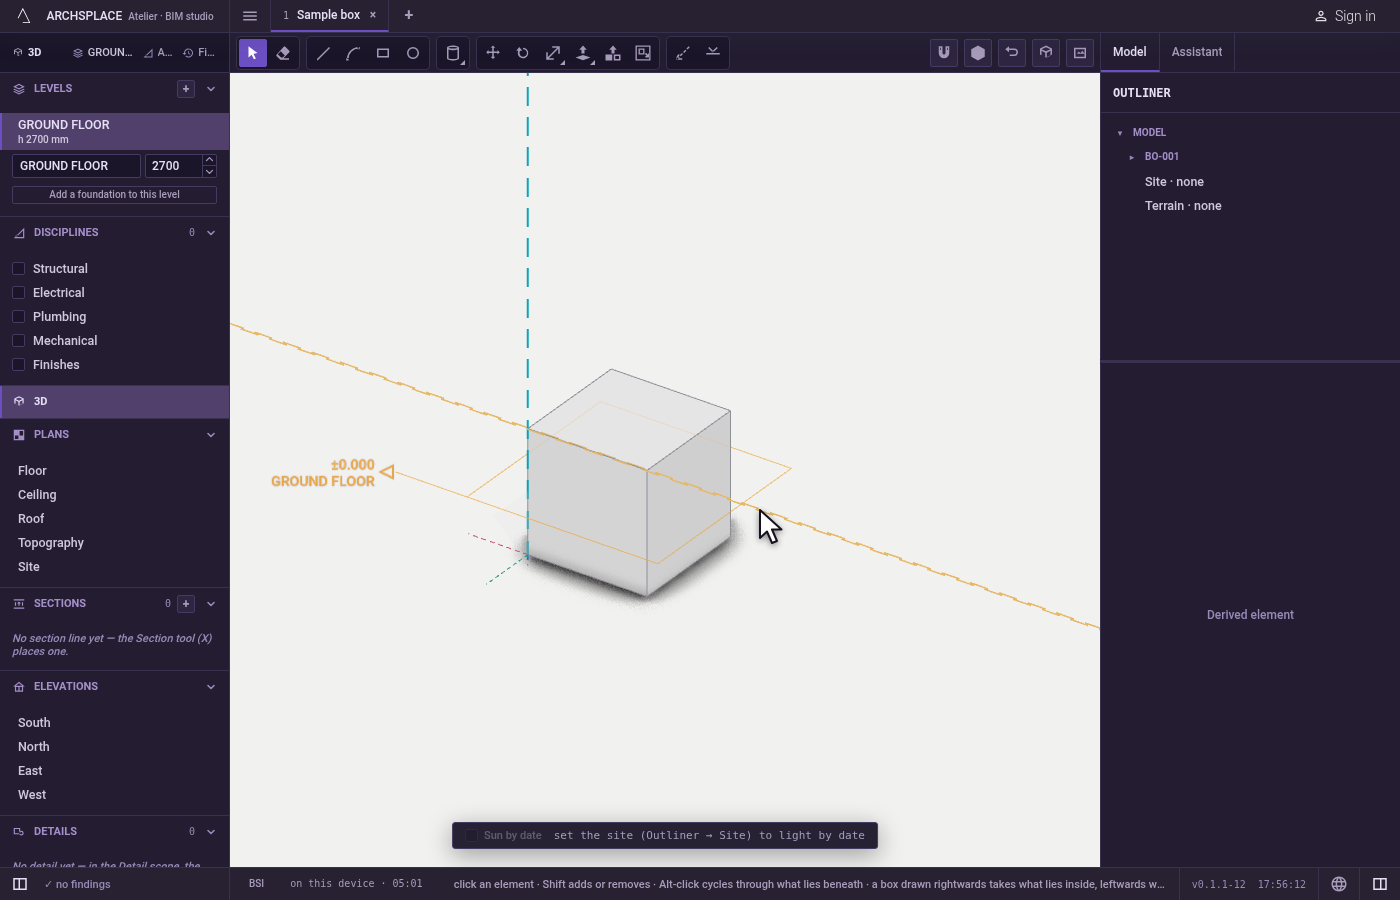
What it refuses
- A second point on the first one. A guide needs two different points; clicking the same spot lays nothing.
- A box. A selection box never takes a guide; click it.
- A click through the model. A guide hidden behind a surface is not taken; an edge or a corner of the model under the pointer wins over a guide.
- Snapping to hidden guides. While the guides are hidden they attract nothing.
What it writes to the contract
Nothing. Guides are kept with the project's other drawing aids in this browser or on this computer, never in the project. Laying, removing or deleting a guide is still one step of the undo history, so Ctrl+Z brings it back.
Common questions
Are guides saved in the project file?
No. Guides are a drawing aid kept for each project in this browser or on this computer, never in the project and never on paper. Laying or deleting one is still a step you can undo.
How do I hide all the guides?
Press Ctrl+; (⌘; on a Mac). Hidden guides are neither drawn nor snapped to. Press it again to show them; laying a new guide shows them too.
How do I delete a guide?
Take Select, click the guide where it stands in front of the model, and press Delete. Shift-click adds more guides to the selection.