PlanWin the studio
Wall
Wall draws walls on the plan as a chain: each wall is an axis between two clicks, or between a click and a length you type, with the thickness of the wall type chosen beside the tools. An end you put on another wall's end joins it, and each wall enters the project exactly as you drew it.
What it is
Wall is the plan's tool for walls. Each wall is an axis between two points, and its thickness and layers come from its wall type, chosen in the list beside the tools. The thickness spreads evenly on both sides of the axis. The tool chains: the end of one wall is the start of the next, until you end the chain.
An end you put down on another wall's end joins it. Anywhere on the square that end covers, or on one of the corners it draws, your end takes that wall's axis end, so the two walls meet in one corner. Anywhere else, the end stays exactly where you put it: inside another wall it simply stops against it, and in the open it stays a free end. Each wall is written the moment you draw it, and nothing later splits it, welds it or moves it behind your back.
When to use it
- Laying out a new plan, wall by wall.
- Adding a partition between walls that already stand.
- Putting a survey on the plan, typing each measure as it was taken.
- Redrawing an old plan loaded as an underlay, typing its lengths.
The steps
Take the tool. Press
W, or click the Wall button. While a drawing tool is in hand, a light grid covers the plan, and the status bar at the foot of the window says what to do: click the start, click the end, Esc ends the chain, type a length and press Enter.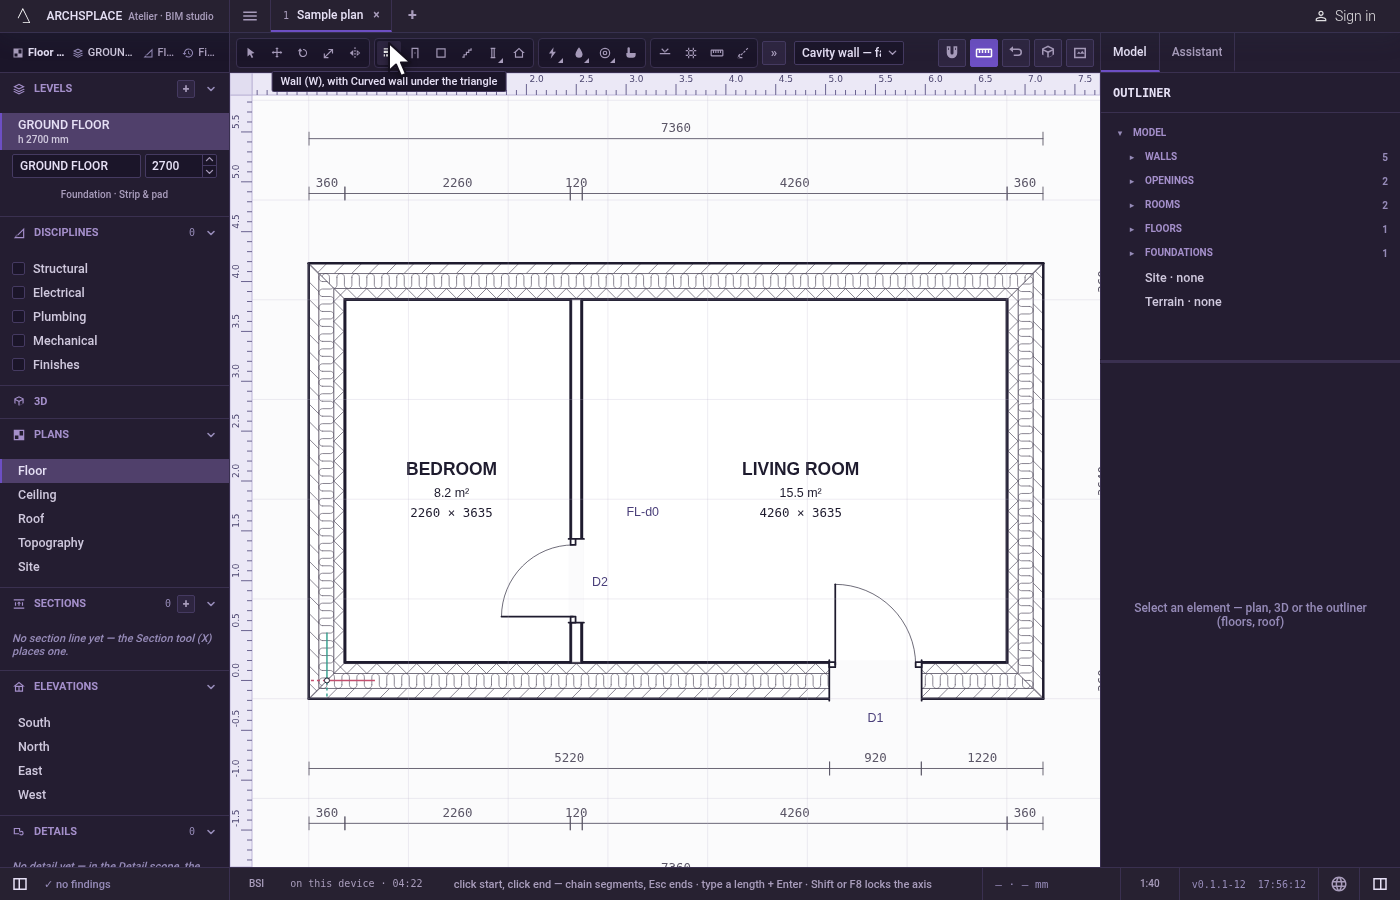
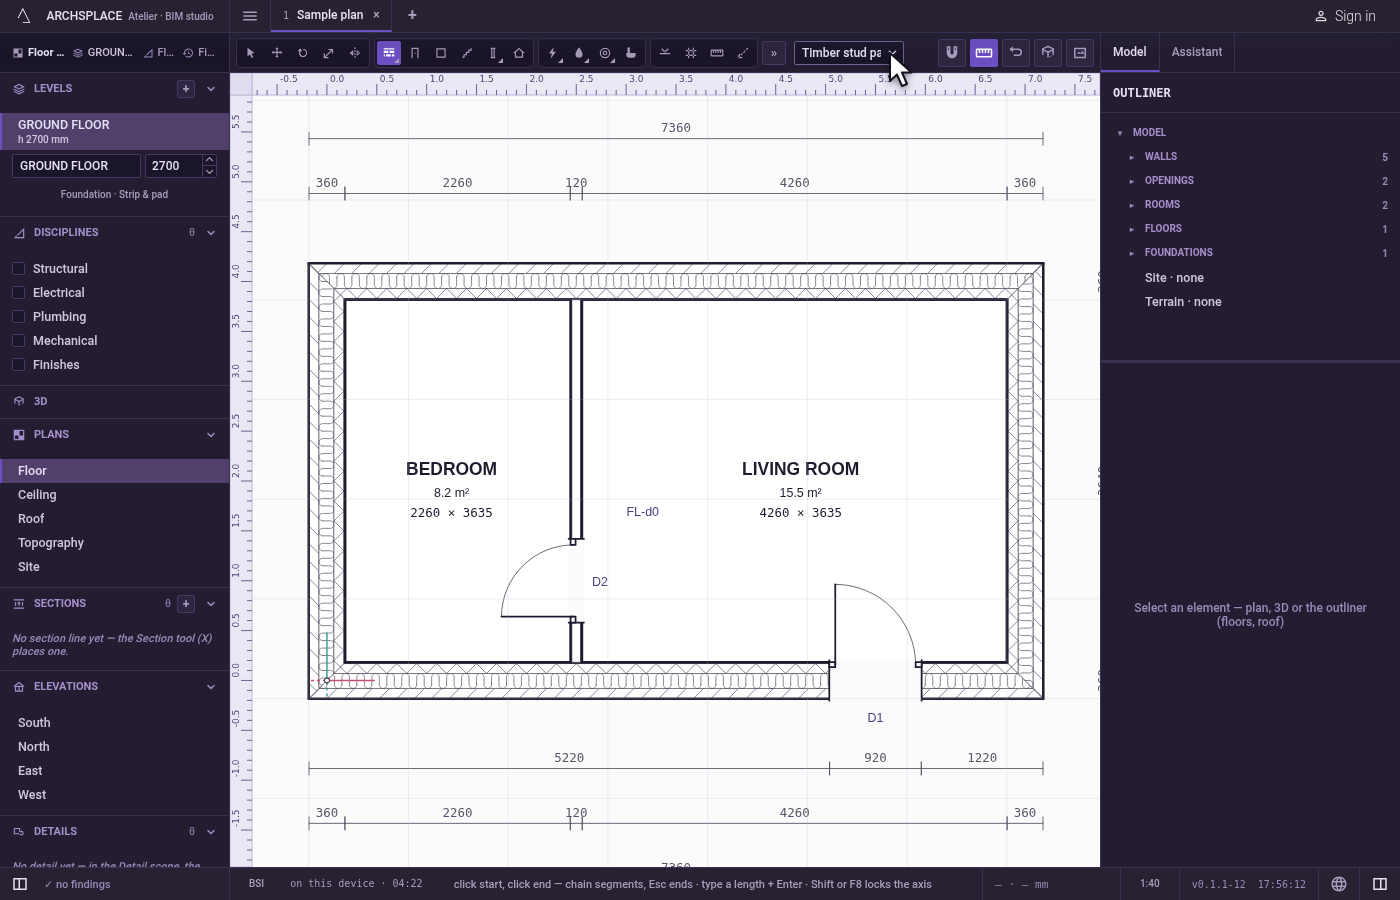
Choose the wall type. The list beside the tools offers the types of your project's template, such as a cavity wall of facing brick and block, or a timber stud partition, in a project under the UK template. Pick one before the first click. The next walls take it until you choose another, and the ghost shows its thickness.
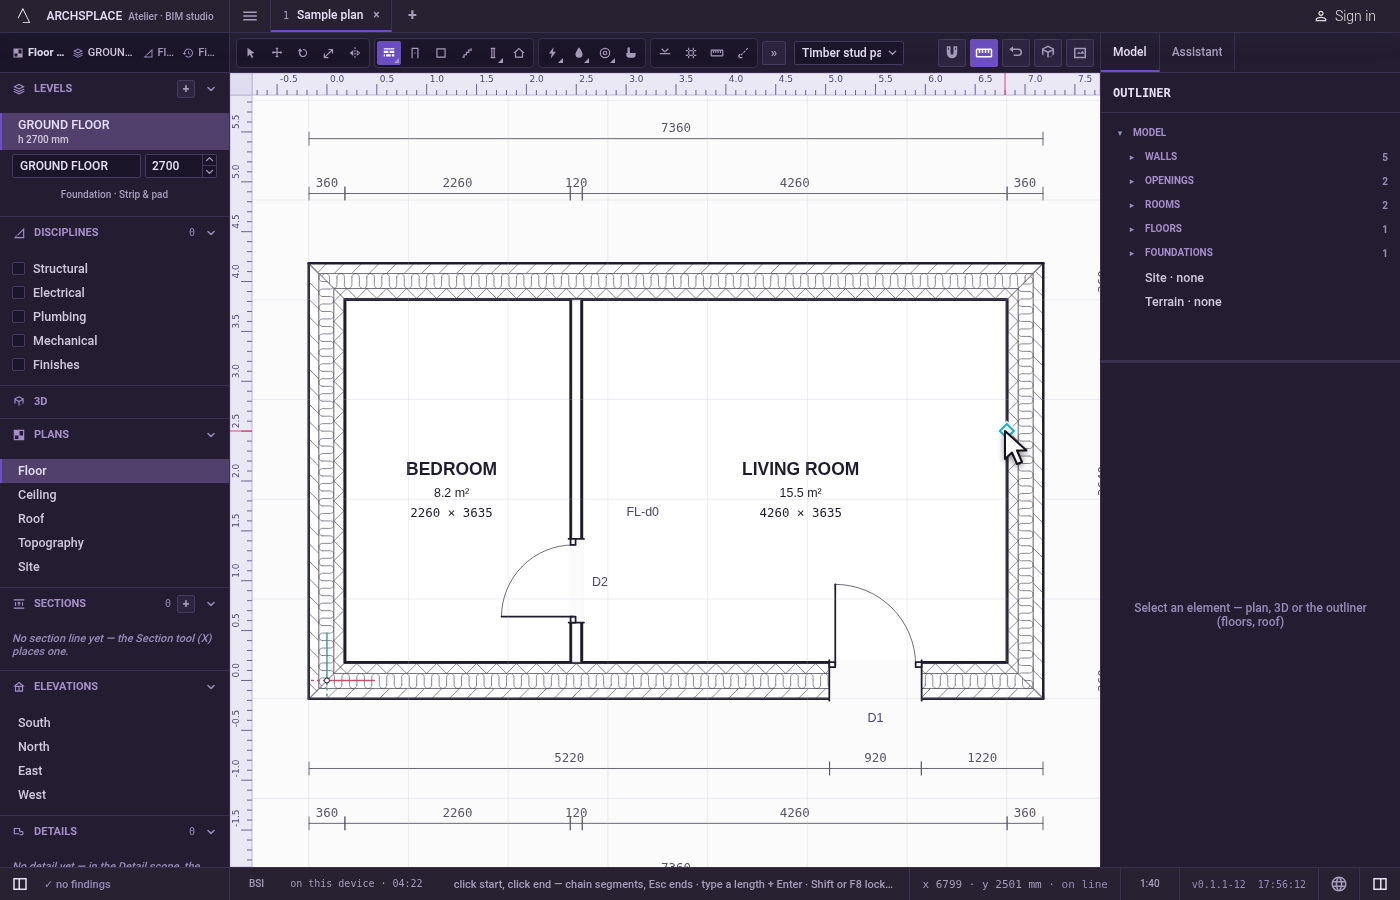
Click the start. The magnet holds the cursor on what is nearest within reach: a wall's end or corner, a middle, the centre of an opening, a crossing, a face, a grid line or a guide, each with its own marker (see The magnet). At the right of the status bar, the cursor's position is followed by the name of what the magnet found. Click: the start lands on the point the marker shows. Nothing is written yet.
Aim where the wall runs. A line leaves the start and follows the cursor, its length written at its middle. Near the horizontal or the vertical through the start, the cursor holds to that line and a dashed guide shows it. Hold
Shiftto keep the wall horizontal or vertical, whichever is nearer.F8keeps that lock on until you press it again.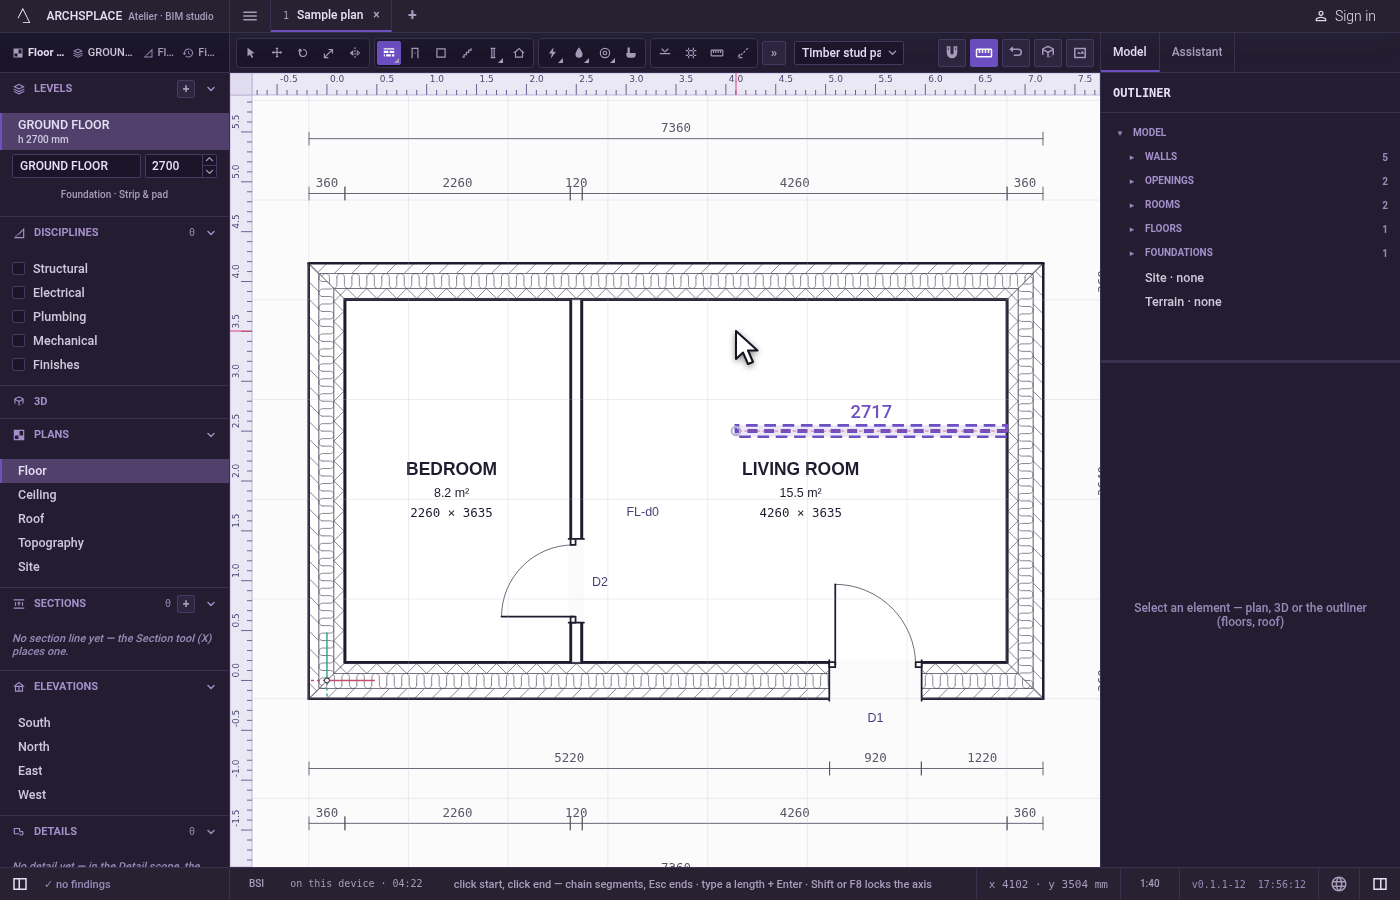
Click the end, or type the length. Click where the wall ends, on the magnet. Or type the length in the project's units: what you type replaces the length shown on the line,
Backspacetakes back the last character, andEnterdraws the wall at that length towards the cursor.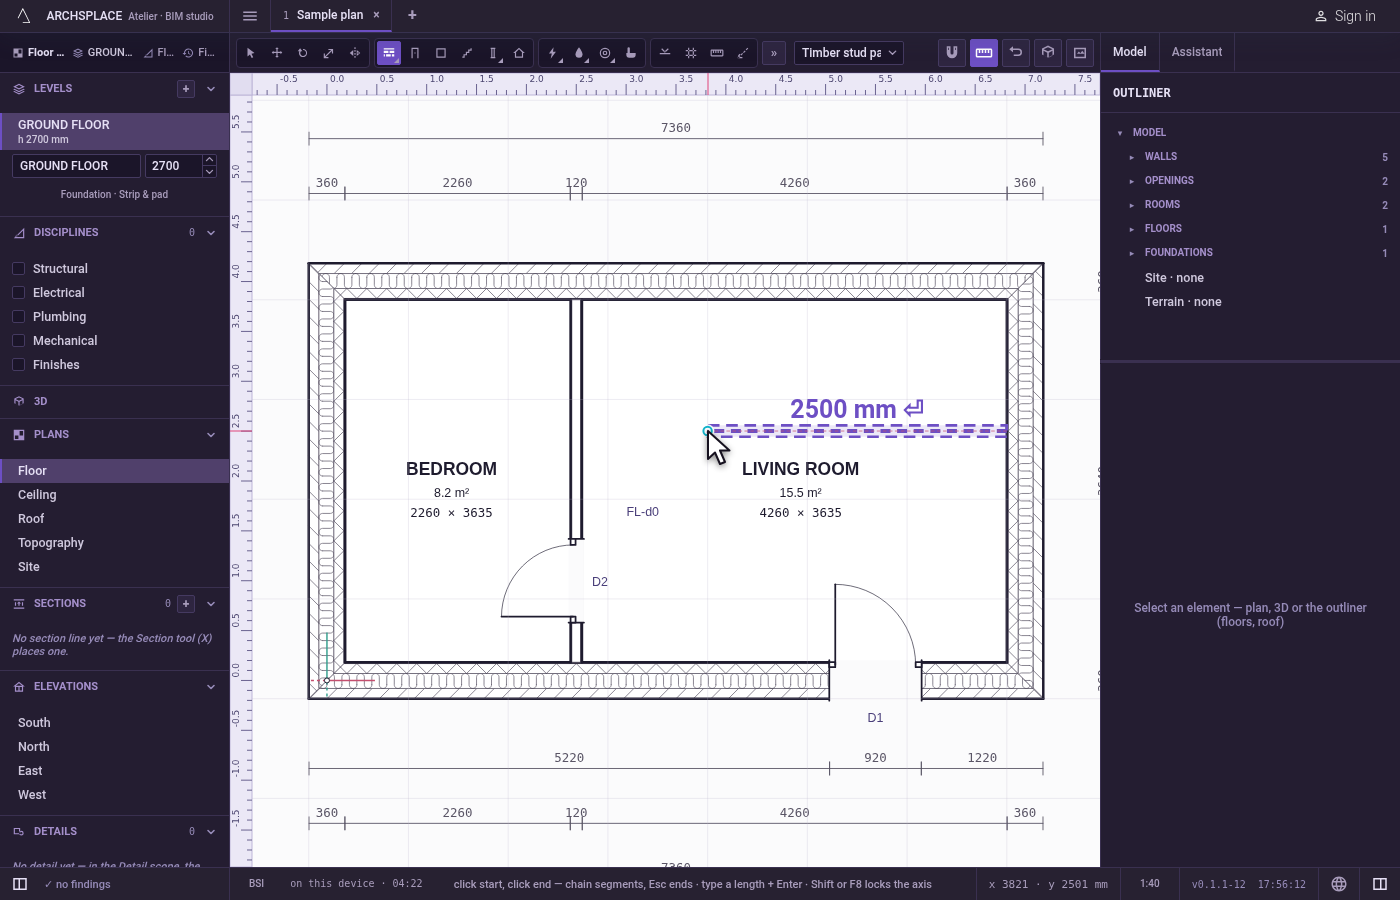
Keep the chain going. The end of the wall is the start of the next one, and the line already leaves from it. Each click or typed length adds one more wall. The History in the status bar lists each one.
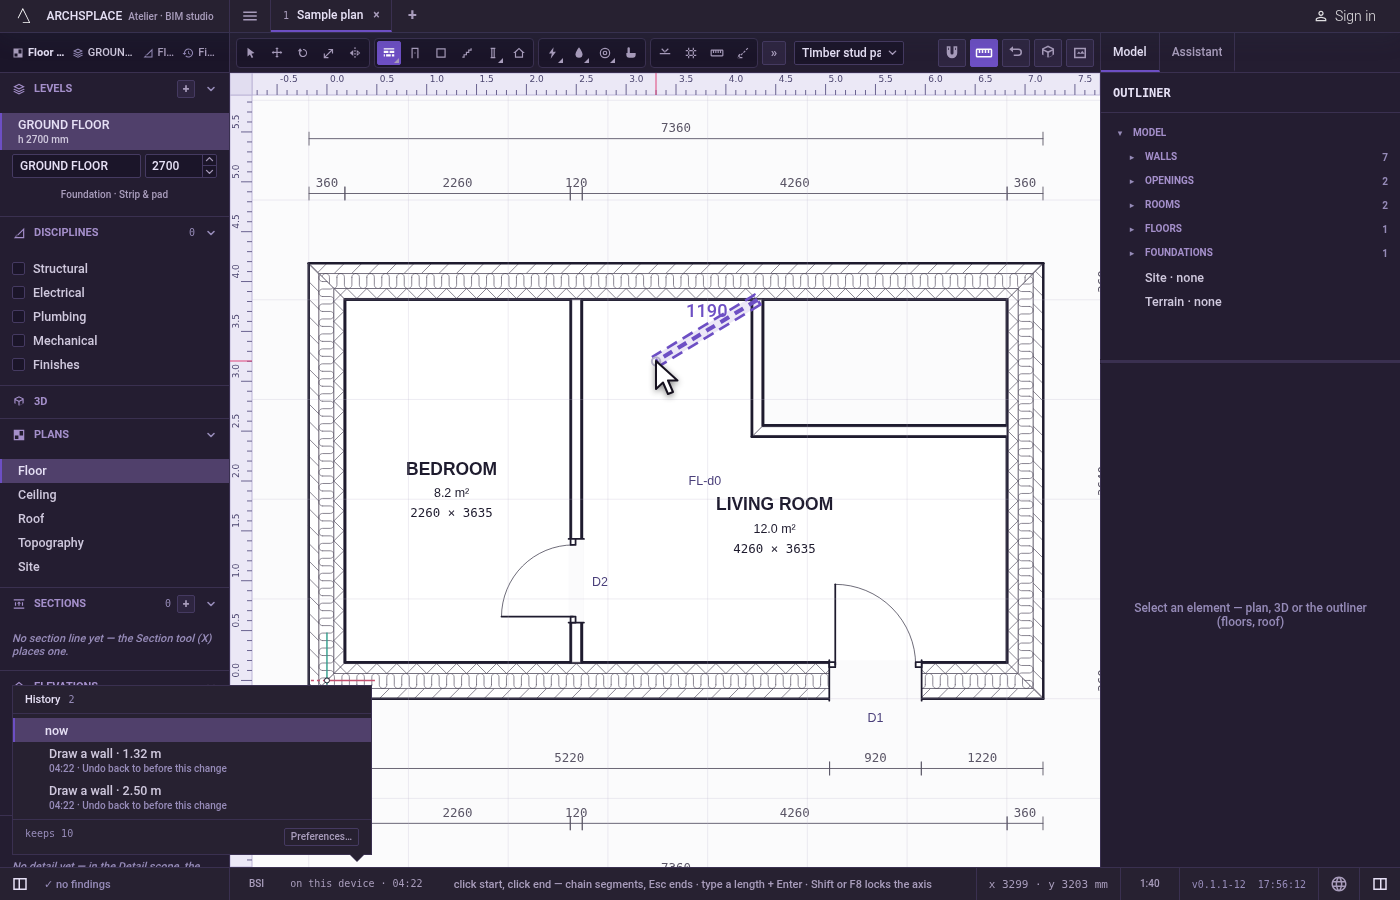
End the chain. Right-click to end the chain and keep the tool for a new one.
Escends the chain and puts Select back in your hand.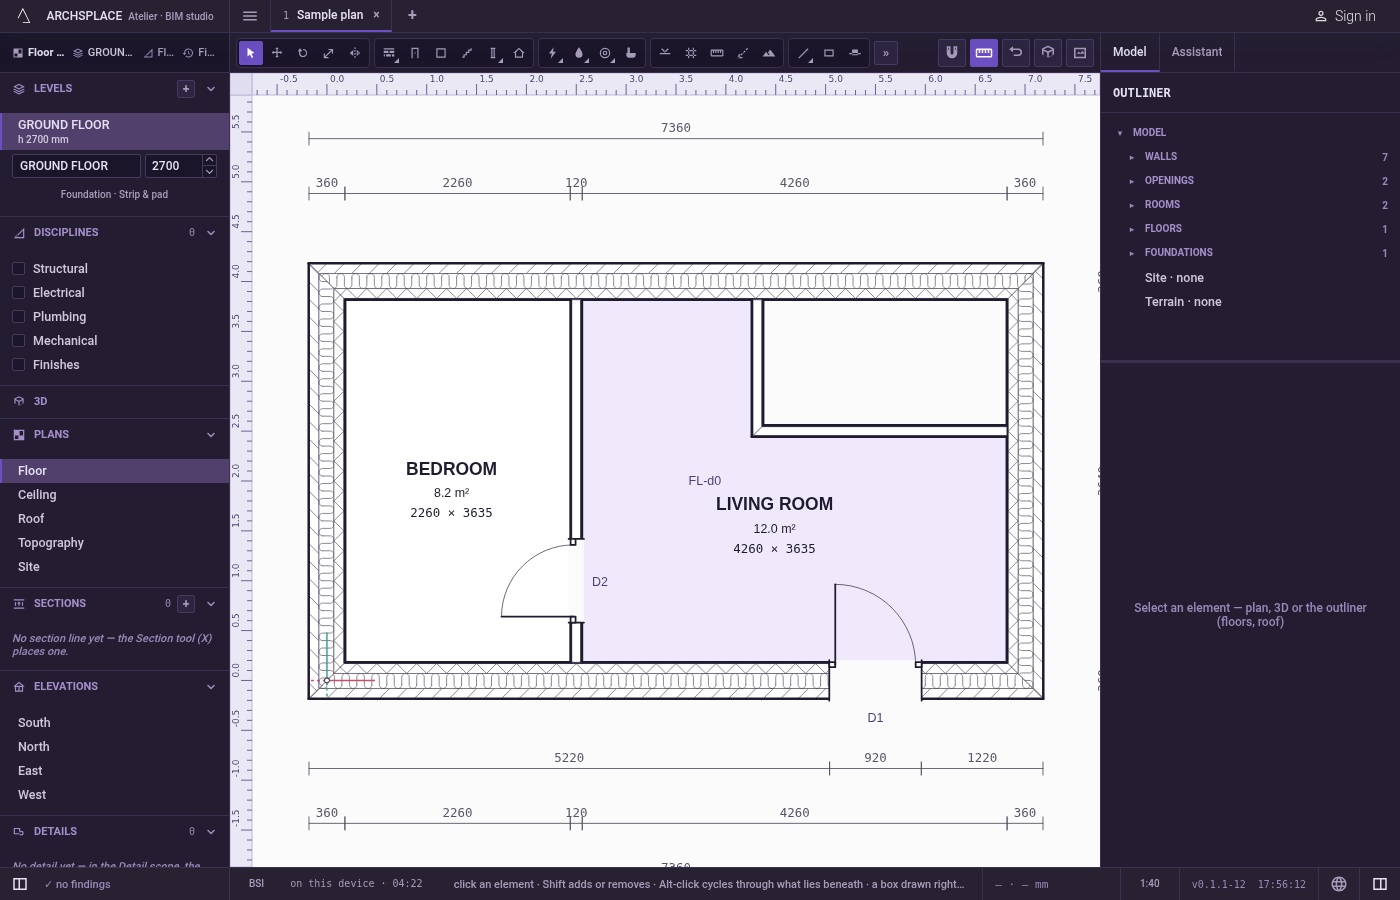
What it refuses
- Drawing with no project open. The status bar says no project is open and asks you to open or create one.
- A second click on the start. A click within the magnet's reach of the start draws nothing, and the tool waits for another.
- A typed length that is not a length. Zero, a negative number or less than a millimetre draws nothing, and the chain stays where it was.
- A wall under a centimetre. The project refuses it when it builds: the status bar counts one more error, and its list says the wall has no length, with a button that deletes the entry.
- A wall exactly over another. A wall whose two ends fall on the two ends of a wall already on the level is refused the same way, its message naming the wall underneath.
What it writes to the contract
Each wall adds one entry at the end of the project's list of walls, the moment it is drawn, as one step that one undo takes back. The entry says the level open on the plan, the two ends of the axis in metres, the key of the wall type, and the phase the view draws in. Nothing else is written: no thickness, no corner, no room and no foundation. The thickness comes from the type, and corners, crossings, enclosed rooms and the foundations under the lowest level are worked out from the walls each time the project is built. An end that joined another wall's end is written at exactly that wall's end, which is what makes them one corner.
Concepts
Common questions
How do I draw a wall of an exact length?
Press W, click the start, point the cursor the way the wall runs, type the length in the project's units and press Enter. The wall is drawn at that length in the direction you showed, and the next wall starts from its end.
How do I keep a wall straight?
Hold Shift while you aim to keep the wall horizontal or vertical, whichever is nearer. F8 turns the same lock on until you press it again, and the plan shows ORTHO 90 in its corner while it is on.
How do I join a new wall to an existing corner?
End it on the other wall's end: anywhere on the square that end covers, or on one of its drawn corners. The new end takes the other wall's axis end, and the two walls meet in a clean corner.