Sections and elevationsVin the studio
Select in sections and elevations
Select picks what a section or an elevation shows by the same rules as the plan: a click takes one thing, Shift adds or removes, Alt and a click reach what lies behind, and a box dragged with the left button takes many. The middle button pans the drawing, so the left button is free for the box.
What it is
Select is the first tool of a section's or an elevation's toolbar. It picks what the drawing shows, the walls, openings, floors, bodies, dimensions and marks, by the same rules as the plan and the 3D, and the panel on the right then shows what you picked.
A click takes the element under the pointer alone. Shift and a click add it to what you hold, or drop it if you already held it. Alt and a click take the element beneath the one you hold, in the pile of things standing under the pointer, so you can reach a wall behind the facade without hiding anything. A click on empty paper clears the selection.
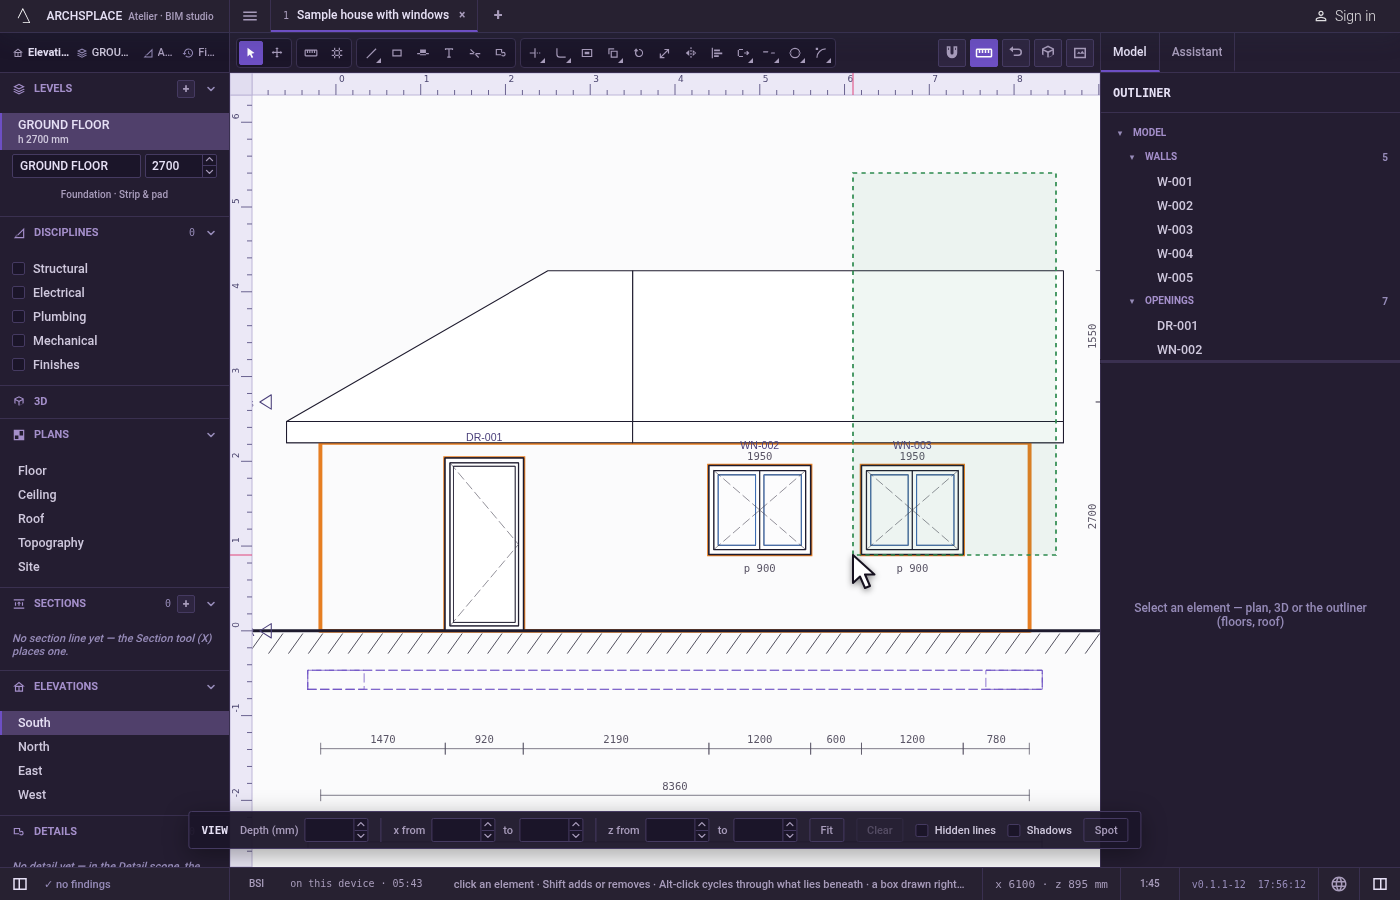
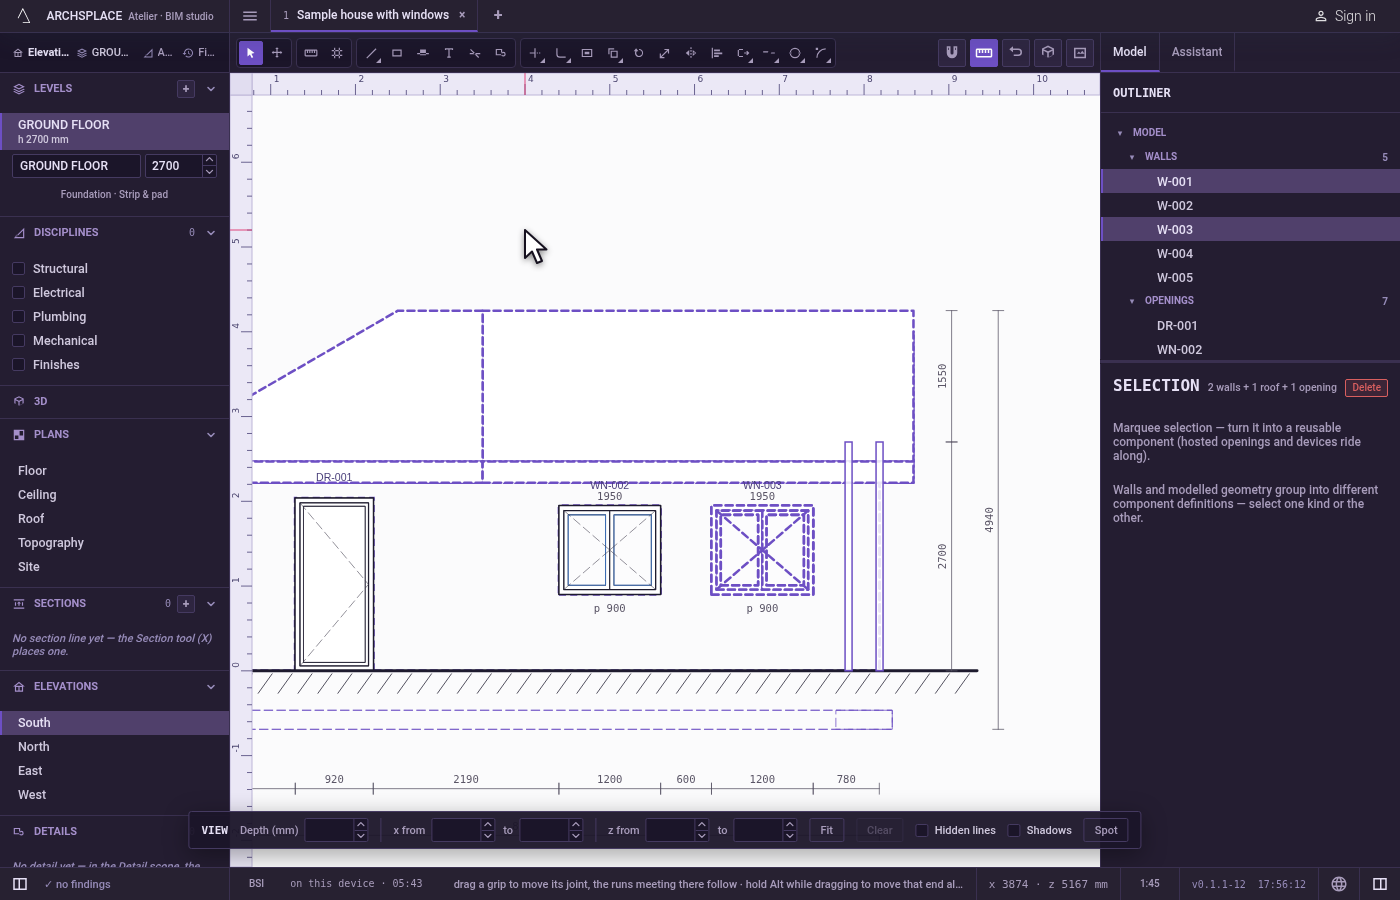
A drag with the left button draws a box. Dragged to the right on screen, it takes what lies wholly inside it; dragged to the left, it takes everything it touches, shown by its dashed outline. This holds in every view, even in a north or west view where the drawing runs the other way. Shift with a box adds or removes each thing it takes. The middle button pans the drawing, the mouse wheel zooms about the pointer, and a double-click of the middle button frames the whole drawing.
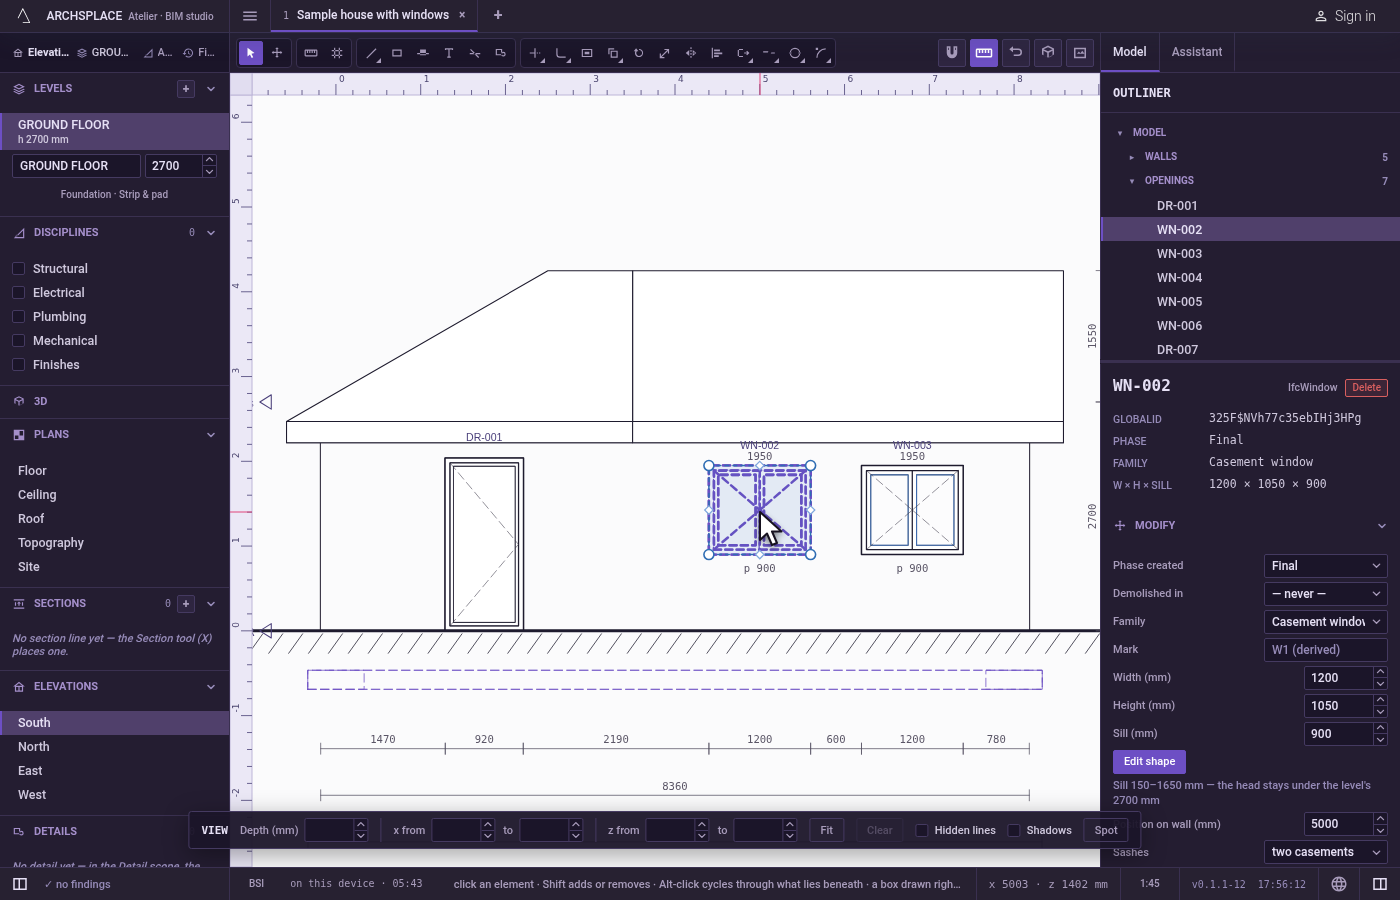
With an opening selected on a facade that shows it, its outline shows its corners as dots and the middle of each side as a diamond. Drag a dot to reshape the opening, a diamond to bow that side into an arc, click a diamond to add a corner, and double-click a dot to remove it.
When to use it
- Picking a window on a facade to read or change its panel.
- Taking every element of one part of an elevation with one box.
- Reaching an element hidden behind another one in the drawing.
The steps
Open a section or an elevation and press V. Click it in the sidebar, under Sections or Elevations, then press
Vor click Select, the first tool of the toolbar. The status bar explains the clicks, the Shift and Alt clicks and the two directions of the box.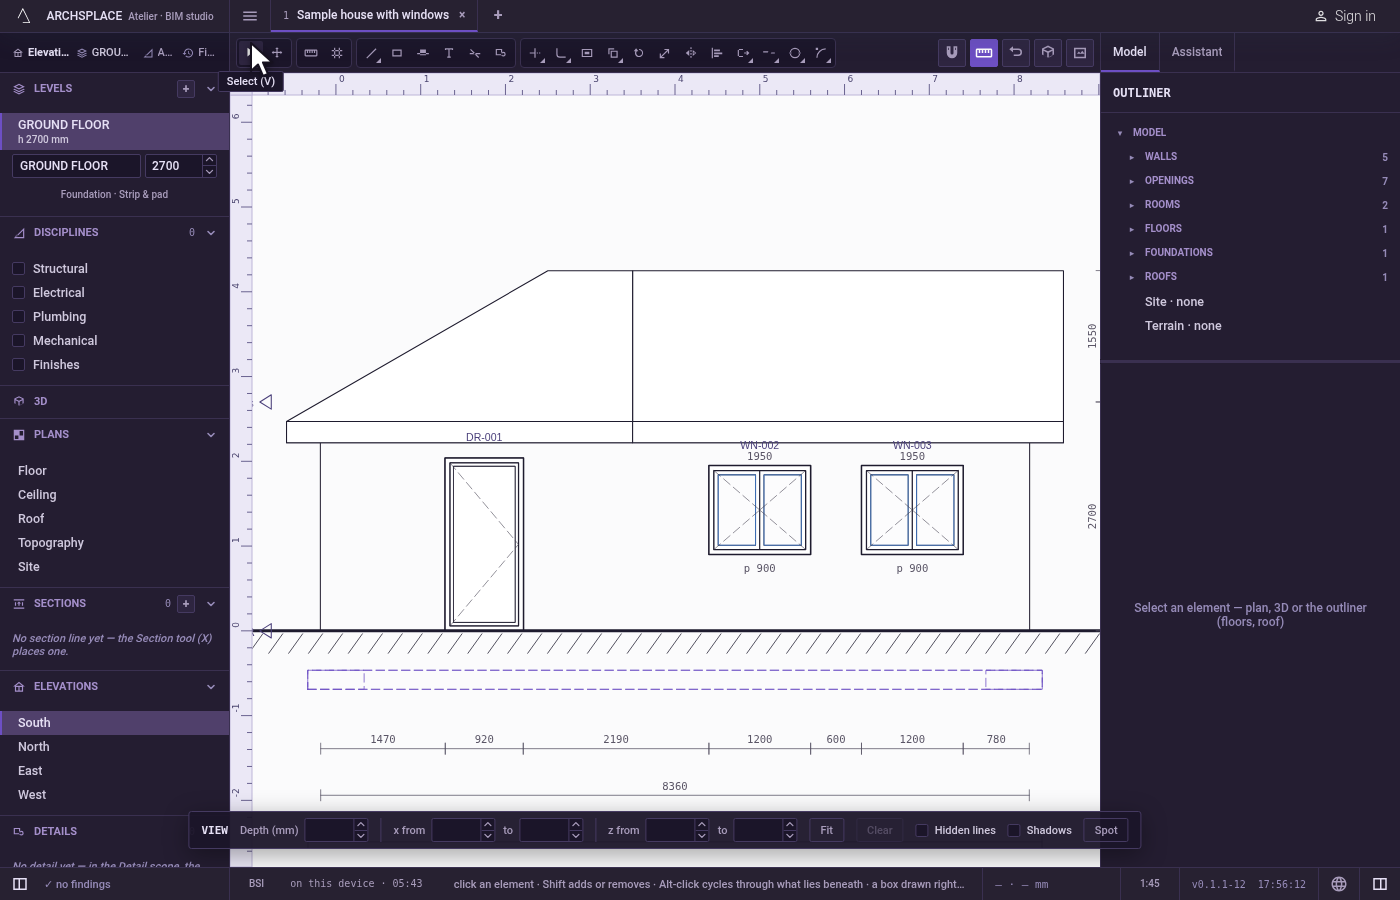
Click an element. Click a window on the facade. It alone is selected, drawn in the selection colour, and the panel on the right shows its fields.
Add another with Shift. Hold
Shiftand click a second window. Both are held. A secondShiftclick on one of them drops it again.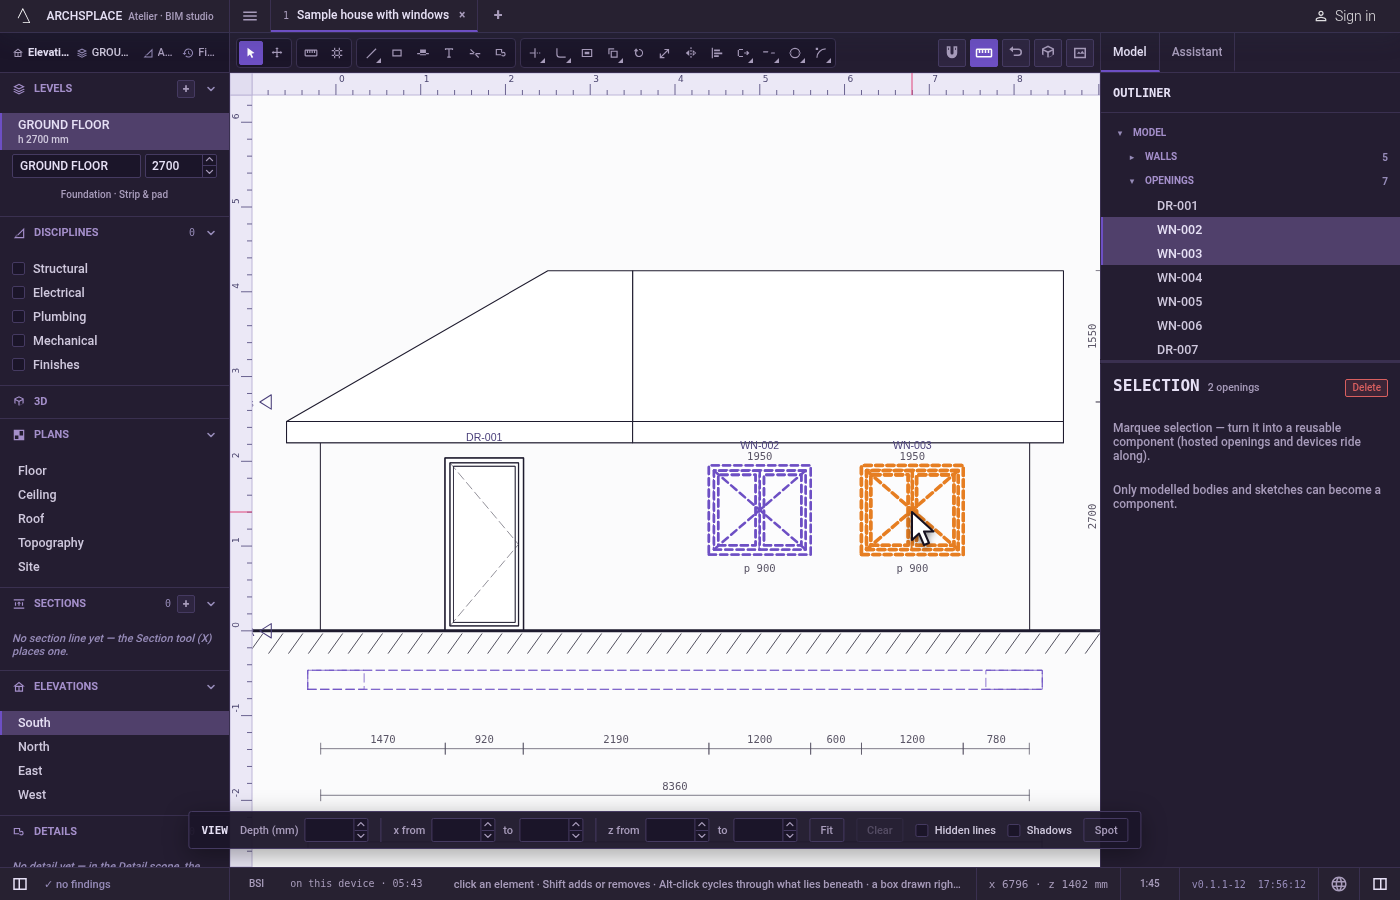
Reach what lies behind with Alt. Hold
Altand click where a wall stands behind the facade. The element beneath the one you held is taken in its place.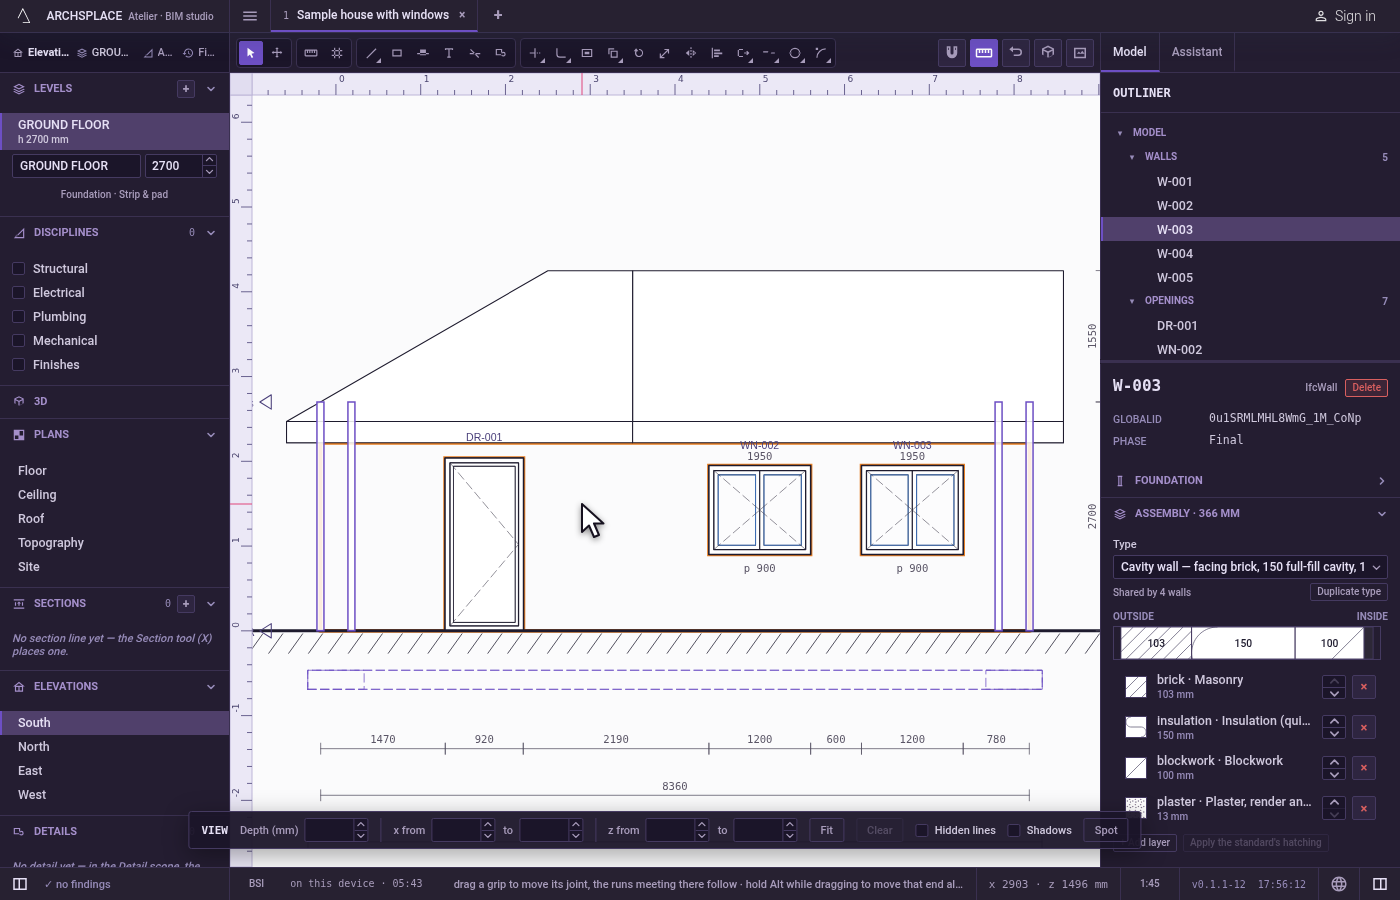
Drag a box to the left. Press the left button on empty paper and drag to the left over part of the facade. Release: everything the box touched is selected, the facade's walls and openings included.
Pan with the middle button. Drag with the middle button to move the drawing. Double-click the middle button to frame the whole drawing again.
Clear the selection. Click empty paper, or press
Esc.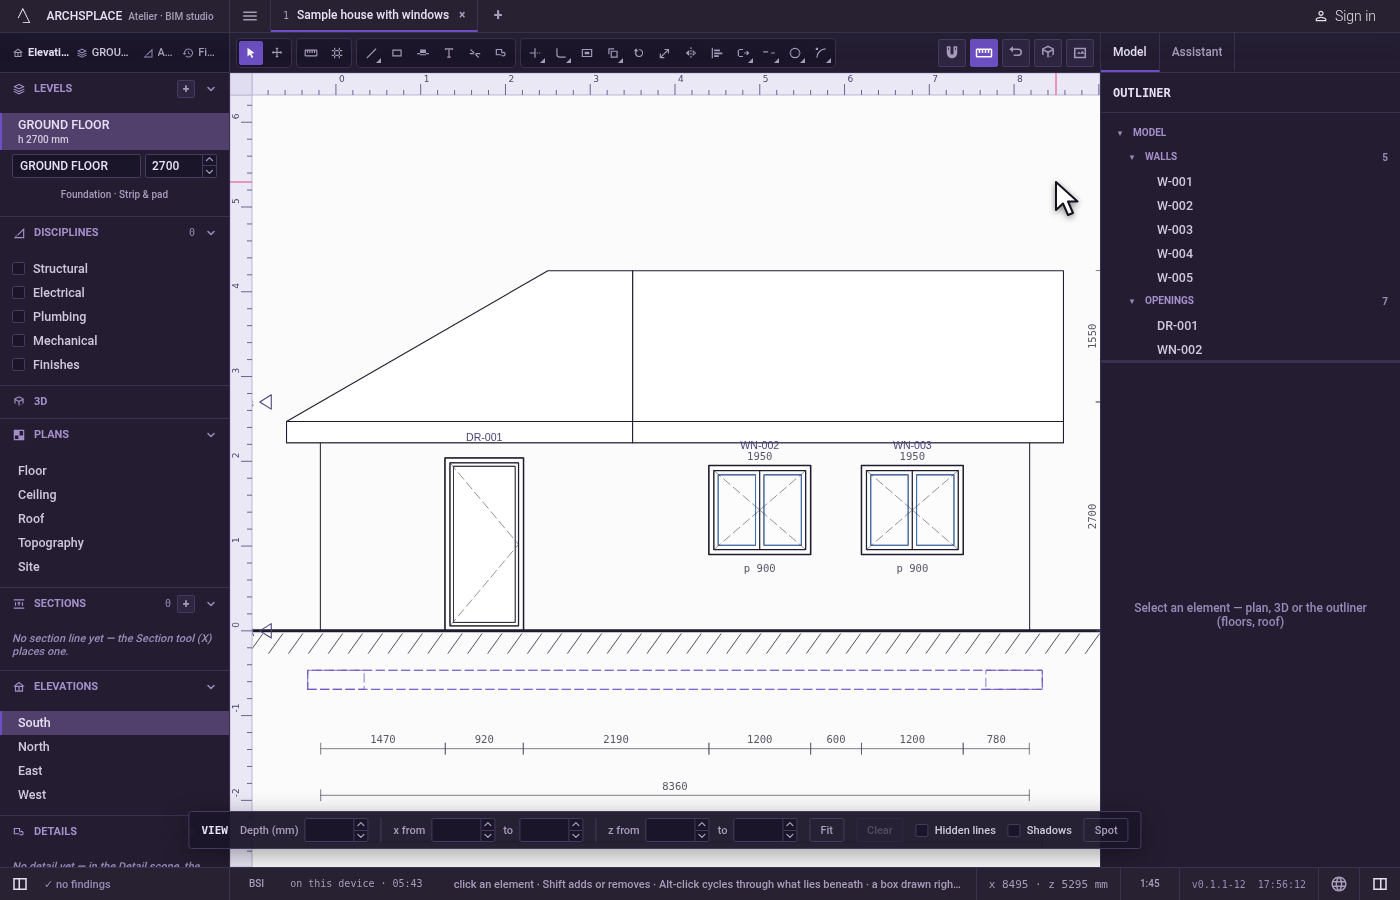
What it refuses
- References in a box. A box, and Select all in the Edit menu, never take what the view refers to: the levels, the section lines, the grid axes, a callout's frame, a surface's pattern, the terrain, the site and the guides. A click takes any of them on its own.
- A pick under another tool. With Dimension, Grid or a detail tool in hand, a click on an element is a point for that tool, never a pick.
- The arrow keys with nothing selected. They move a selected element by a small step that follows the zoom; with nothing selected they do nothing in the drawing.
- Removing the last corners of an opening. A double-click on a dot does nothing when the opening has only three corners left.
What it writes to the contract
Selecting writes nothing: what you hold belongs to the session, never to the contract, and a box or a click leaves the project as it was.
What you then do to the selection writes the element's own fields. Reshaping an opening by its dots or diamonds writes the opening's profile, its corners measured across the opening from its centre and up from its floor, with a third number on a corner whose side is bowed. The arrow keys and Delete write or remove the selected element's entry the way they do on the plan, each in one step that one Ctrl+Z takes back.
Related
Common questions
What is the difference between a box dragged to the right and one dragged to the left?
A box dragged to the right on screen takes only what lies wholly inside it. A box dragged to the left takes everything it touches. It works this way in every section and elevation, whichever way the view looks.
How do I pick a wall hidden behind another one in an elevation?
Hold Alt and click where the two stand. Each Alt click takes the next element down in the pile under the pointer.
Why does my box not take the section lines and grid axes?
A box never takes what the view refers to: levels, section lines, grid axes, a callout's frame, a pattern, the terrain or the site. Click one of them on its own to take it.