Workflows
Template switch
A template switch moves a project already drawn from one country template to another, such as from ISO to ABNT. Before anything changes, a dialog lists what the project keeps as its own, what follows the new template from now on, and what the new rules refuse or rebuild; the move is applied as one change, which one undo takes back.
What it is
A project is designed under one template, the drawing standard of a country or the international one, and can move to another at any time. The switch starts in the standard panel, opened from the standard's key in the status bar: choose another standard in Designed under. The assistant may propose a switch too, and it goes through the same dialog.
Before anything changes, a dialog asks Move the project to the new template. Under its title it says that the project moves from the old template to the new one, that every element you have drawn keeps its build-up, its size and its position, and that from now on the new template's rules and drawing conventions apply. Then it lists, only where there is something to list:
- Kept as the project's own: each wall type, floor slab type, opening family, material, pattern, room use, phase or other entry the project uses that the new template lacks, or builds differently, marked not in or defined differently in the new template, with the elements that use it. They keep the old template's version as the project's own; anything you draw from now on takes the new template's.
- Following the new template from now on: the entries the new template defines differently as part of its own conventions, its symbols, hatching and sizing, with the elements they apply to. Devices and pipes keep their current height and size.
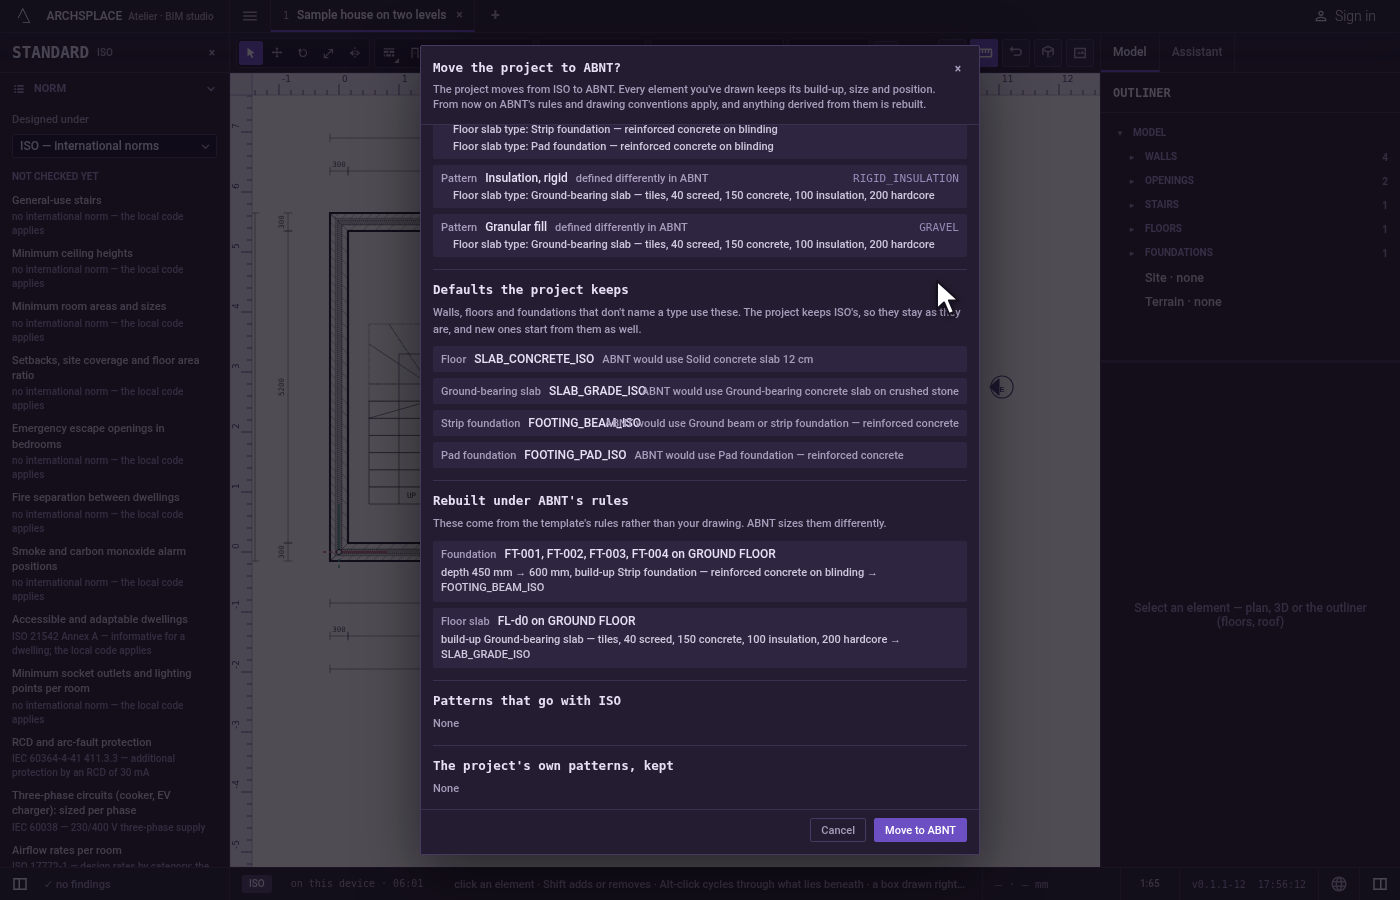
- Defaults the project keeps: the external wall, internal wall, floor, ground-bearing slab, strip foundation and pad foundation that elements naming no type use. The project keeps the old template's, so those elements stay as they are; each row says what the new template would use instead.
- Refused under the new template: the elements its own rules refuse. They are no longer built, remain in the file, and return once they meet the rule.
- Rebuilt under the new template's rules: what comes from the rules rather than from your drawing, such as a stair's rise, a slab's thickness or a footing's width and depth, each with its value before and after.
- The patterns that go with the old template, and the project's own patterns, kept.
When nothing is lost, the dialog says so in one line: everything the project uses is the same in the new template. Move to and the new template applies the switch; Cancel changes nothing.
When to use it
- A project started on the international template, now to be built in a country with a template of its own.
- A project moved to another country, to be drawn to its practice.
- Checking what a project would become under another standard, before deciding.
The steps
Open the standard panel. Click the standard's key in the status bar, such as ISO. The standard panel opens in the left-hand column.
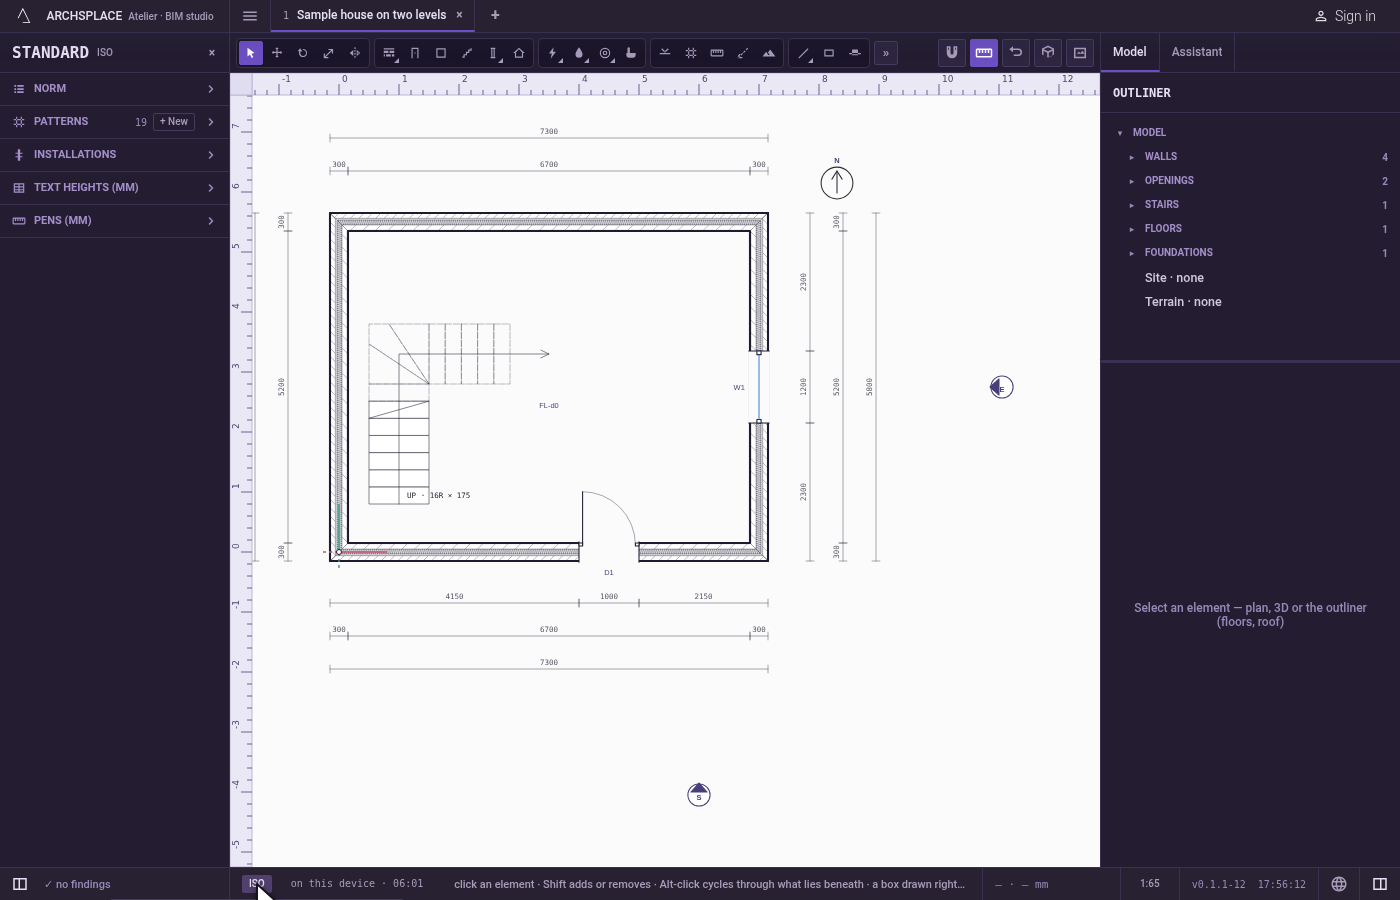
Choose the new template. Open Norm, and in Designed under choose ABNT, for a project to be built in Brazil. The dialog Move the project to ABNT? opens.
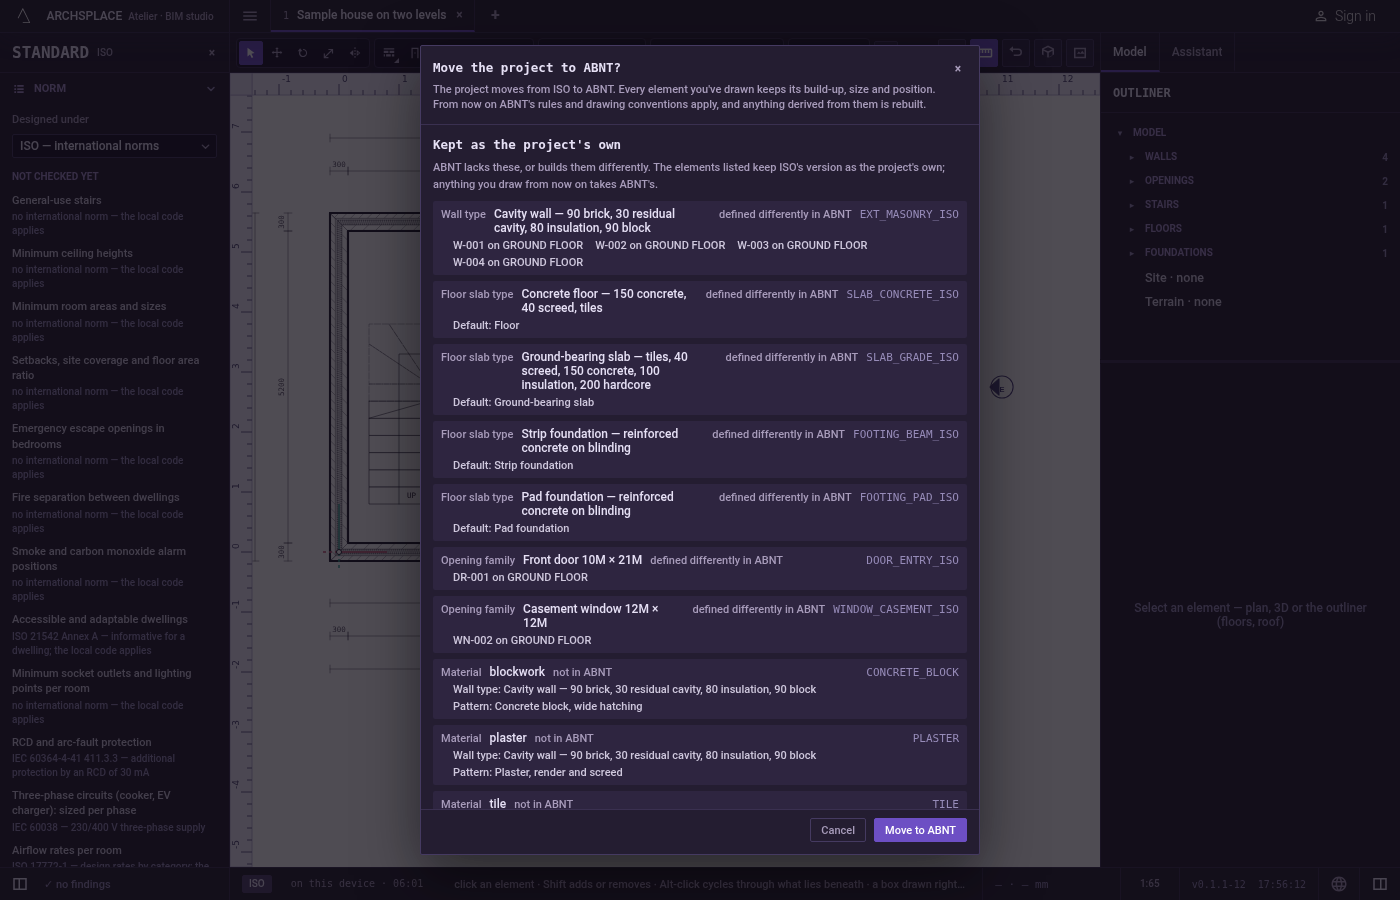
Read what changes. Go through the lists: the types kept as the project's own, with the walls that use them, the defaults kept, and what ABNT's rules rebuild, such as a foundation's depth.
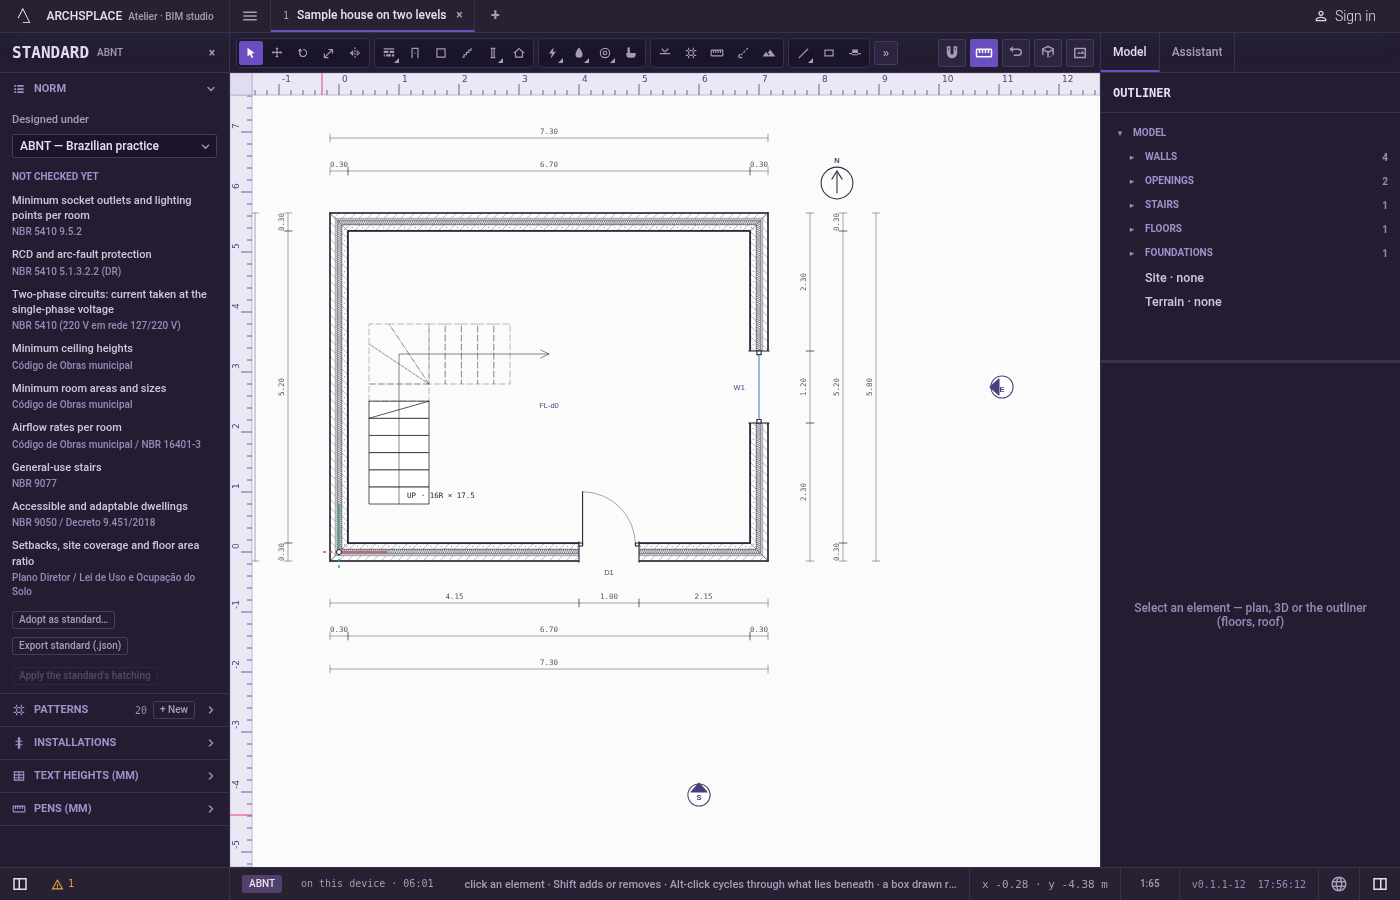
Confirm. Click Move to ABNT. The status bar's key reads ABNT, and every drawing follows ABNT's conventions.
Undo if needed. Press
Ctrl+Z: the project is back under ISO, as it was, in one step.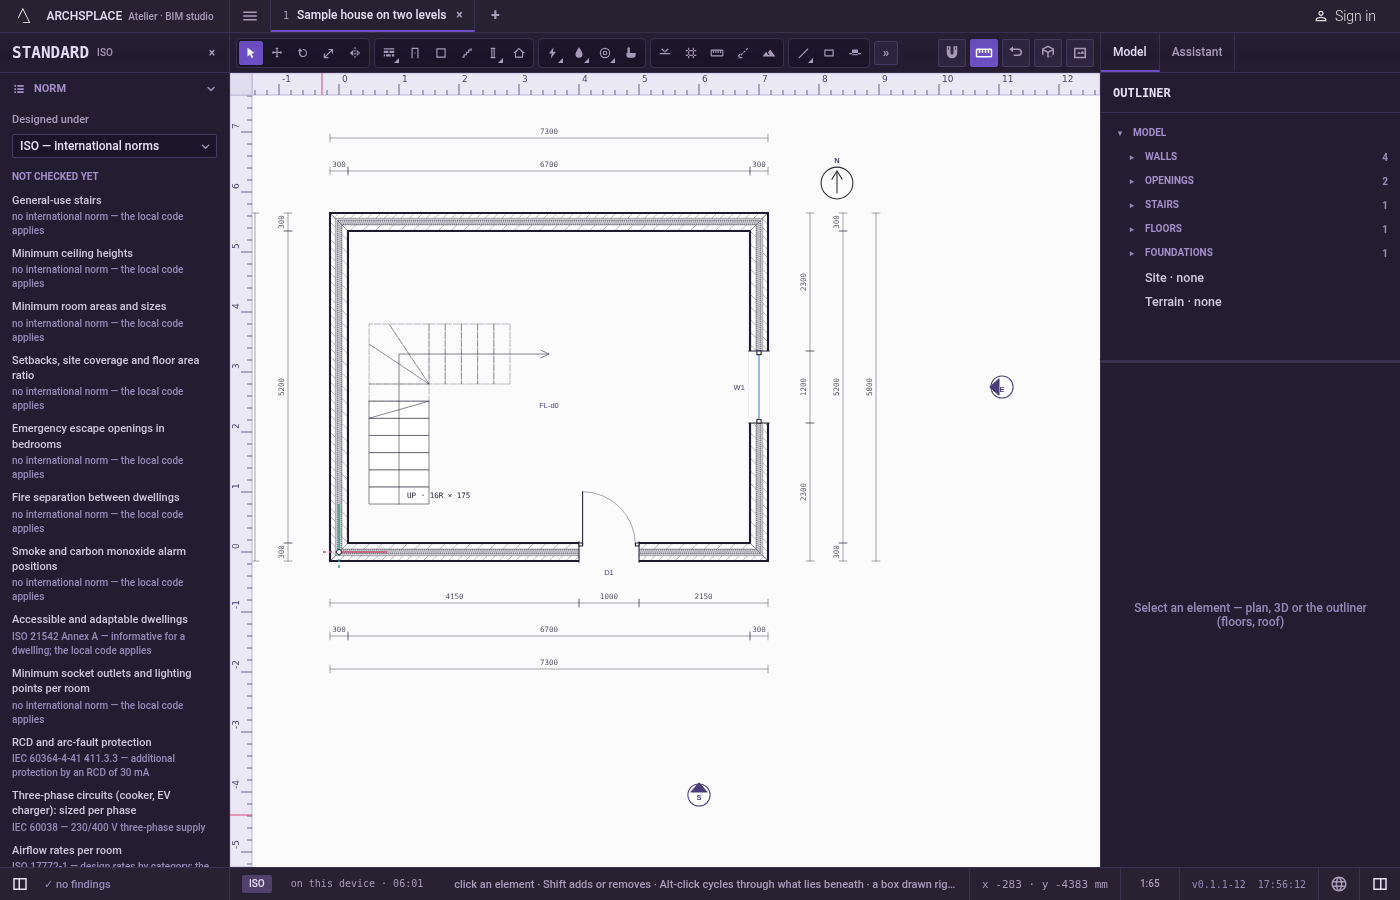
What it refuses
- A switch to the template the project is already under. Nothing is asked and nothing changes.
- Elements the new rules refuse. They are listed before you confirm, then are no longer built, remaining in the file until they meet the rule.
What it writes to the contract
One change. standard names the new template; a standard from your library is also embedded as standardTemplate. Each entry kept as the project's own is written into the project's own catalogues (wallTypes, slabTypes, patterns, openingFamilies, deviceKinds, fixtureKinds, pipeSystems), marked with the template it came from. A type the new template builds differently is copied under a new id that adds the old template's key, and the elements that use it are pointed at the copy. The defaults kept are written as the project's own defaults, and words the new template lacks join the project's vocabularies. Nothing you have drawn moves or changes size.
Common questions
Will my walls change when I switch the template?
No. Every element you have drawn keeps its build-up, its size and its position. A wall type the new template lacks, or builds differently, is kept in the project as its own, so the walls already standing keep it, while anything you draw afterwards takes the new template's types.
What does change?
The new template's rules and drawing conventions: its symbols, hatching and sizing for devices, sanitary fittings, pipework systems and patterns, its code rules, and whatever is derived from those rules, such as stairs, slabs, roofs and foundations, which are rebuilt under them. The dialog lists each of these before you confirm.
Can I switch back?
Yes. Undo takes the move back in one step, and moving back to the first template later makes the project follow it again.