SketchMin the studio
Move in the tile editor
Move shifts the joints you choose inside a pattern's tile from a base point to a destination, clicked or typed as a distance. A shape that would leave the tile is refused whole, and a straight joint that would cross its edge is cut there.
What it is
Move shifts joints inside the tile. You choose the joints, a base point, and where that point goes: everything you chose moves by the same distance and direction. A ghost of the joints in their new place follows the pointer, with a line from the base point and the live distance in the hint. The base point and the destination snap to the tile's corners, the middles of its sides, its centre, its edges and the joints, as when you draw.
It is the same Move as in the other editors of the studio, acting here on the joints of the tile.
When to use it
- To slide a joint or a shape to its exact place inside the tile.
- To line a joint up with a corner or the middle of a side, by its own end or middle.
- To move several joints together, keeping their spacing.
The steps
Choose the joints. Select them before taking the tool, and Move uses them at once. Otherwise Move asks select objects: click joints to add them, or drag a box (to the right it takes what lies wholly inside, to the left what it touches),
Shifttakes a joint out,Fdraws a fence that takes every joint it crosses, andEnterends the choice.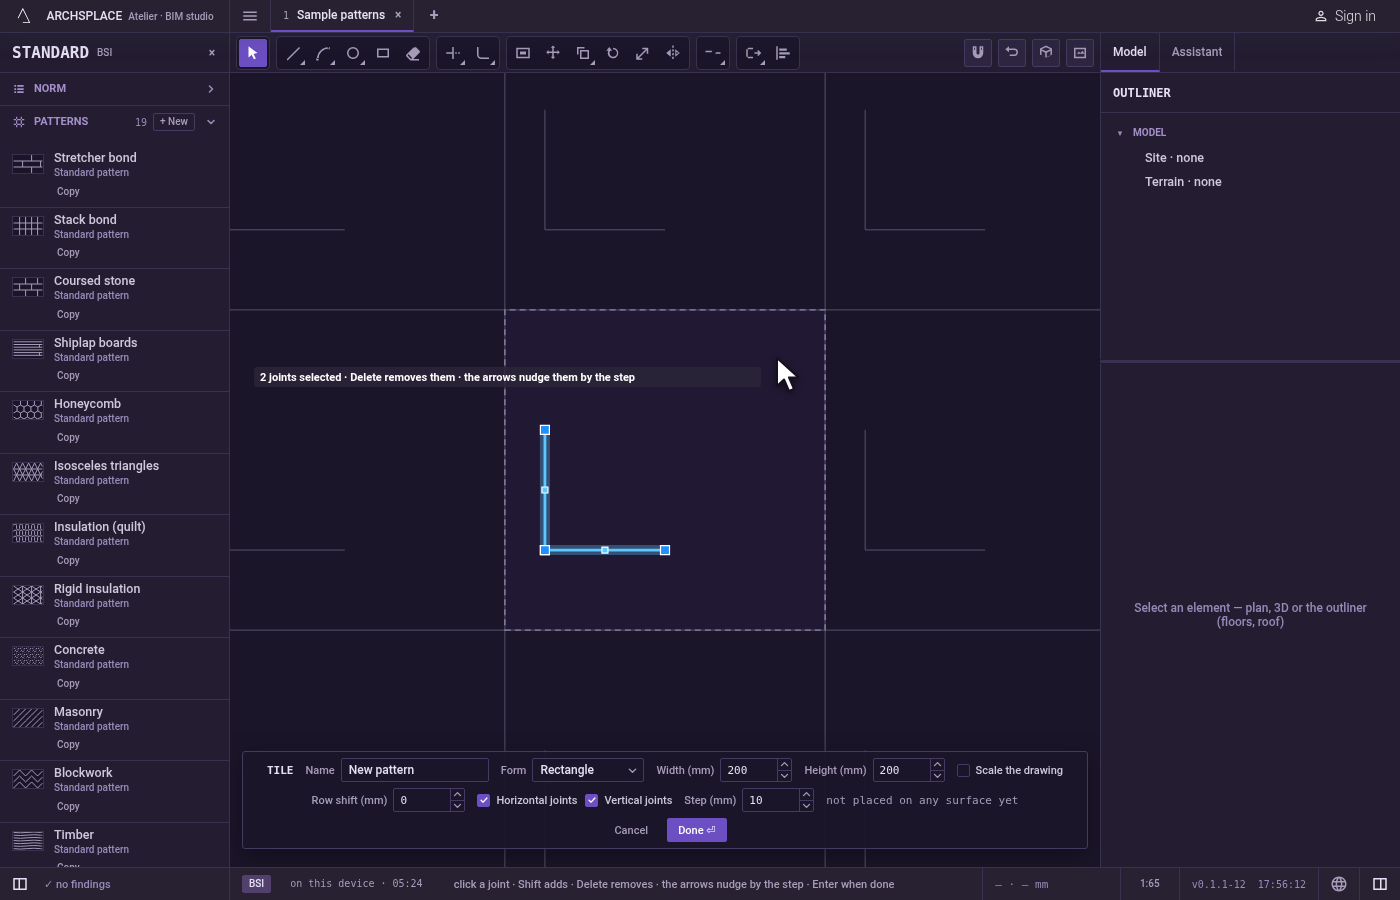
Take the tool. Press
M, or click Move on the bar. With joints already selected, the hint asks for the base point.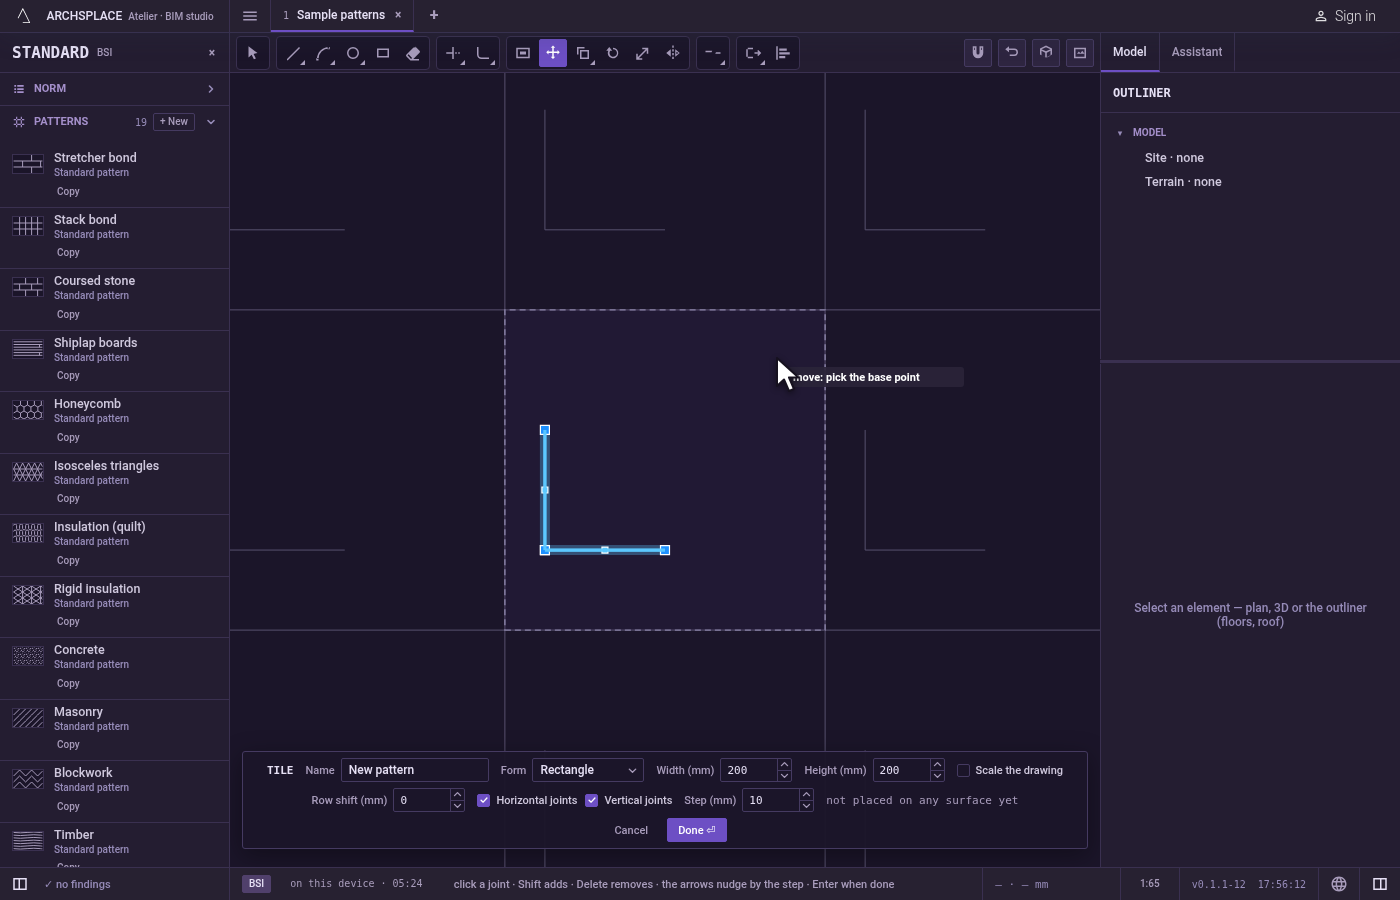
Pick the base point. Click the point of the joints you will place by, such as an end or a middle.
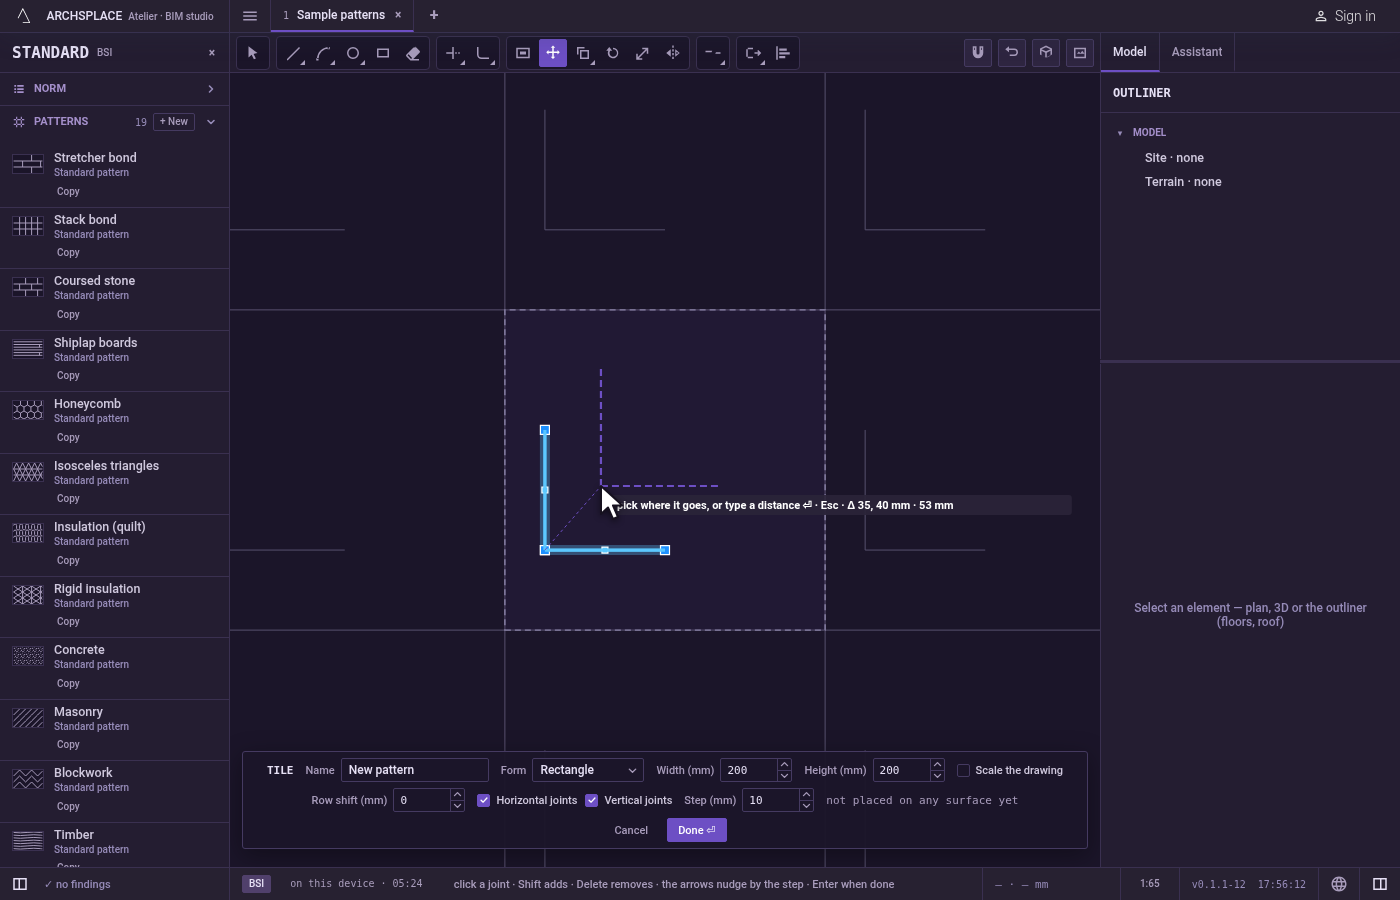
Place them. The ghost follows the pointer, and the hint shows how far it goes across, up and in all. Click where the base point goes. To be exact, type a distance and press
Enter: the joints move that far in the direction the pointer shows. A point typed as@dx;dy(across and up) or@d<angle(a distance at an angle), both measured from the last point, lands as a click would. If the ghost is drawn in the refusal colour, the click would be refused.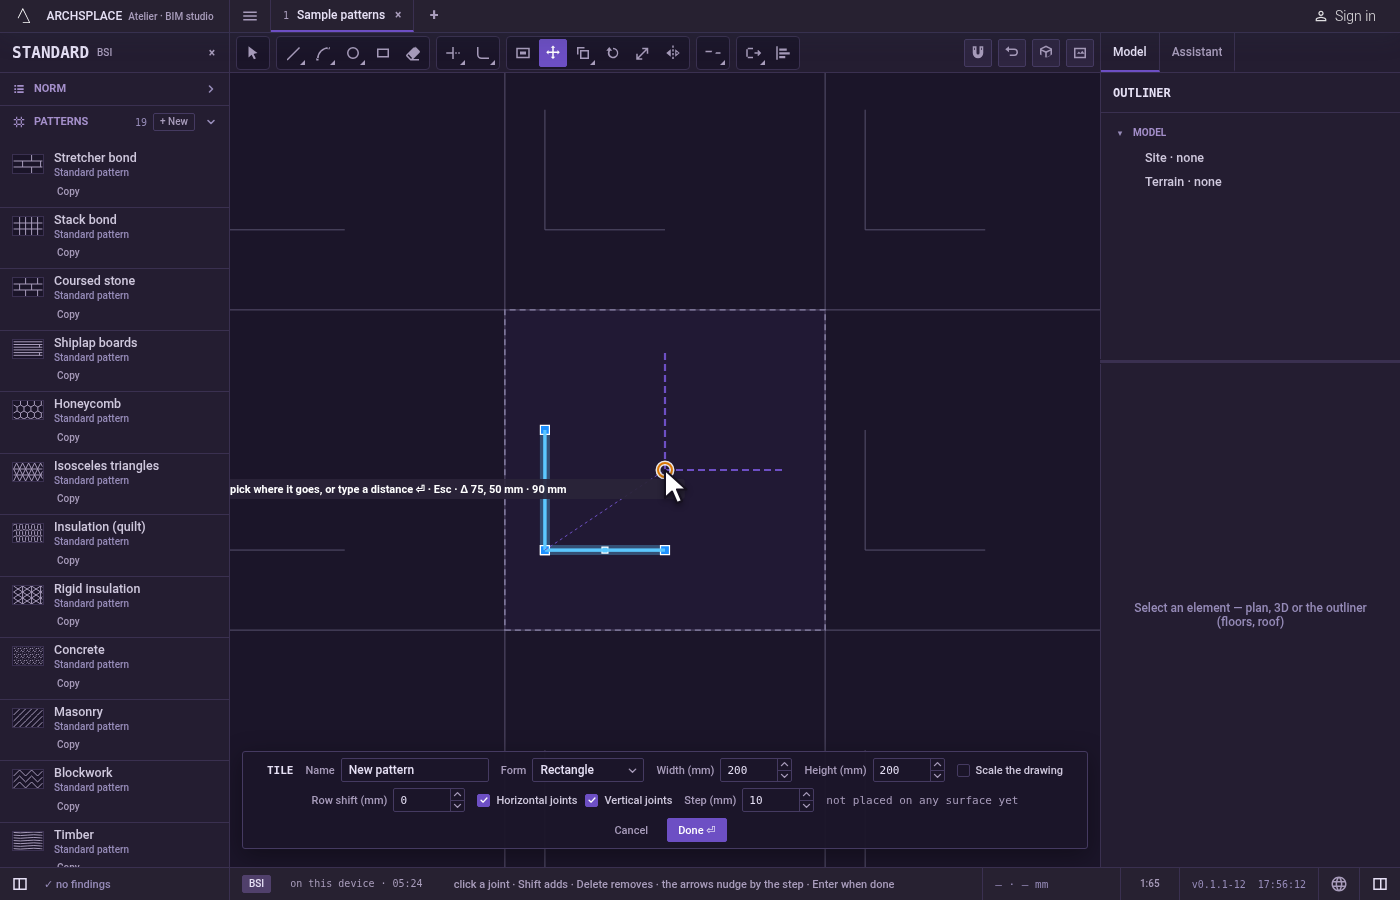
Copy instead, if you want. After the base point, press
Cto switch on copy: the joints are copied and the originals stay.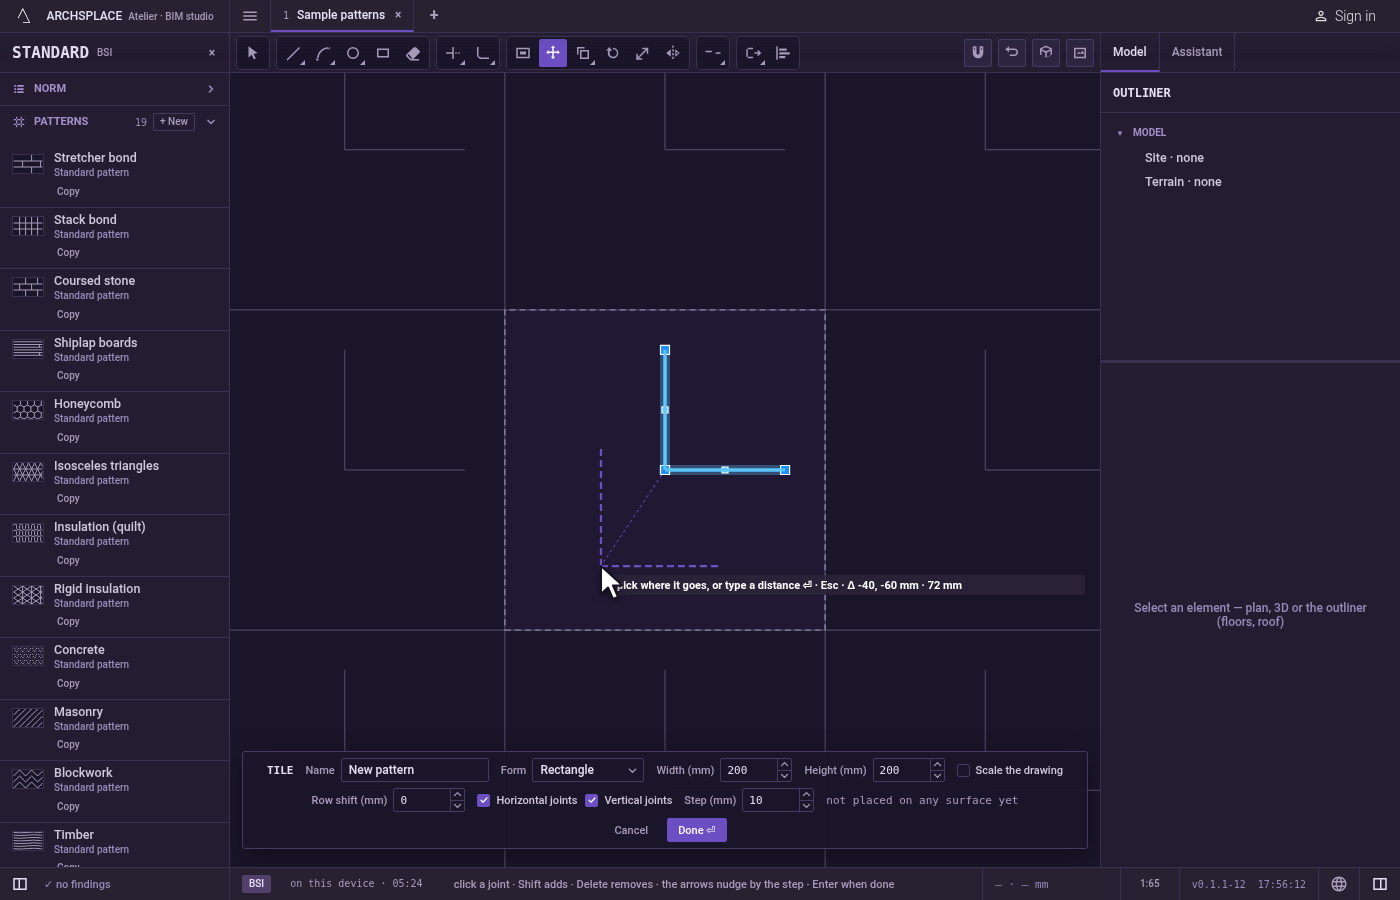
Move again or finish. After a move, the same joints stay selected and Move asks for a new base point.
Escapedrops the base point, then leaves Move for Select.Ctrl+Zundoes the last move. Press Done on the bar at the foot to hand the tile back.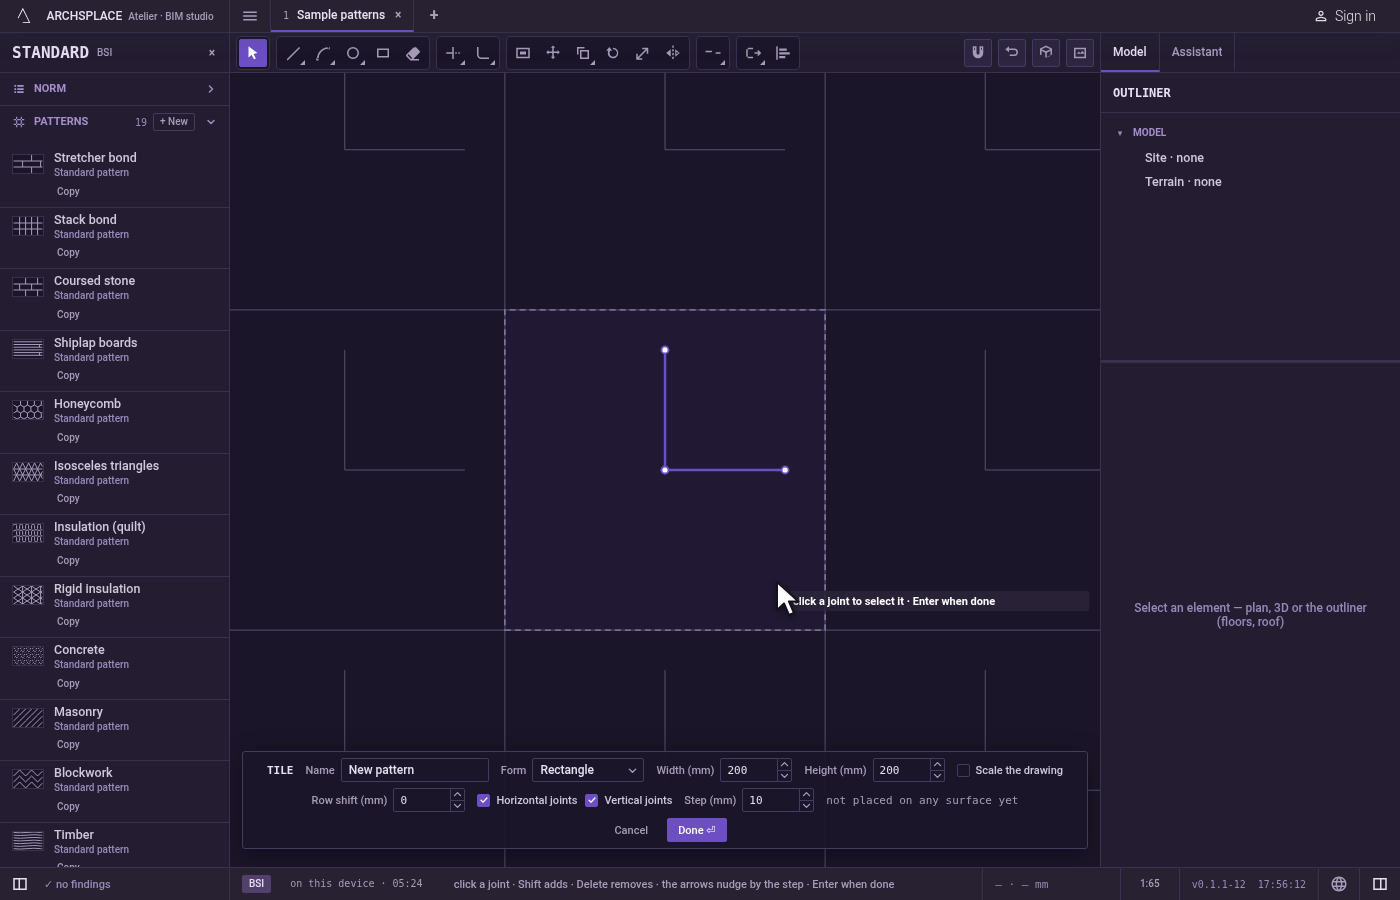
What it refuses
- A shape that would leave the tile. A curved or closed joint (an arc, a circle, a rectangle, a polyline) that would stand outside the tile is not moved, and the editor says a shape must stay inside the module.
- A straight joint across the edge. It is not refused: it is cut at the tile's edge and only the part inside is kept.
- A typed distance with no direction. With the pointer on the base point itself, a typed distance moves the joints along the tile's width, to the right.
- A click on nothing while choosing. It adds nothing, and Move keeps asking select objects.
What it writes to the contract
Nothing while you work: the change stays in the tile editor, where Ctrl+Z steps back through it. When you press Done, the whole tile is written to the project's patterns in one step you can undo, every joint as its points in metres from the tile's lower-left corner, the moved joints at their new place. A standard pattern is never changed: Done saves the project's own version of it under the same name, and every surface that lays it follows. Save as new writes a new pattern instead. Cancel writes nothing.
Related
Common questions
How do I move joints by an exact distance?
Select them, take Move, click a base point, point in the direction they should go, type the distance and press Enter.
Why was part of my joint cut off after moving it?
A straight joint that would cross the tile's edge is cut at that edge, and only the part inside is kept. Press Ctrl+Z to bring it back as it was.
Can I keep the originals while moving?
Yes. After the base point, press C to switch on copy: the joints are copied instead of moved. Or use the Copy tool.