3DRin the studio
Rectangle
The Rectangle tool draws a closed four-sided outline in the 3D view from two opposite corners, on the plane under the pointer. Its four lines close flat, so the rectangle is a face at once, ready to be pushed or pulled.
What it is
The Rectangle tool draws four lines that close a rectangle, from one corner to the opposite one. The rectangle lies on a plane, and its sides run along the two directions of that plane: on the ground or a level face, along the plan's axes.
Before the first click the studio shows the plane under the pointer as a light grid, its two axes coloured like the model axes they follow. It is the face under the pointer, or the ground when there is none, and the arrow keys turn it. Since its four lines close flat, the rectangle is a face as soon as it is drawn.
When to use it
- To start a volume: draw the footprint, then pull it up with Push/Pull.
- To draw a window, a niche or a panel on a face, then push it in or pull it out.
- To draw an upright face standing in space.
The steps
Take the tool. Press
R, or click Rectangle among the drawing tools.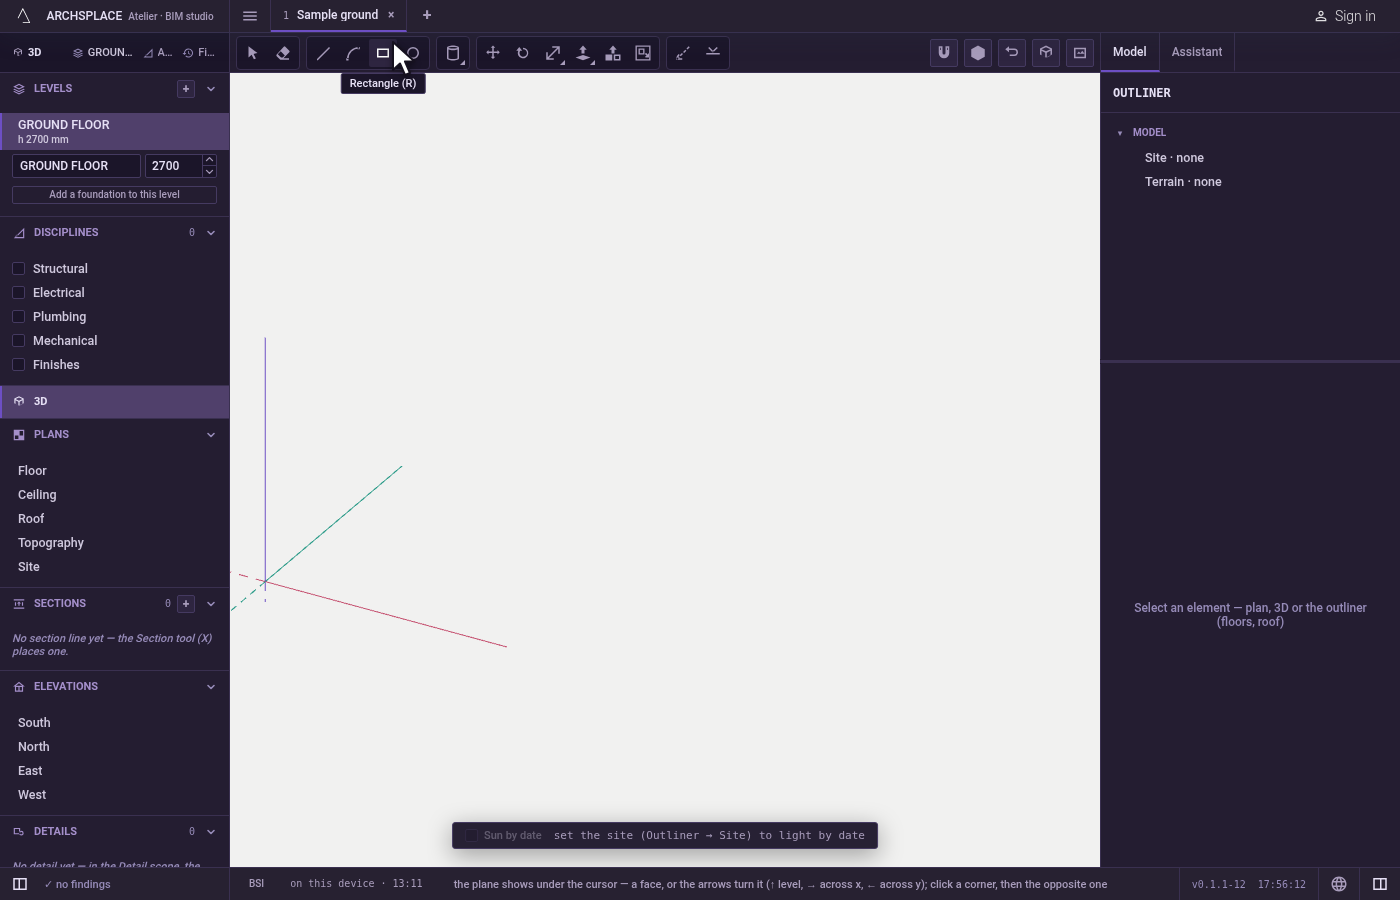
Choose the plane. Move over a face to draw on it, or over empty space for the ground. Before the first click,
↑turns the plane level,→stands it across x,←stands it across y, and↓goes back to the face under the pointer. The hint says which plane is held.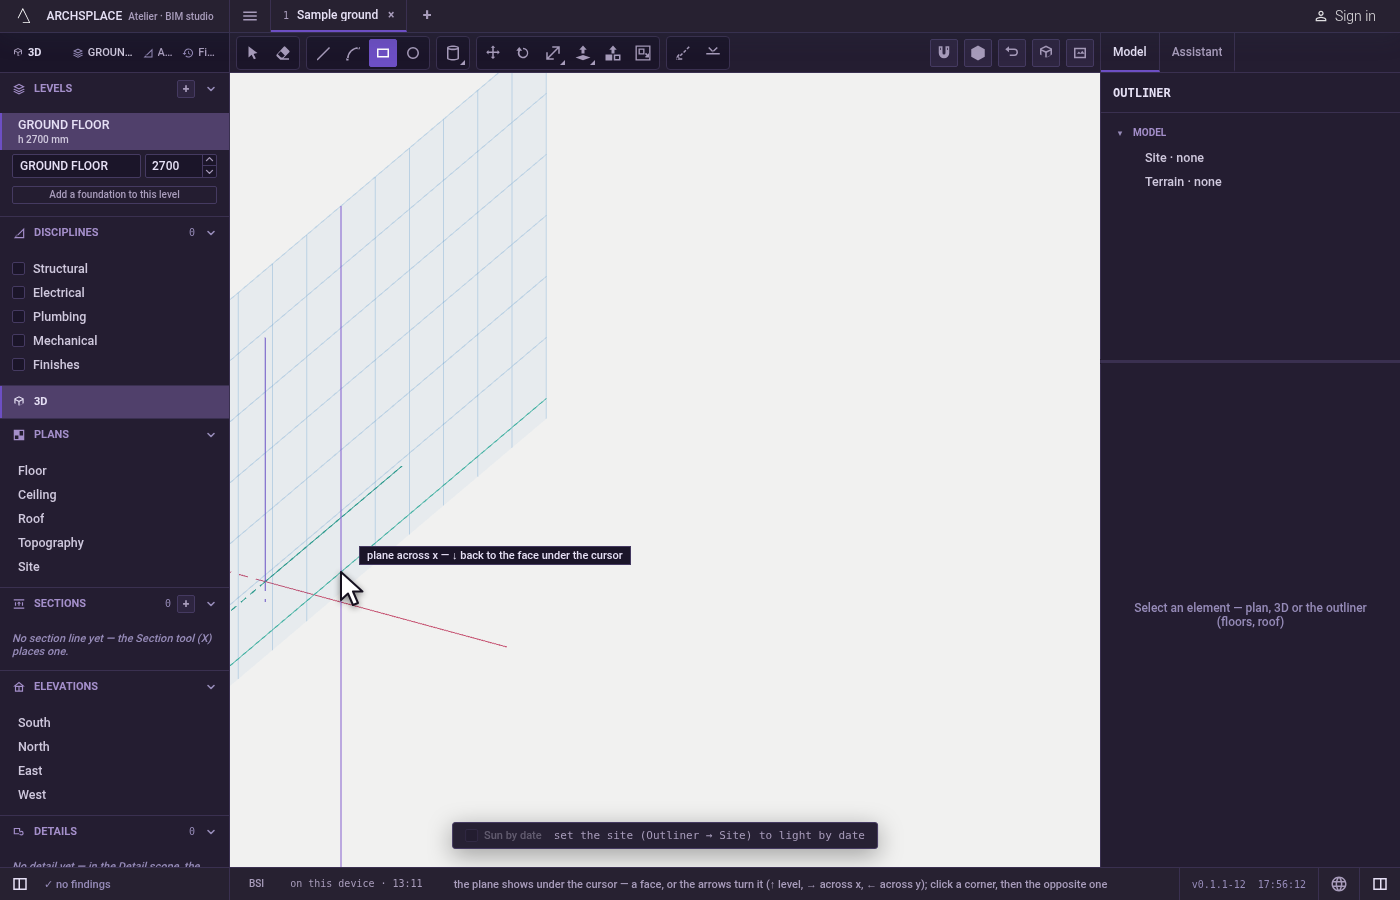
Click the first corner. The plane is fixed through that point. The marker shows what the click takes: a corner, a midpoint, an edge, a guide.
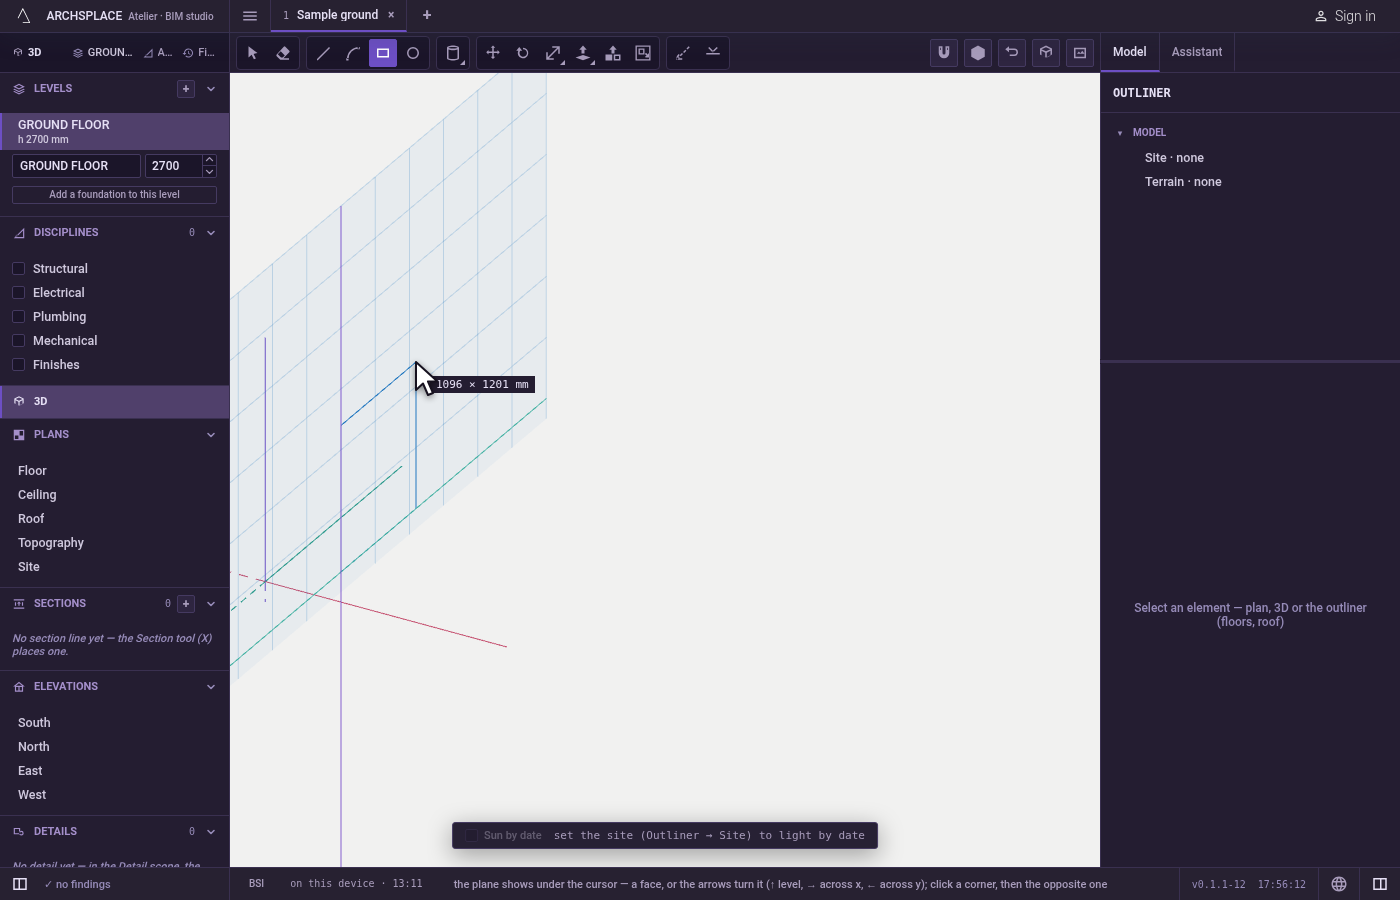
Click the opposite corner. The rectangle follows the pointer, and the readout gives its width and its height. Or type both, separated by
x(or;), for example4x3, and pressEnter: the rectangle runs that far towards the side the pointer is on.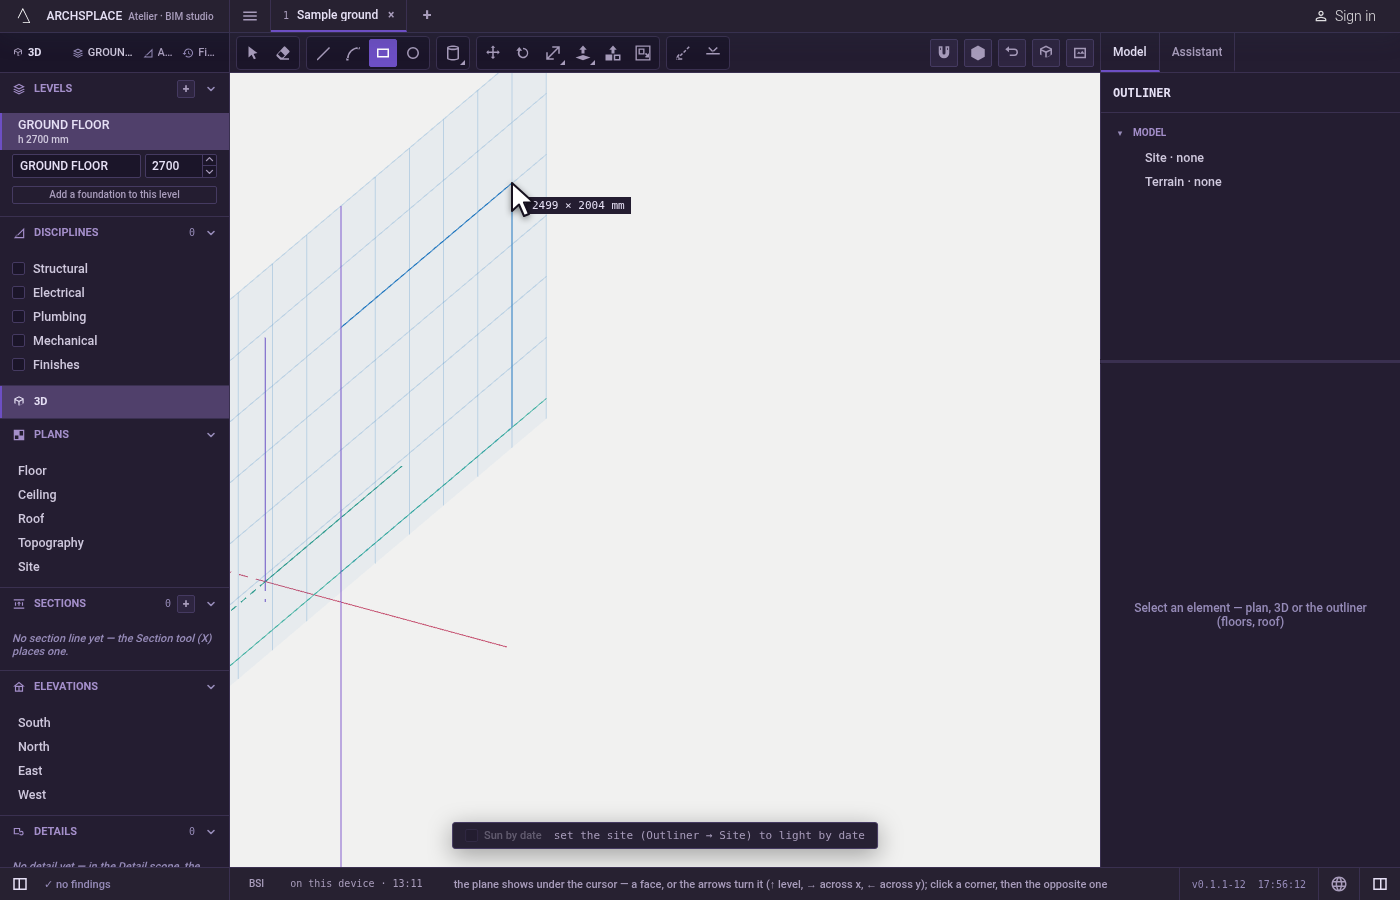
Draw the next one. The tool stays in hand for another rectangle.
Escapedrops a rectangle under way; the space bar goes back to Select.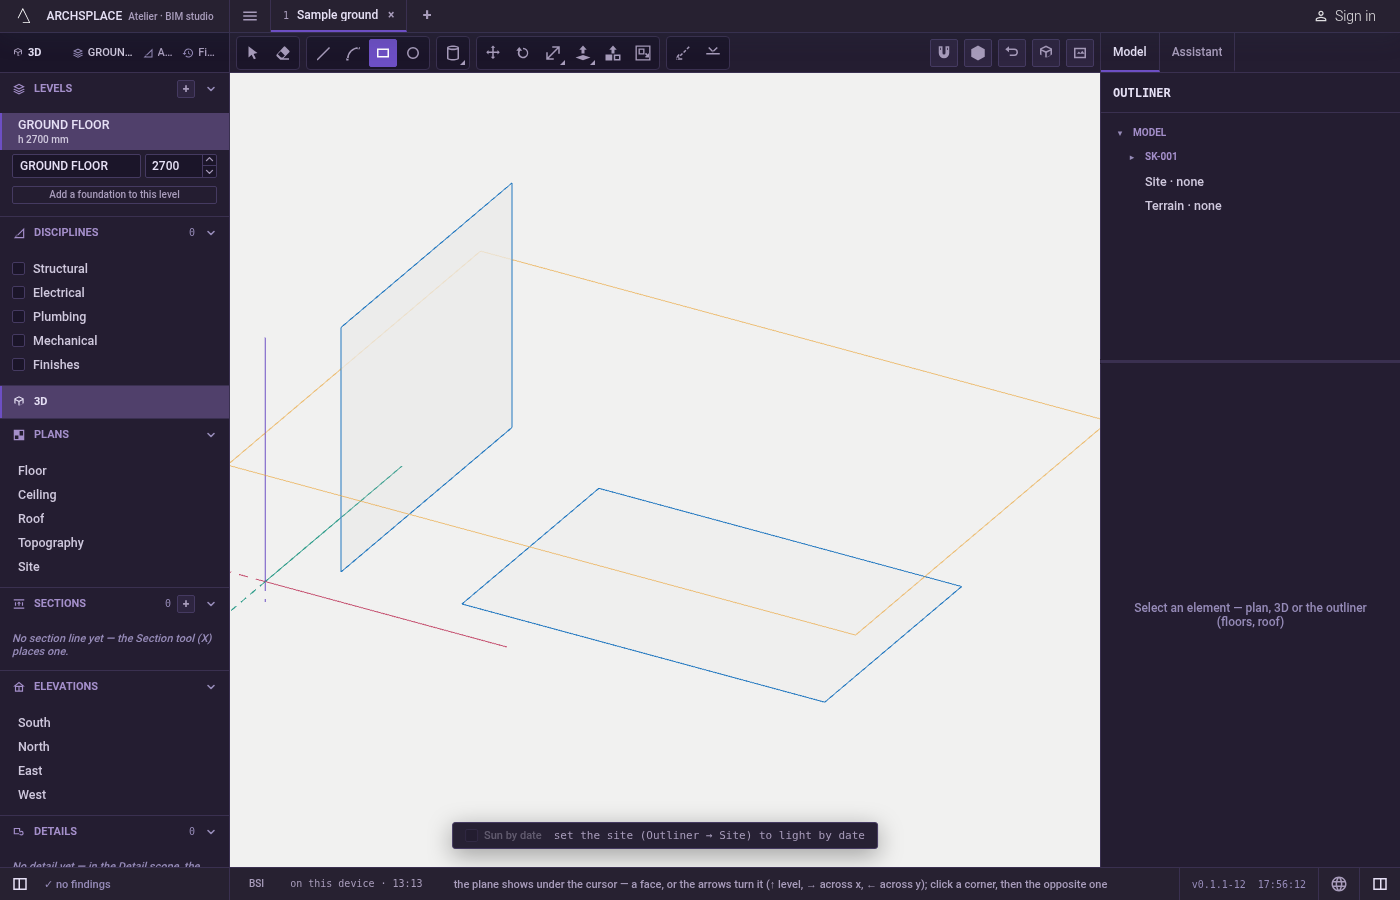
What it refuses
- A point off its plane. Once the first corner is clicked, every point lands on the plane it fixed, whatever the pointer passes over.
- A typed value that is not two numbers. The rectangle waits for a width and a height; anything else places nothing.
What it writes to the contract
The four lines are added to the drawn geometry of the model, or of the component you have open, as one undoable step. Where they cross other lines they split each other, the closed outline is found as a face, and a rectangle drawn on a body's face is taken by that body, cutting a face of its own there.
Common questions
How do I draw a rectangle standing upright?
Before the first click, press the right arrow for a plane across x or the left arrow for a plane across y. The grid under the pointer turns to show it. The down arrow goes back to the face under the pointer.
How do I give the rectangle exact dimensions?
Click the first corner, move towards where the rectangle should go, then type the width and the height separated by x, for example 4x3, and press Enter.
Why did my rectangle split the face I drew it on?
Because lines drawn on a face become part of it. A rectangle inside a face cuts a face of its own there, which you can push in or pull out.