Sections and elevationsLUYZSin the studio
Detail drawing
The detail tools draw your own marks on one view: lines, rectangles, white masks, annotations with an arrow, and hides that take one of the drawing's lines off. The marks belong to that view alone and never change the model, so a section can carry a note the plan never shows.
What it is
The detail tools are a group of the toolbar in every drawing: the plan, each section, each elevation and each callout. There are five that draw: Line (L), Rectangle (U), Mask (Y), Annotation (Z) and Hide (S), followed by Callout, which has a page of its own. Whatever they draw is the architect's mark on that one view. It never reaches the model, never shows on another view or in the 3D, and goes onto a sheet, a PDF or a DXF wherever that view is printed.
With a detail tool in hand, every line the drawing shows becomes a magnet, so a mark starts and ends exactly on a wall's face, a sill or a roof edge. The hatches, the dimensions and the annotations never pull the pointer.
- Line draws a chain of straight lines and arcs, point by point, in one of four pens: Medium line · 0.25, the default, Heavy line · 0.5, Dashed line · 0.18 and Fine line · 0.13. Clicking its first point again closes it.
- Rectangle draws a closed line from two opposite corners.
- Mask draws a closed white patch that hides what lies under it, point by point.
- Annotation writes words with an arrow: the point the arrow reaches, then where the words stand, then the words.
- Hide takes one of the drawing's own lines off this view. The model keeps it, and deleting the hide brings it back.
The editing tools of the toolbar, such as Trim, Extend, Offset, Fillet and Join, work on the lines drawn this way.
When to use it
- Writing a note on a section, such as a waterproofing that runs under a threshold.
- Drawing a flashing, a gutter or a drip that the model does not carry.
- Masking a part of an elevation to clean it for a presentation.
- Taking off a line that clutters one view without touching the model.
The steps
Open the view. In the sidebar, under Elevations, click South. The detail tools stand in their own group of the toolbar.
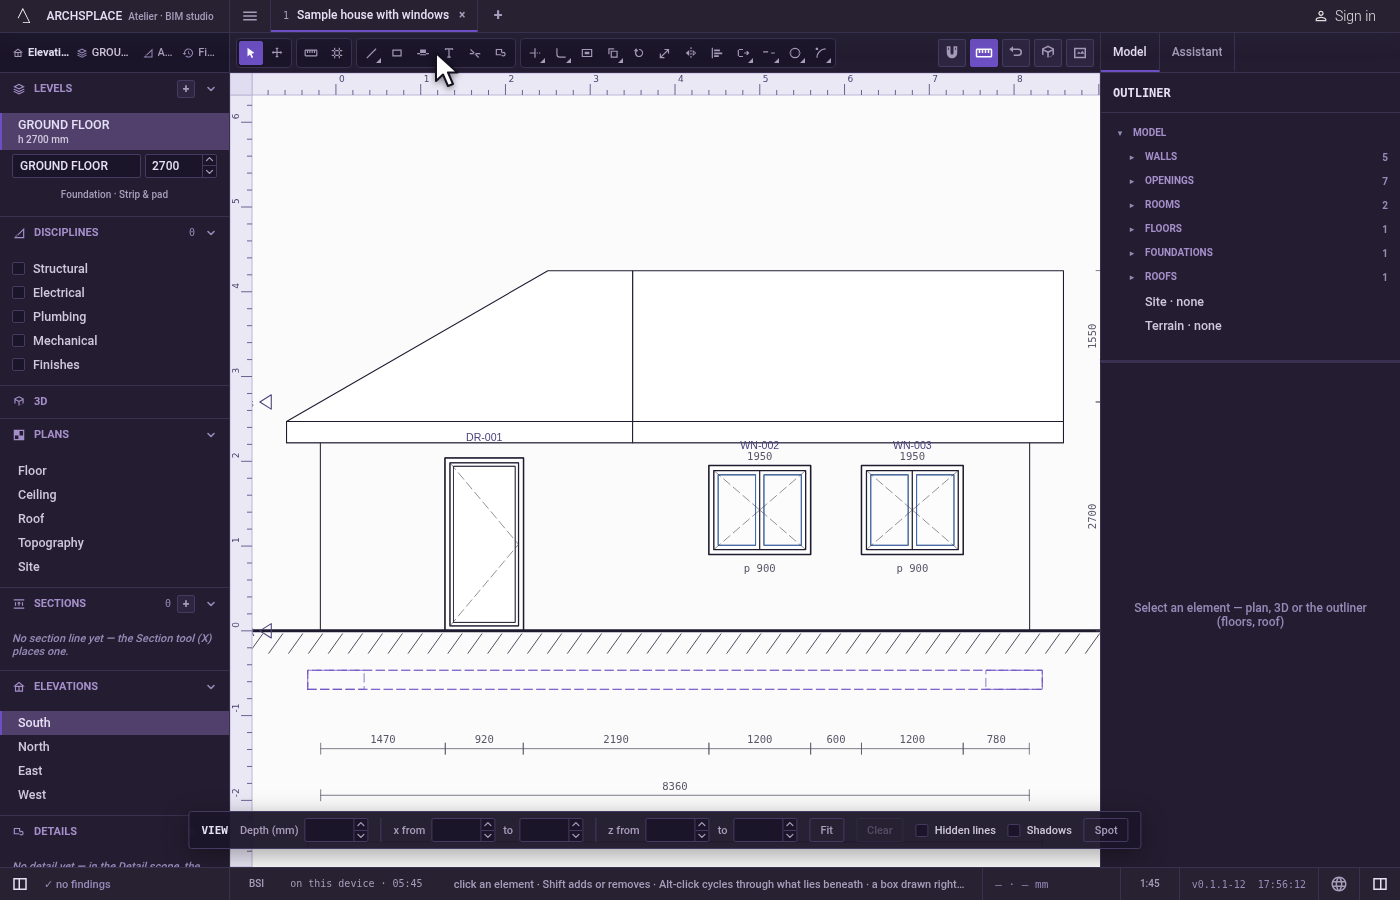
Draw a line. Press
L. In the list beside the tools, choose Heavy line · 0.5. Click the points of the line, each one held by the drawing's corners, middles and edges.Aturns the next stretch into an arc,Ccloses the line,Utakes back the last point, andEnter, the space bar,Escor the right button end it and keep it.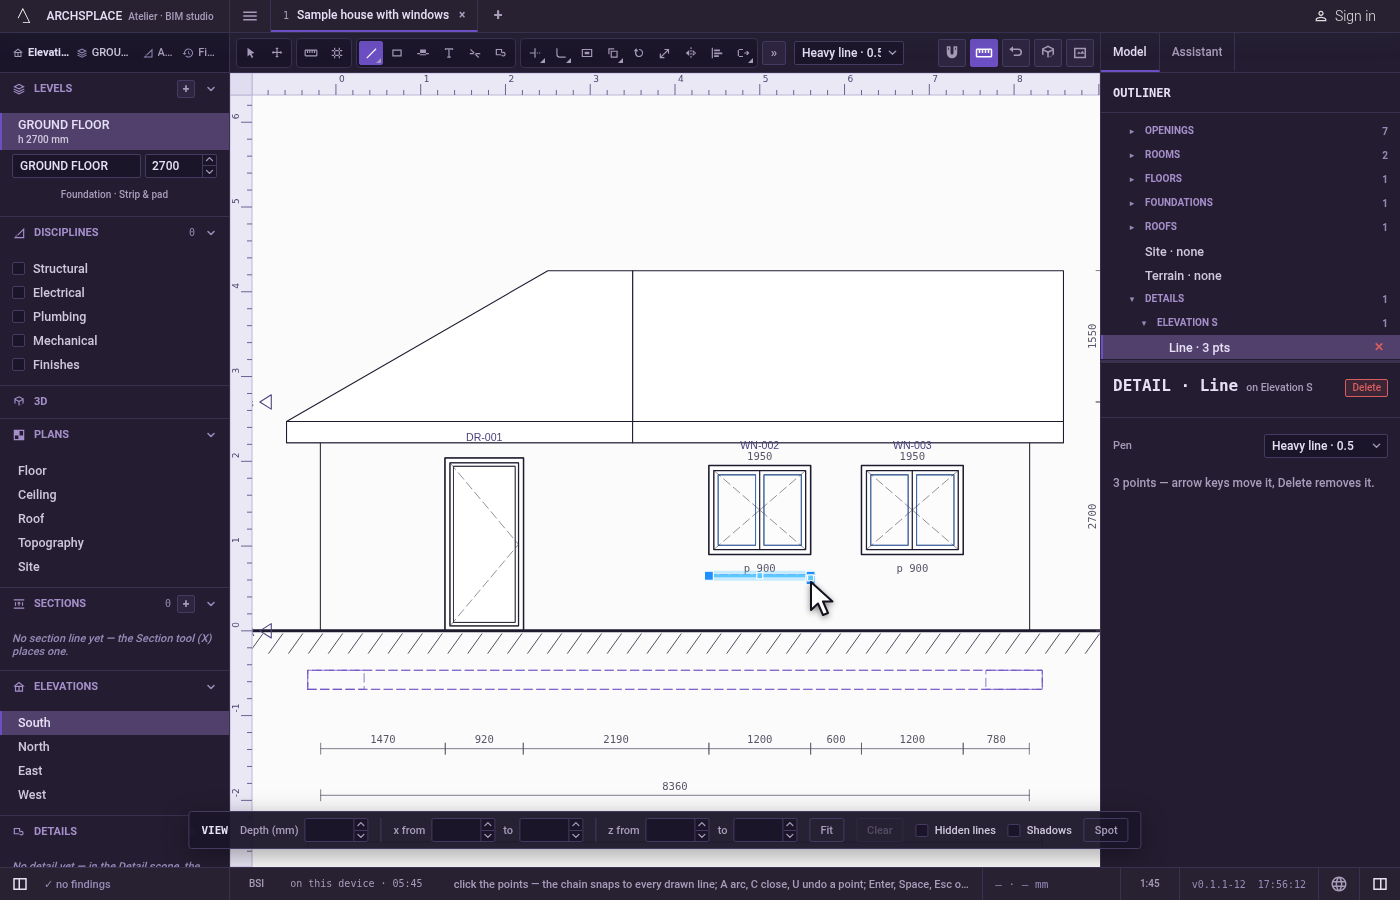
Draw a rectangle. Press
Uand click two opposite corners. The rectangle is drawn as a closed line in the pen chosen for Line.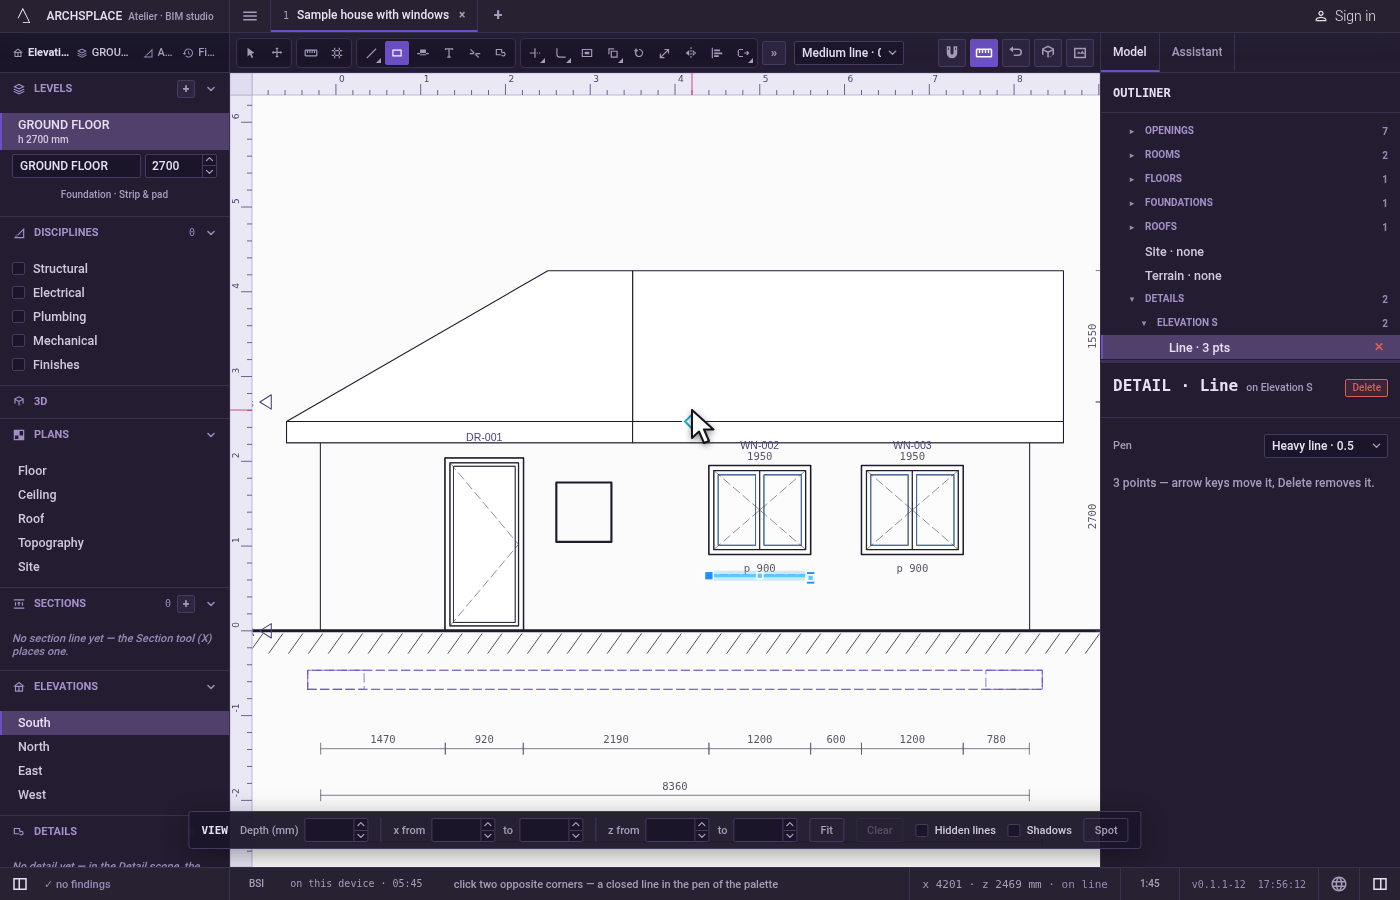
Mask a part of the view. Press
Yand click the corners of the patch. Click the first corner again, or pressEnter, to close it. What lies under the patch is hidden on this view.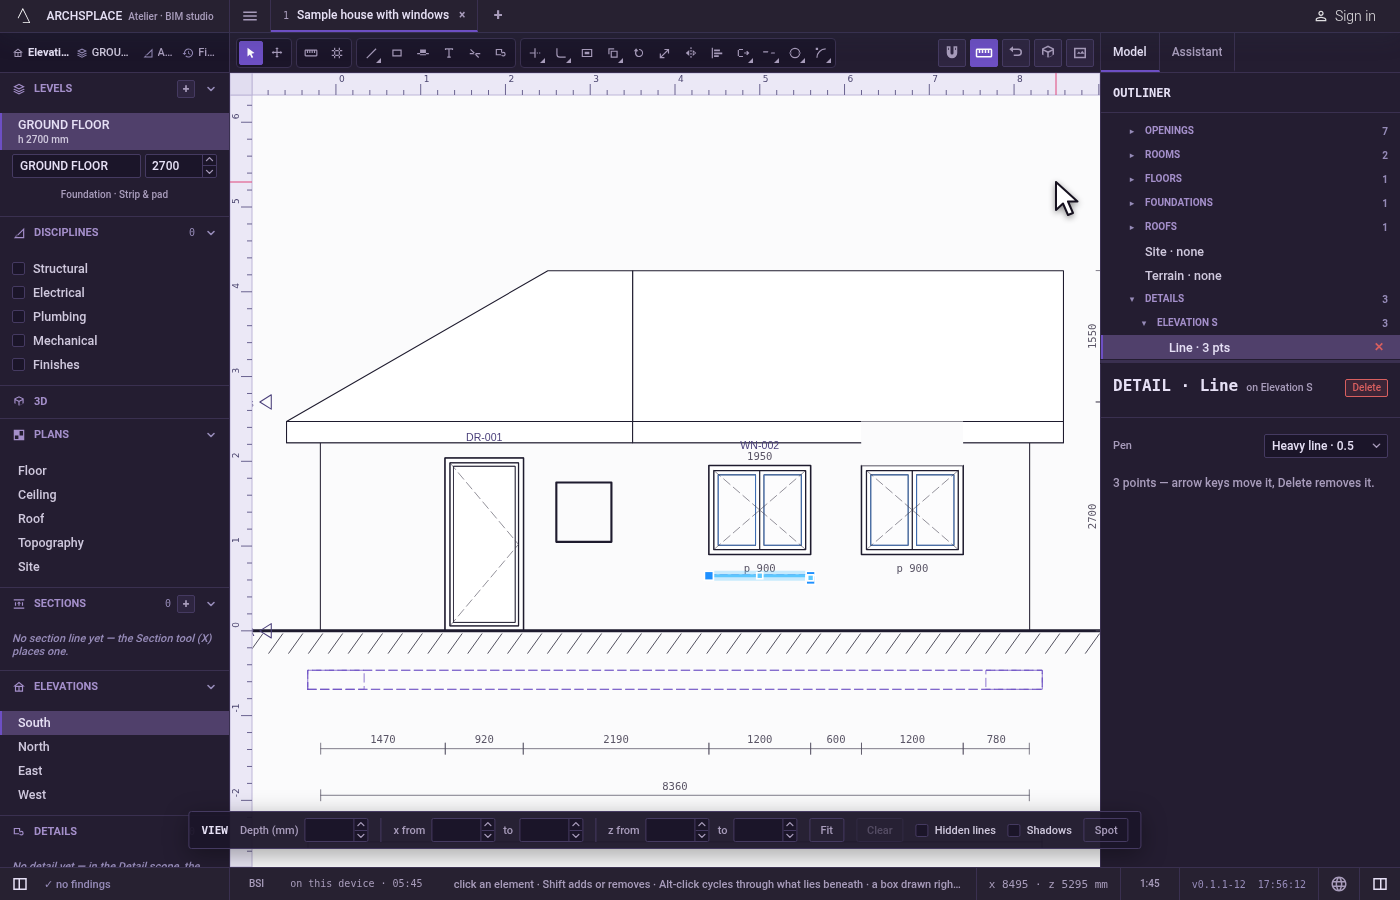
Write an annotation. Press
Z. Click what the arrow points at, then click where the words stand: a box opens there. Type the words and pressEnter.Escwhile typing drops the words and lets you place them again; the arrow's point is kept.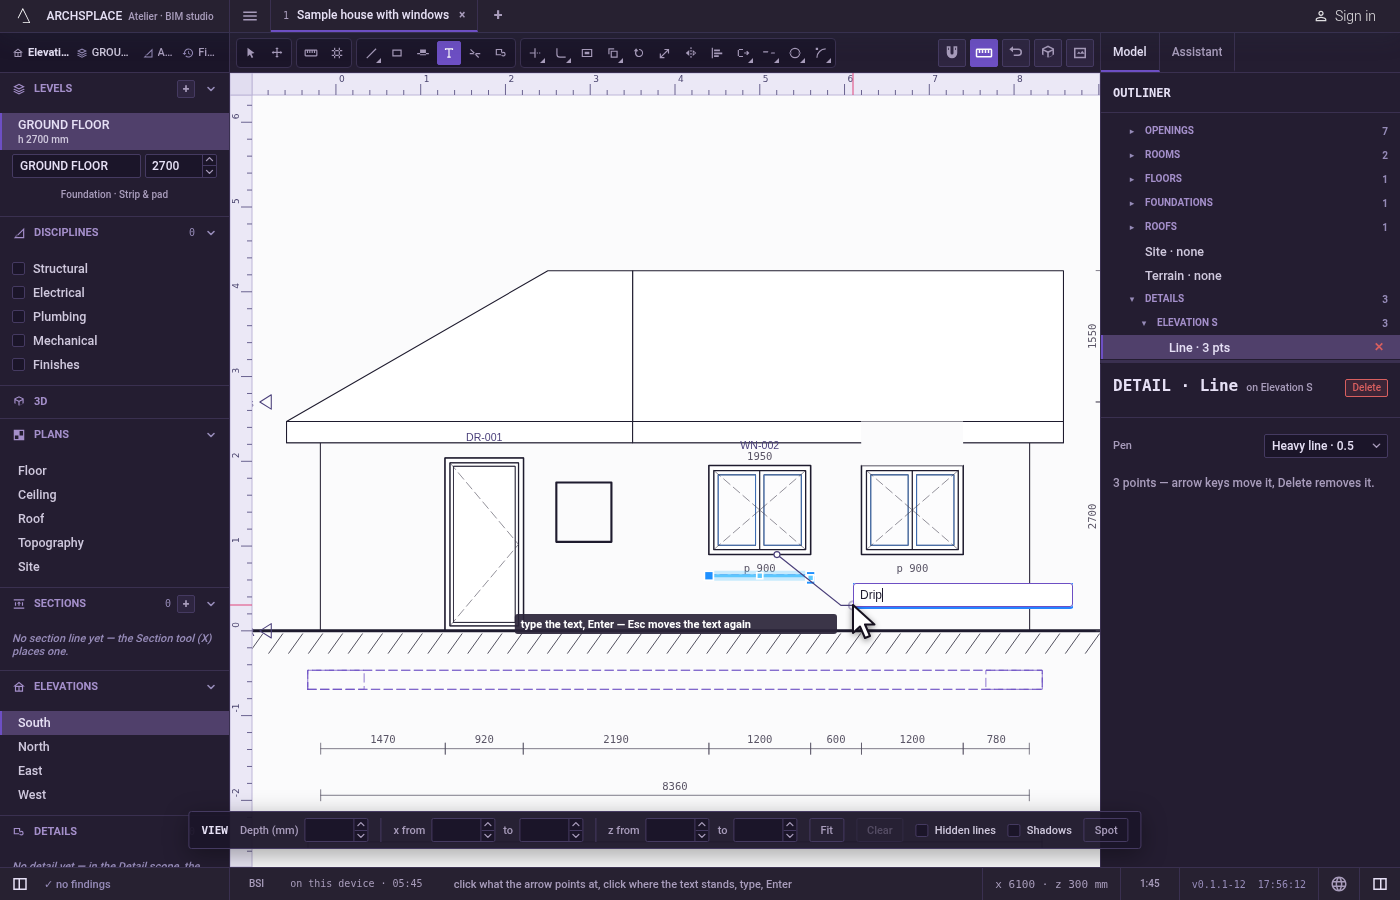
Hide a line. Press
Sand click one of the drawing's lines. The line nearest the pointer, within reach, is taken off this view; the lines of the element you clicked come first.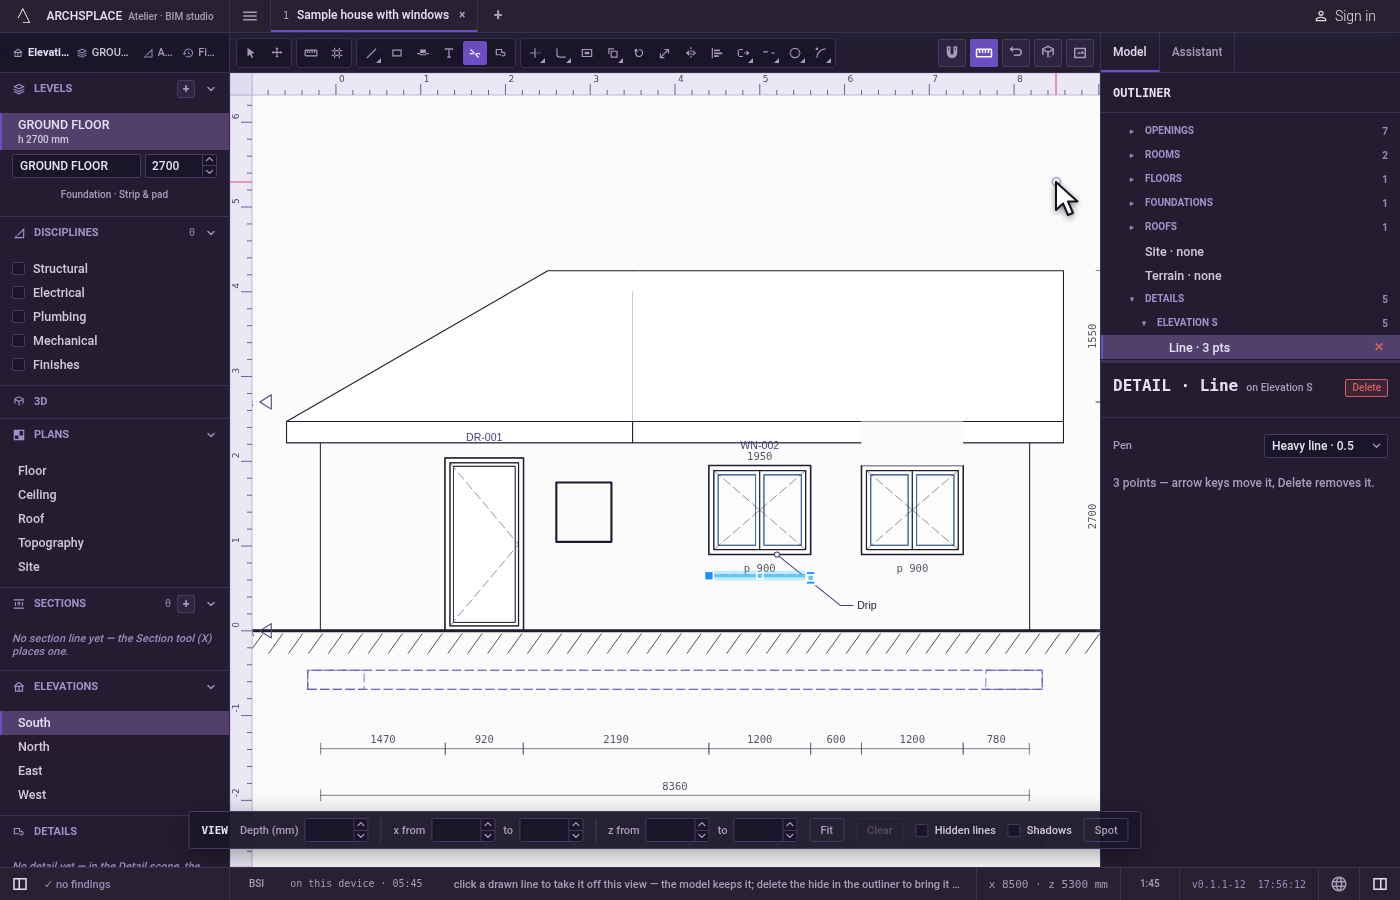
Edit a mark with Select. Press
Vand click a mark. The panel on the right reads DETAIL with its kind and the view it is on: a line offers its Pen, an annotation its Text, its Height (mm) and its Turn (°). With an annotation held, drag the dot at the arrow's point to repoint it, or the box round the words to move them. The arrow keys move a mark, andDeleteremoves it.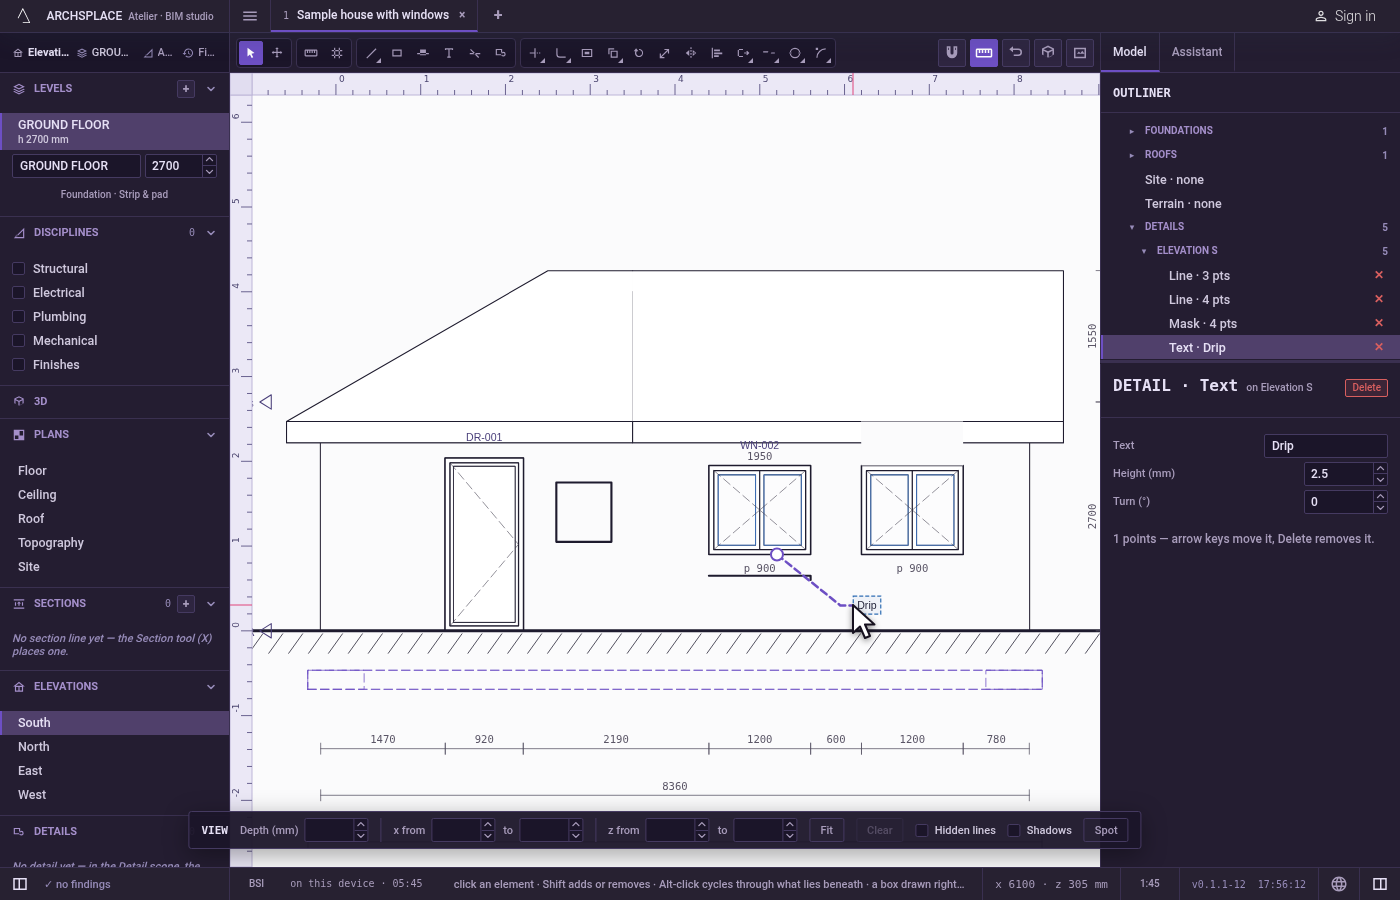
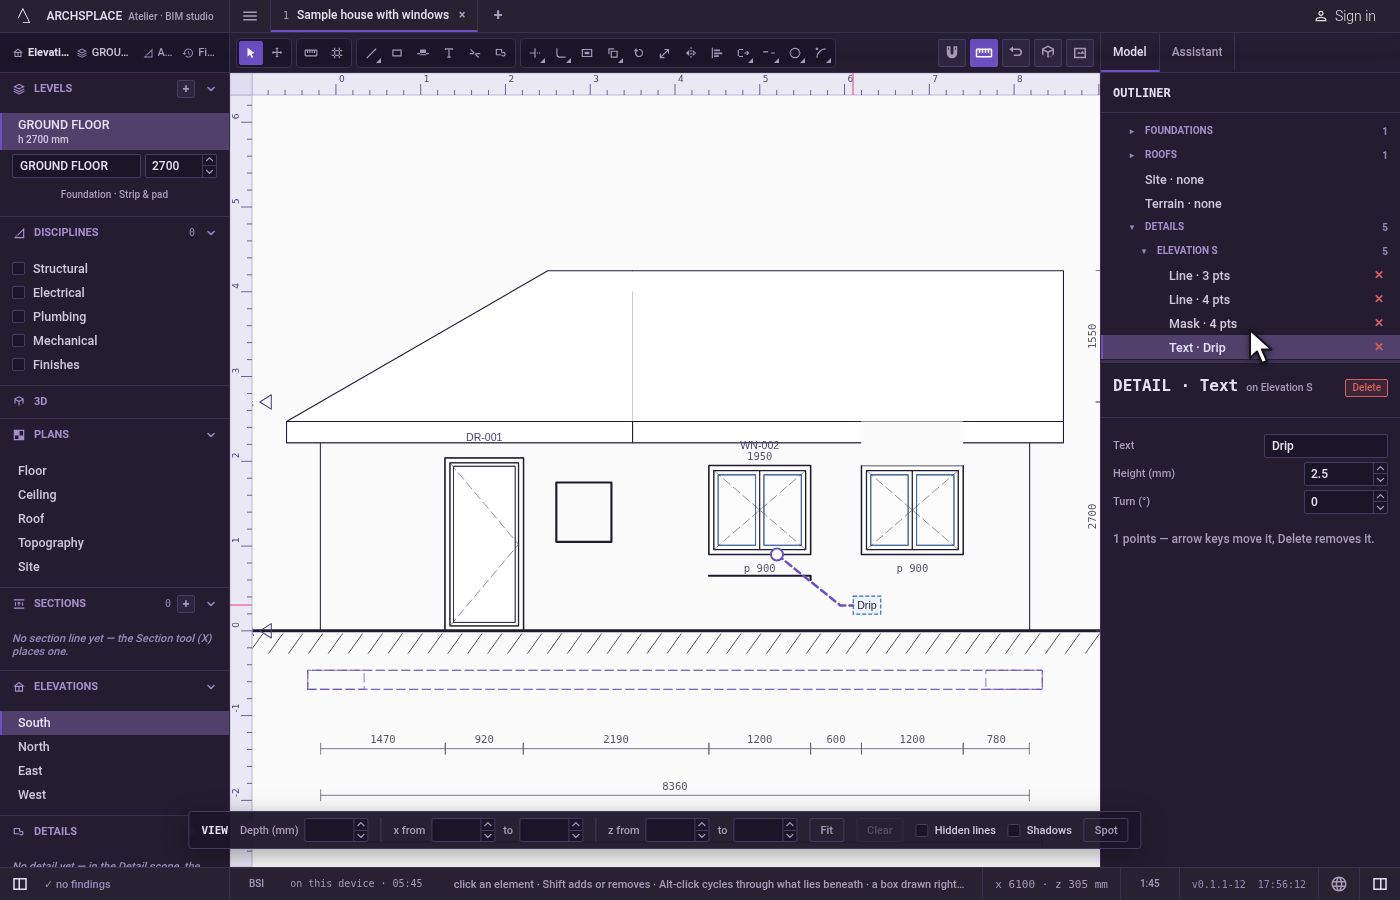
Find every mark in the outliner. The outliner lists every mark under Details, grouped by the view it is drawn on. Each row selects its mark, and its cross removes it.
What it refuses
- A mark too small to be one. A line of one point, a mask of fewer than three corners and an annotation with no words are not kept. A rectangle whose second corner stands on the same horizontal or vertical as the first, within a millimetre, waits for another corner.
- The arrow and the words on one point. The second click of an annotation, on the very point of the first, is not taken.
- Copying a mark. A mark is drawn once: Copy says to draw another with the detail tools.
- Moving a hide. A hidden line is the model's own line. The arrow keys leave it where it is and say to delete the hide to bring the line back.
- Hiding what is not a line. Hide takes the drawing's lines only, never a hatch, a fill, a dimension, an annotation or the crop frame.
- Changing the model. No detail tool changes a wall, a slab or a roof. To change those, change the model.
What it writes to the contract
Each mark is appended to the contract's details, keyed to its view: station for a section, by its place in stations; elevation for an elevation, by its side; level and discipline for a plan. Its points are [u, z] in the view's own coordinates, u along the view in the plan's metres and z the height from the model's zero, rounded to the millimetre.
A line closed on itself, or drawn as a rectangle, adds closed: true, and a point that starts an arc carries a third number, the arc's bulge. An annotation adds size, in millimetres on paper, and rotate, in degrees, once you change them in its panel. A hide names the element the line belongs to, the kind of line, and its two ends. Delete takes the entry out of the list, in one step that one Ctrl+Z takes back.
Related
Common questions
How do I write a note with an arrow on an elevation?
Press Z, click what the arrow should point at, click where the words should stand, type them and press Enter. The note stays on that elevation only.
Does a line I draw on a section change the walls?
No. A detail line, a mask, an annotation or a hide is a mark on that one view. The model, the other views and the 3D are not changed by it.
How do I bring back a line I hid?
Delete the hide. In the outliner, under Details, each hide has its own row with a cross that removes it, and the line comes back. You can also select the hide and press Delete.