SketchACin the studio
Arc by centre in the tile editor
Arc by centre draws a curved joint inside a pattern's tile from its start point, its centre and its end, turning anticlockwise from the start. Instead of the end, you can type the angle the arc covers, in degrees.
What it is
Arc by centre draws an arc the way a compass does. The first point is where the arc starts, the second is its centre, so the distance between them is the radius, and the third tells where it ends: the arc turns anticlockwise from the start, around the centre, to where the pointer's direction from the centre meets the circle. The arc is one joint, and it stays a true arc everywhere.
It is the same Arc by centre as in the other editors of the studio, acting here on the joints of the tile.
When to use it
- To draw an arc about a known centre, such as a corner of the tile for a fan pattern.
- To draw an arc of an exact angle, such as a quarter or a half circle.
- When you know the two ends and a point on the curve, Arc is simpler.
The steps
Take the tool. Type
AthenCone after the other, or click Arc by centre on the bar. It shares its button with Arc and Arc by radius. TheAopens Arc for a moment, and theCcompletes this one.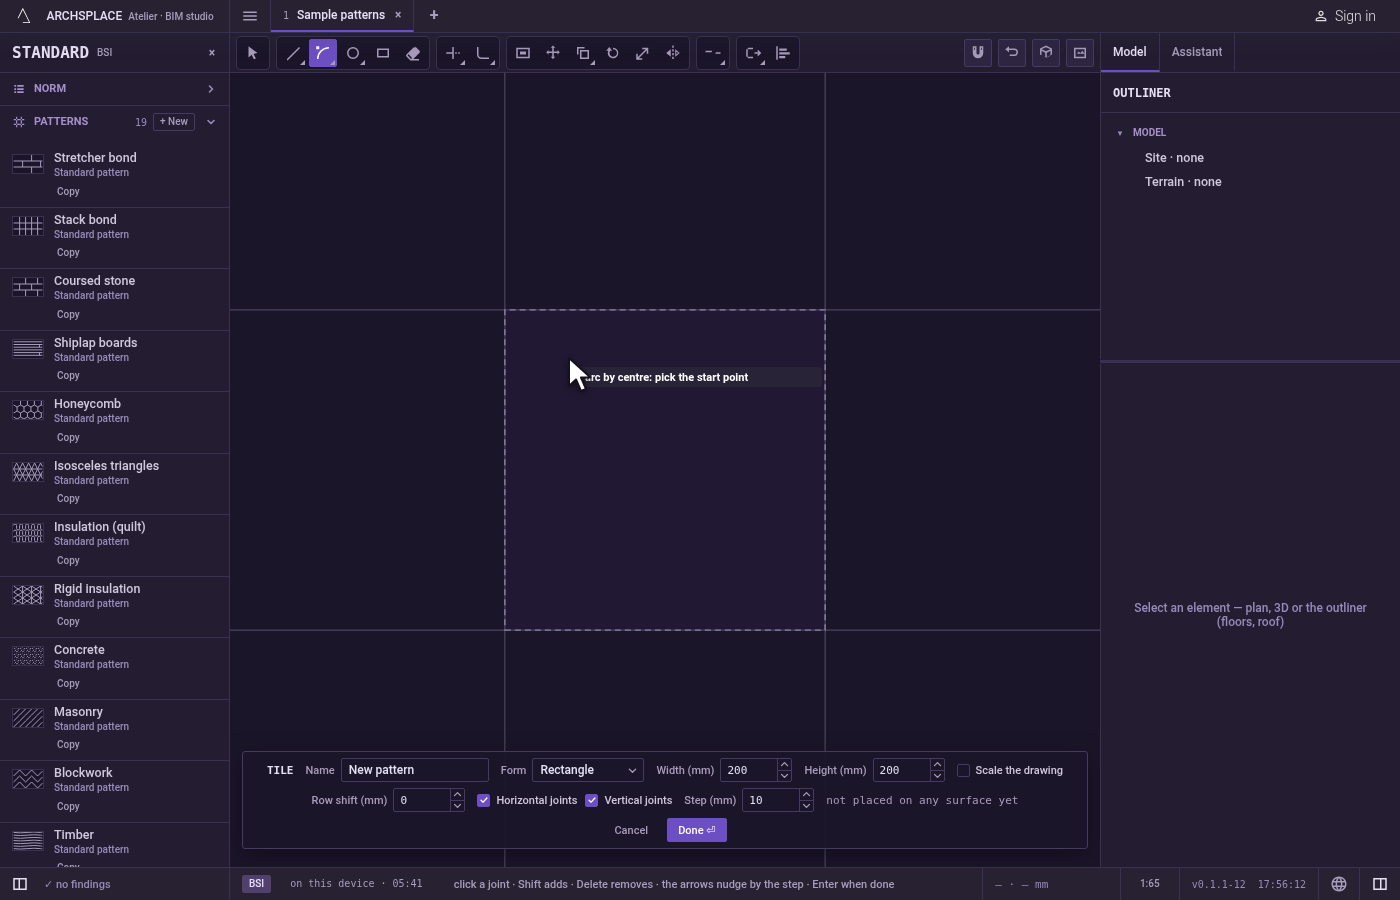
Pick the start. Click it, or type
x;yand pressEnter, measured from the tile's lower-left corner.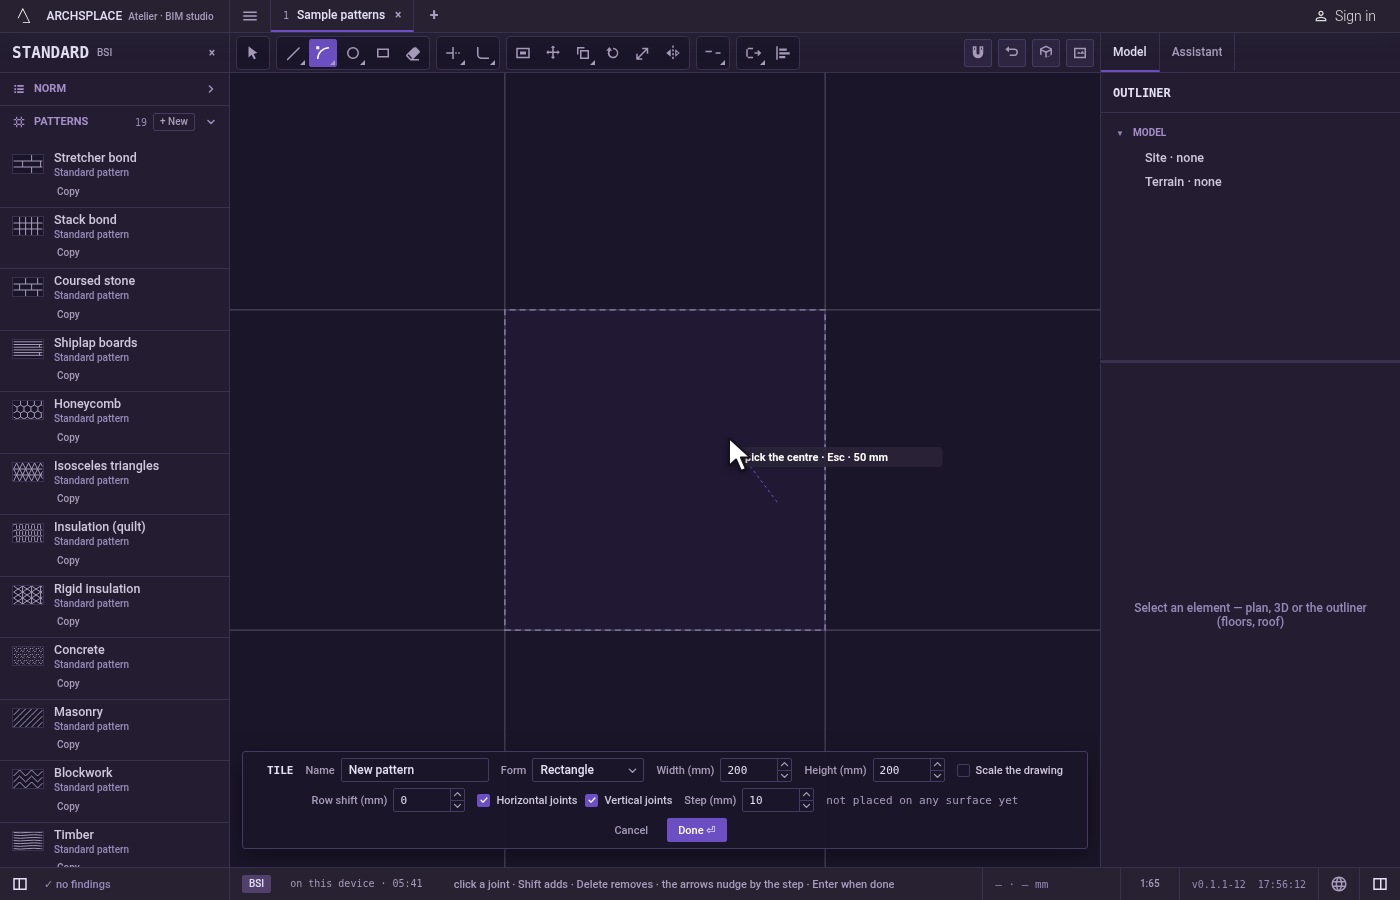
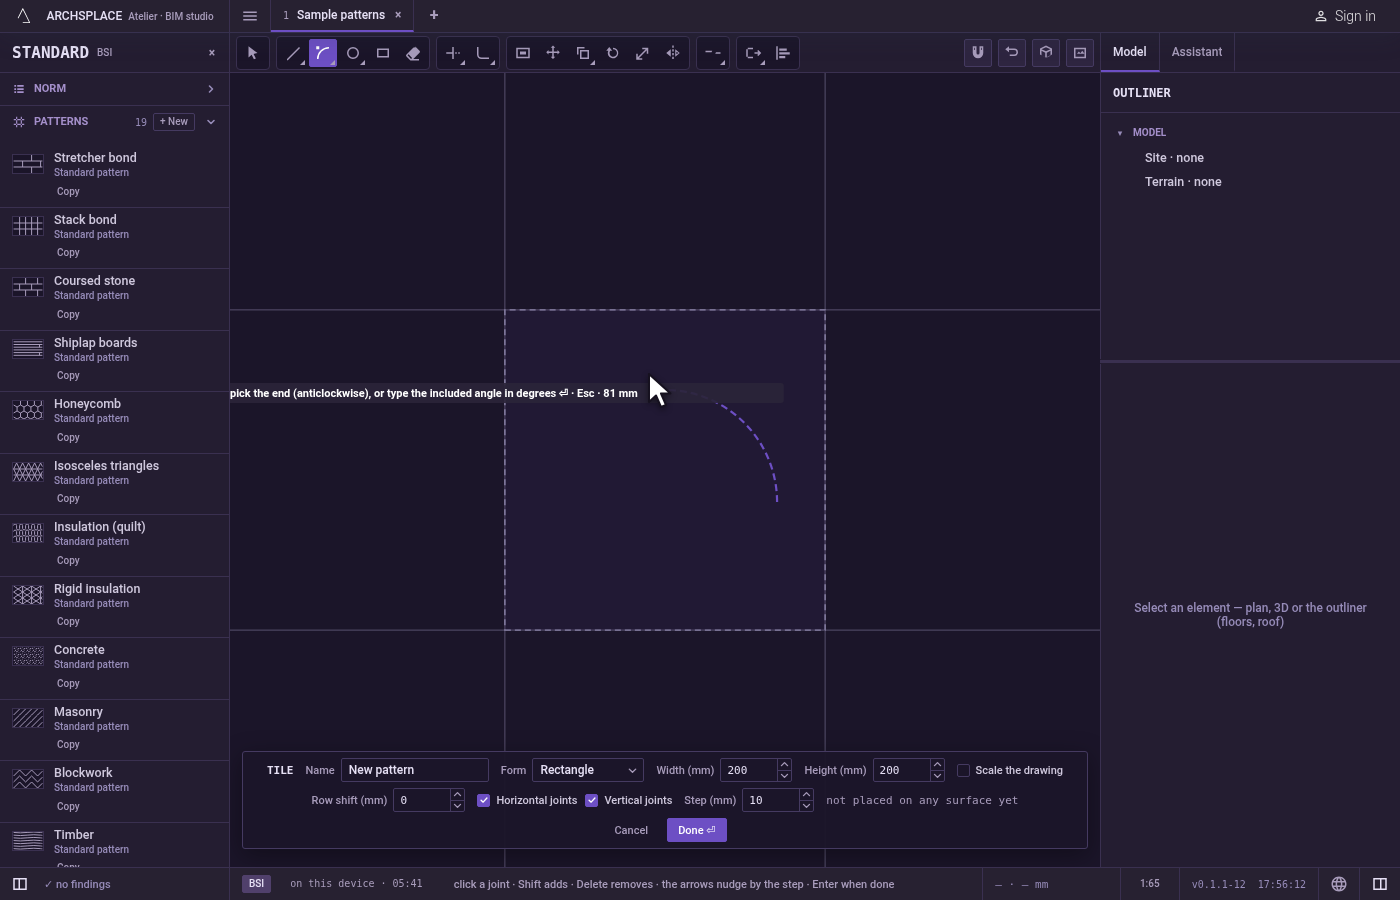
Pick the centre. Click it. The distance from the start is the radius.
Give the end. A ghost arc follows the pointer, turning anticlockwise from the start. Click to end it. To be exact, type the angle the arc covers, in degrees, and press
Enter: a negative angle goes clockwise. If the ghost is drawn in the refusal colour, the click would be refused.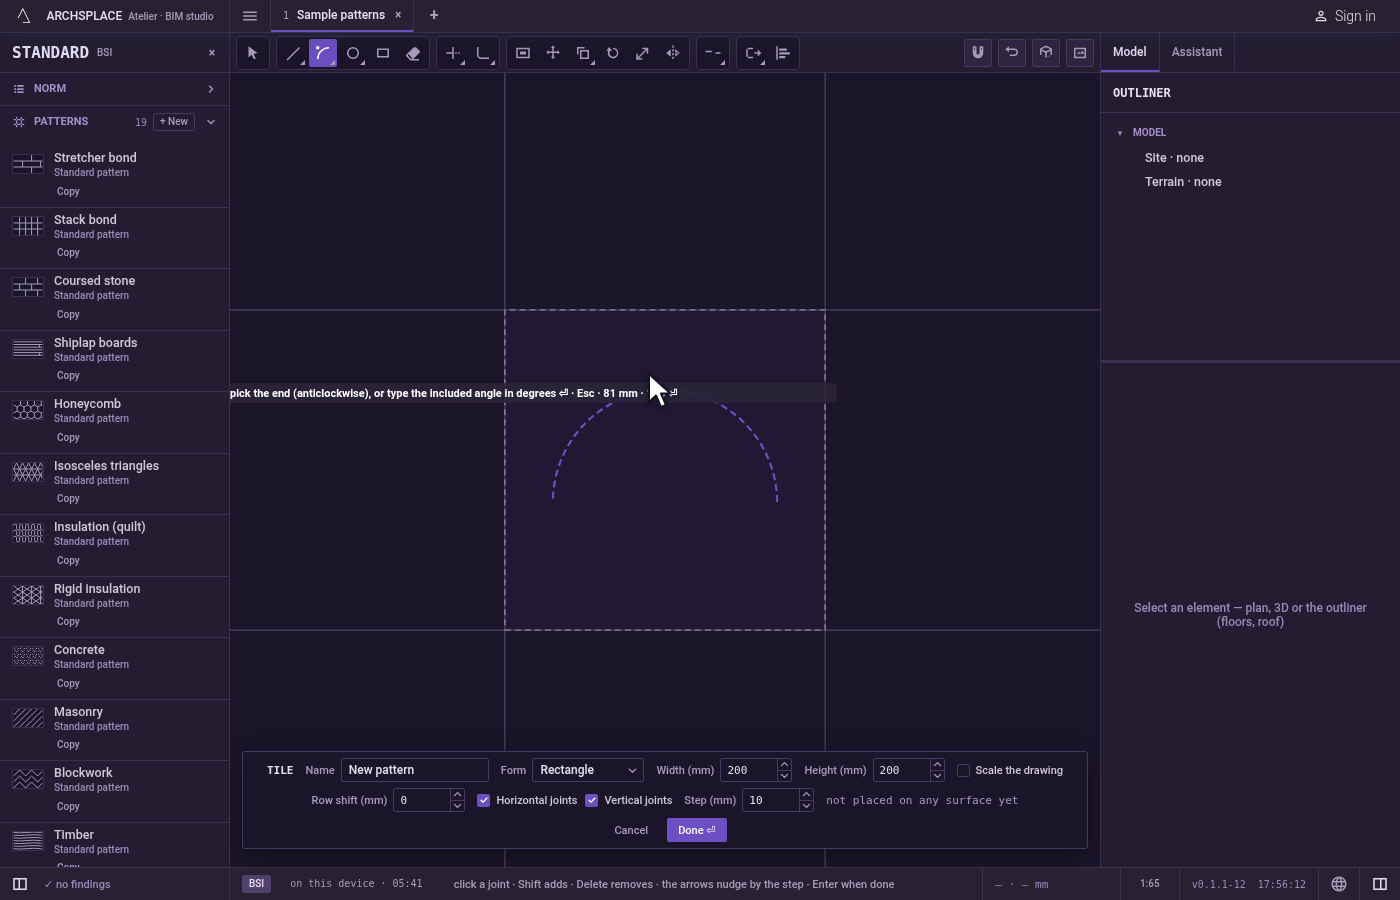
Draw the next one or finish. The arc stands, selected, and the tool waits for a new start.
Escapedrops the points you placed, then leaves the tool for Select.Ctrl+Zundoes the last arc. Press Done on the bar at the foot to hand the tile back.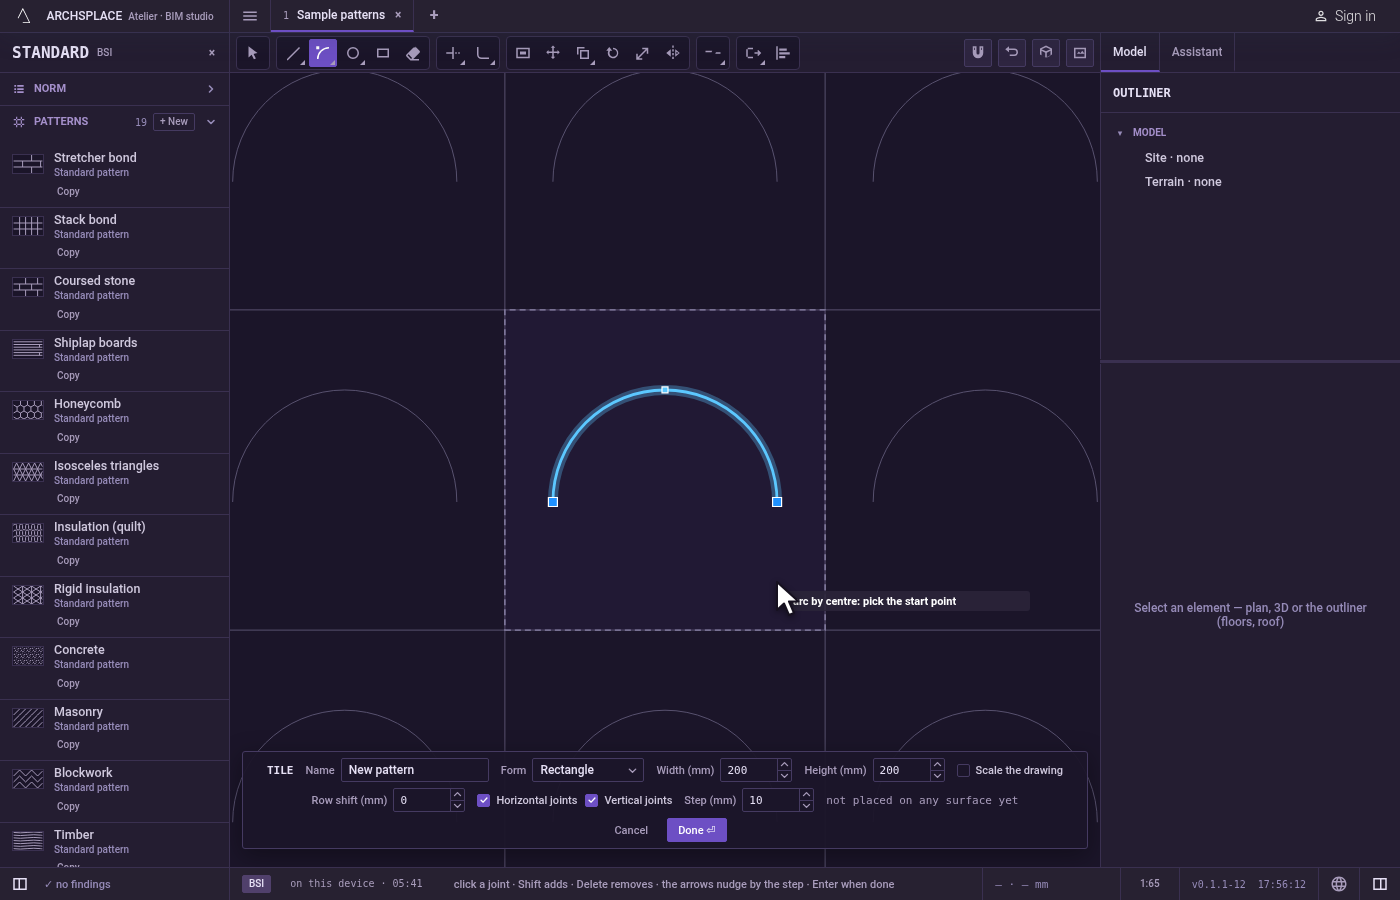
What it refuses
- An arc that leaves the tile. If any part of the curve would stand outside the tile, nothing is drawn, and the editor says a shape must stay inside the module.
- An arc that is almost a full circle. One sweeping more than about 345 degrees is refused with that arc is too open. Draw a Circle instead.
- A start on the centre, or an arc of no angle. They make no shape, and the hint says that point makes no shape.
What it writes to the contract
Nothing while you work: the change stays in the tile editor, where Ctrl+Z steps back through it. When you press Done, the whole tile is written to the project's patterns in one step you can undo, every joint as its points in metres from the tile's lower-left corner. An arc is stored as its two ends with the curve between them, so it stays a true arc. A standard pattern is never changed: Done saves the project's own version of it under the same name, and every surface that lays it follows. Save as new writes a new pattern instead. Cancel writes nothing.
Related
Common questions
Which way does the arc go?
Anticlockwise from the start, around the centre, to where the pointer's direction from the centre meets the circle. To go clockwise, type a negative angle.
How do I draw an exact quarter circle?
Pick the start, then the centre, then type 90 and press Enter.
Why was my arc refused?
An arc that sweeps more than about 345 degrees is refused as too open; draw a Circle instead. An arc that would leave the tile is refused too.