SketchLin the studio
Joint in the tile editor
Joint draws one straight joint inside a pattern's tile, from a first point to a second, with the tile's edges, its corners and the joints already drawn acting as magnets. You click both ends, or type the length, the run and rise, or the coordinates, and a joint that runs past the tile is cut at its edge.
What it is
A joint is a line of the pattern: the mortar between two bricks, the gap between two tiles, the line of a hatch. Joint draws one straight joint inside the tile, from one point to another. The tile's own rectangle, dimmed, is the reference you draw against. Its corners, the middles of its sides, its centre and its edges are magnets, and so are the ends, the middles and the length of every joint already drawn. When no magnet is near, the pointer falls on a grid whose spacing is the Step on the bar at the foot of the editor.
Each joint is drawn on its own: after the second point, the next click starts a new joint. The pattern repeated around the tile updates as you draw, so you see at once how the joint continues from one tile to the next.
When to use it
- To draw the joints of a brick bond, a tile layout or a parquet inside the module.
- To draw the lines of a drafting hatch.
- To add a single straight line where a shape (a rectangle, a polyline) would be too much.
The steps
Take the tool. Press
L, or click Joint on the bar. It shares its button with Polyline. The hint at the pointer asks for the start of the joint.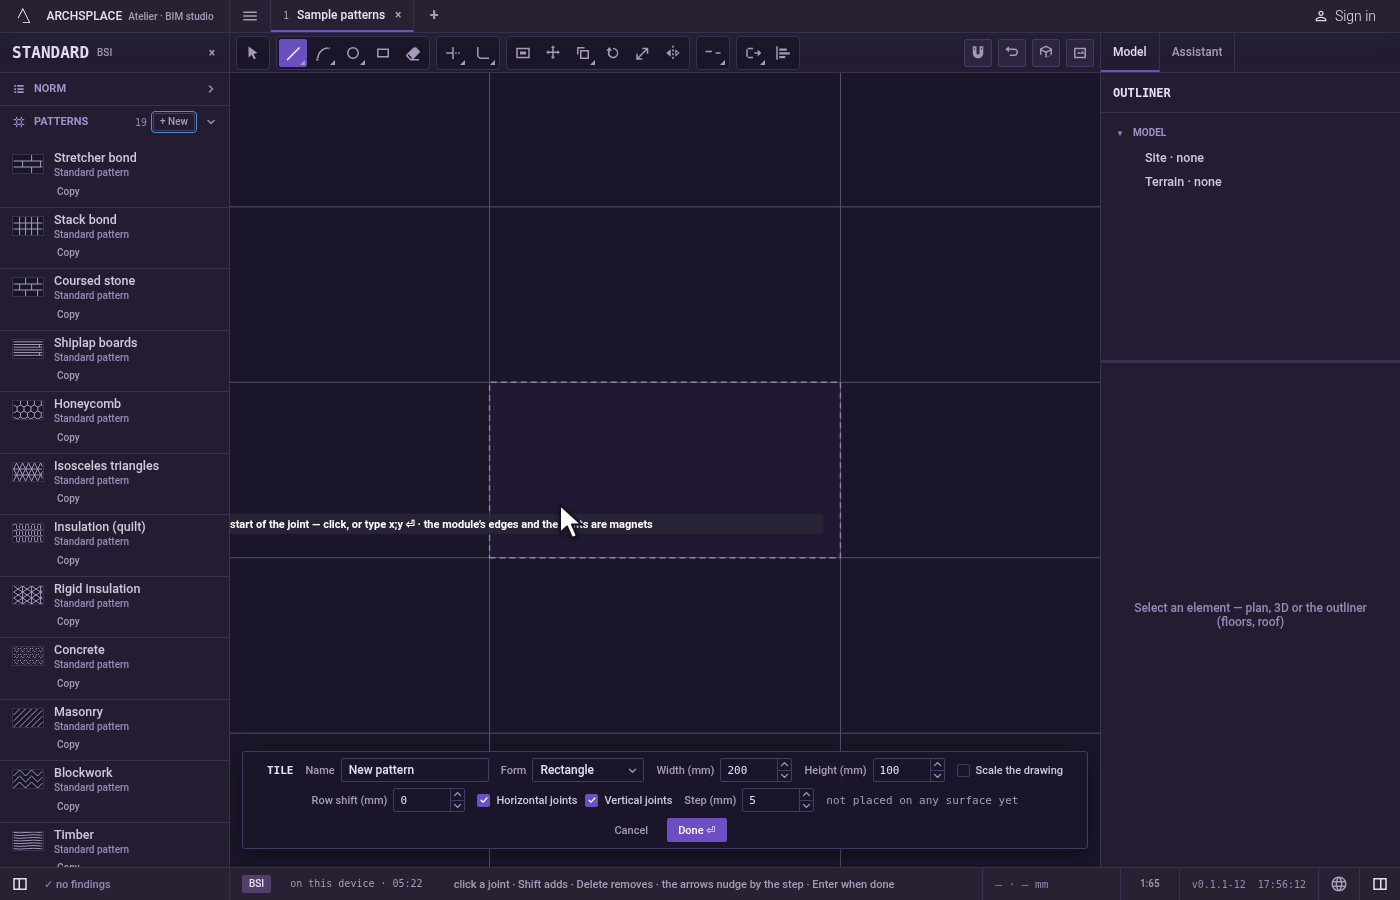
Place the first point. Click inside the tile. A click outside it lands on the nearest edge. You can also type the point as
x;yand pressEnter, in the tile's own coordinates, measured from its lower-left corner. The snaps you chose in the bar's Snap menu apply here as in the views.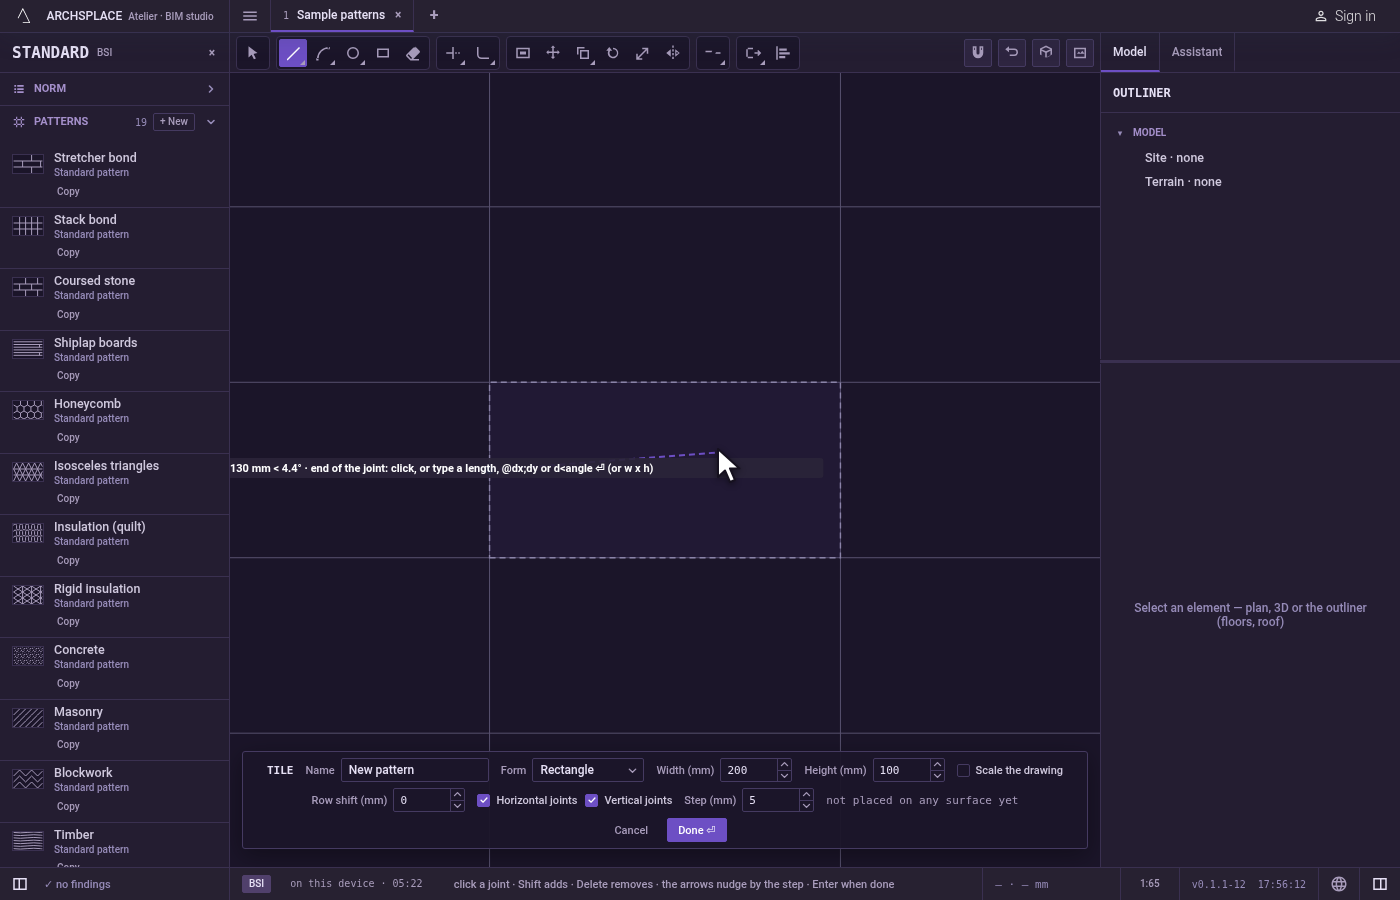
Place the second point. A ghost of the joint follows the pointer, and the hint shows its length and its angle. Click to end the joint, or press and drag from the first point and release on the second. To be exact, type a length and press
Enter: the joint runs that far in the direction the pointer shows. Type two values asw x h(for example0.3x0.1) to give its horizontal and vertical distances, towards the side the pointer is on. A point typed relative to the first one works too:@dx;dyacross and up, or@d<anglefor a length at an angle.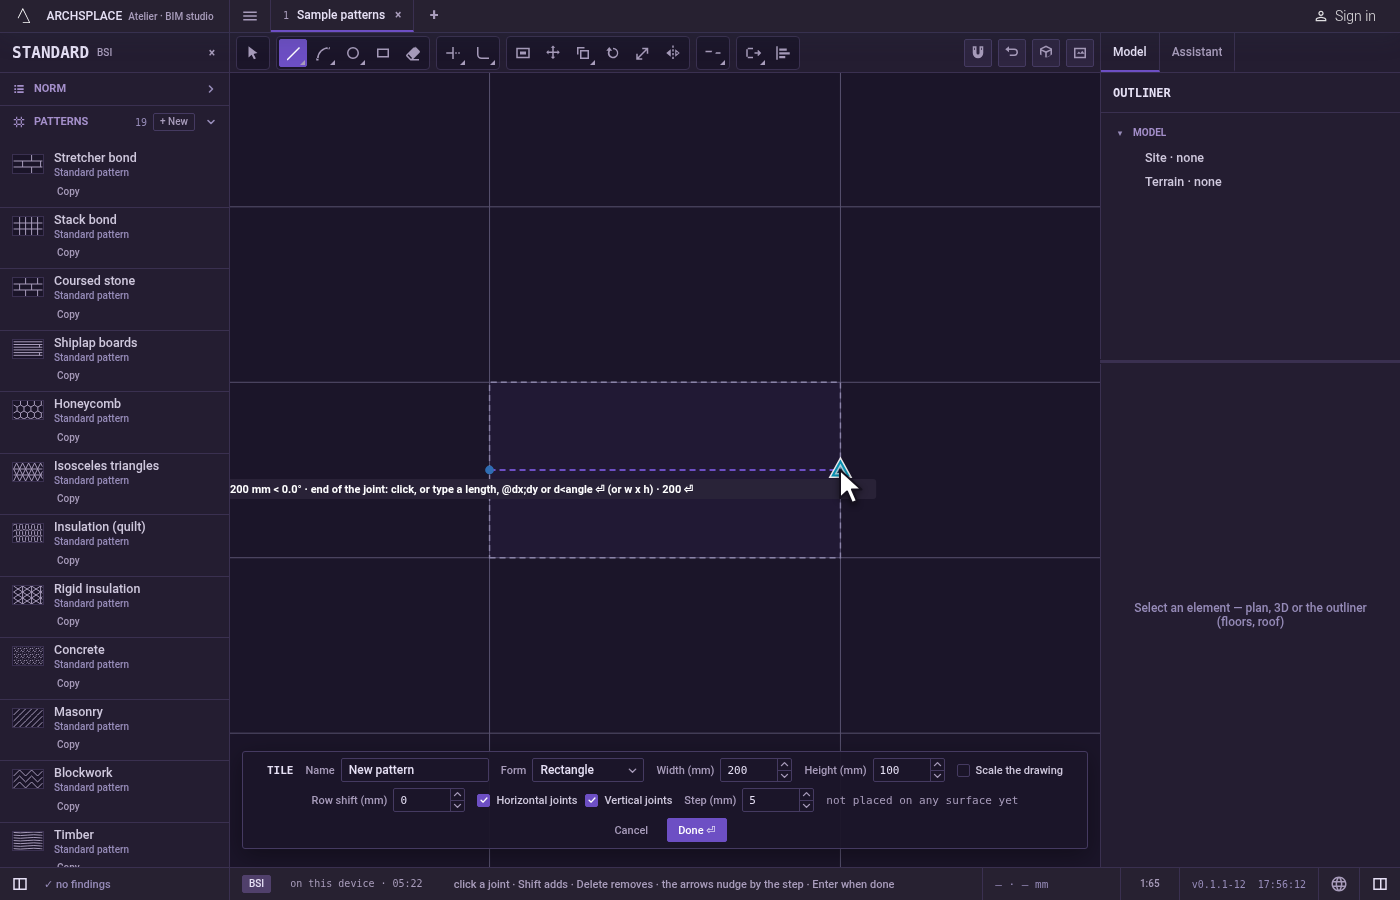
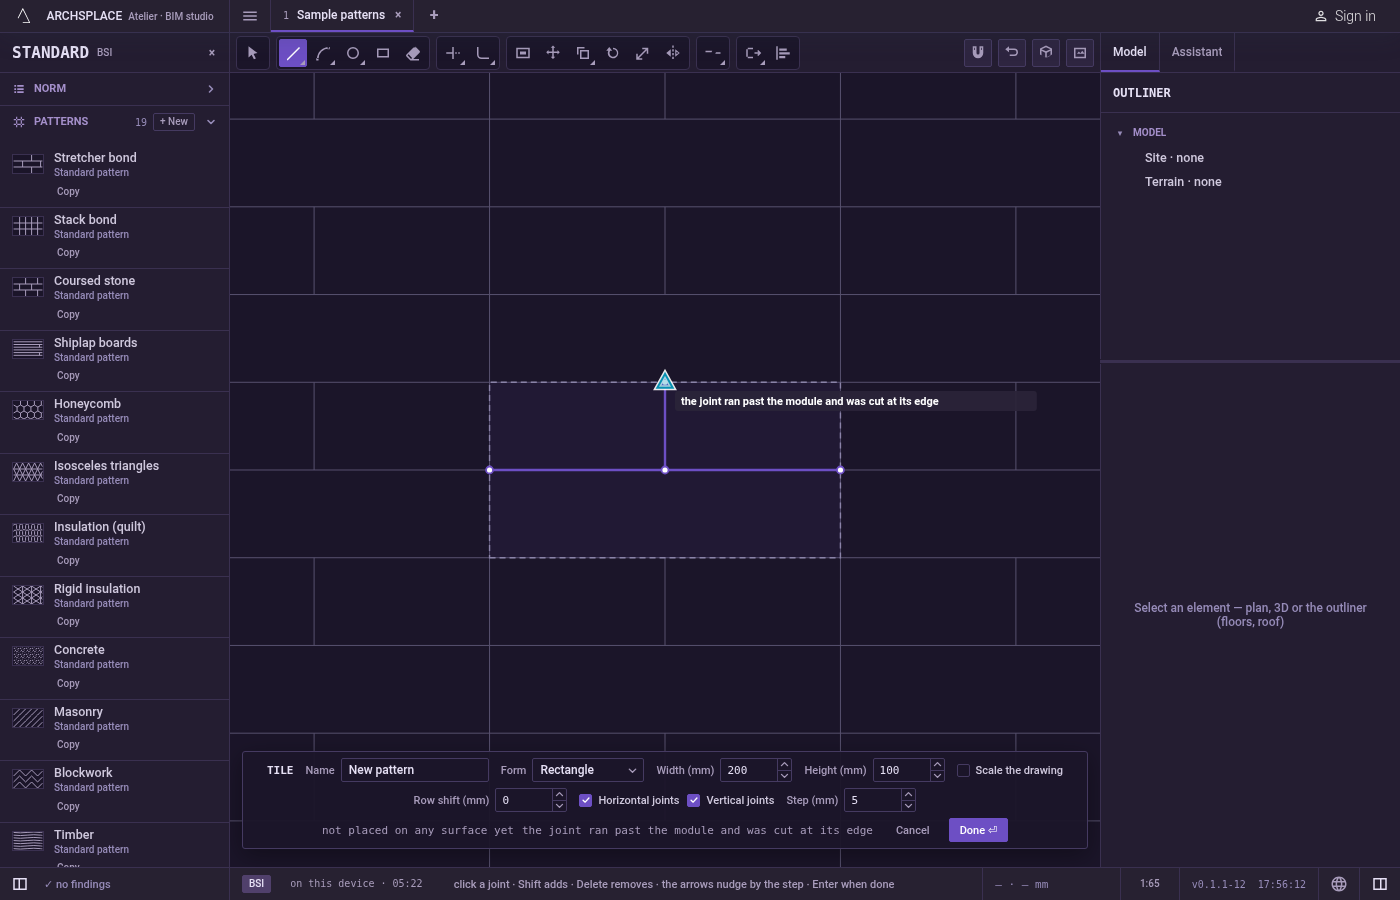
Draw the next one. The joint stands and the tool waits for a new first point. If the joint ran past the tile, it is cut at the edge and the editor says the joint ran past the module and was cut at its edge.
Step back or change your mind.
Escapeclears what you typed, then drops the first point.Backspaceremoves the last character typed, then drops the first point.Ctrl+Zundoes the last joint.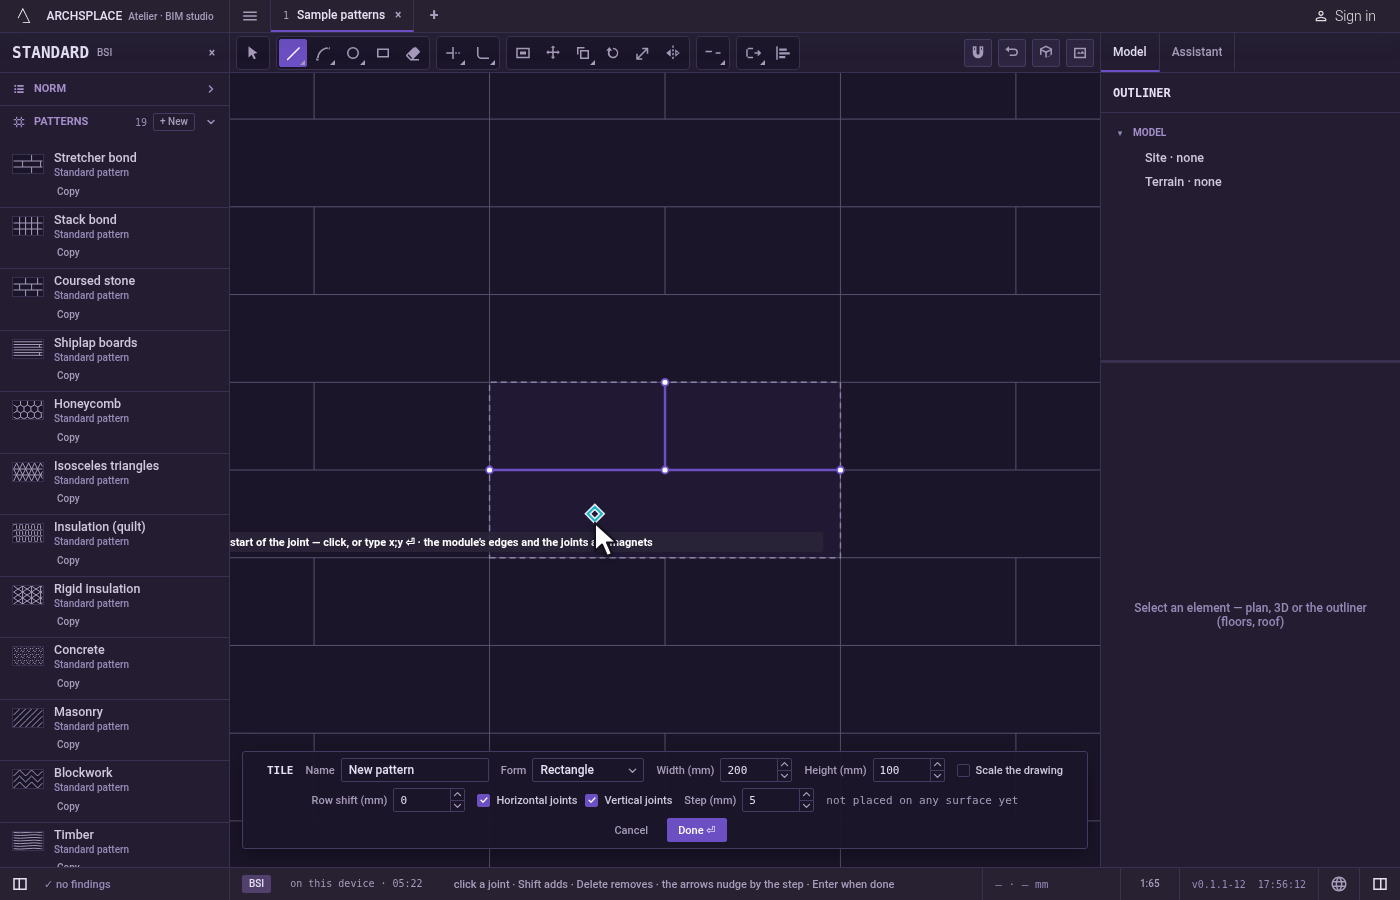
Hand the tile back. Press Done on the bar at the foot, or
Enterwith nothing in hand.Escapewith nothing in hand and nothing selected closes the editor without writing anything, so press Done first if you want to keep your joints.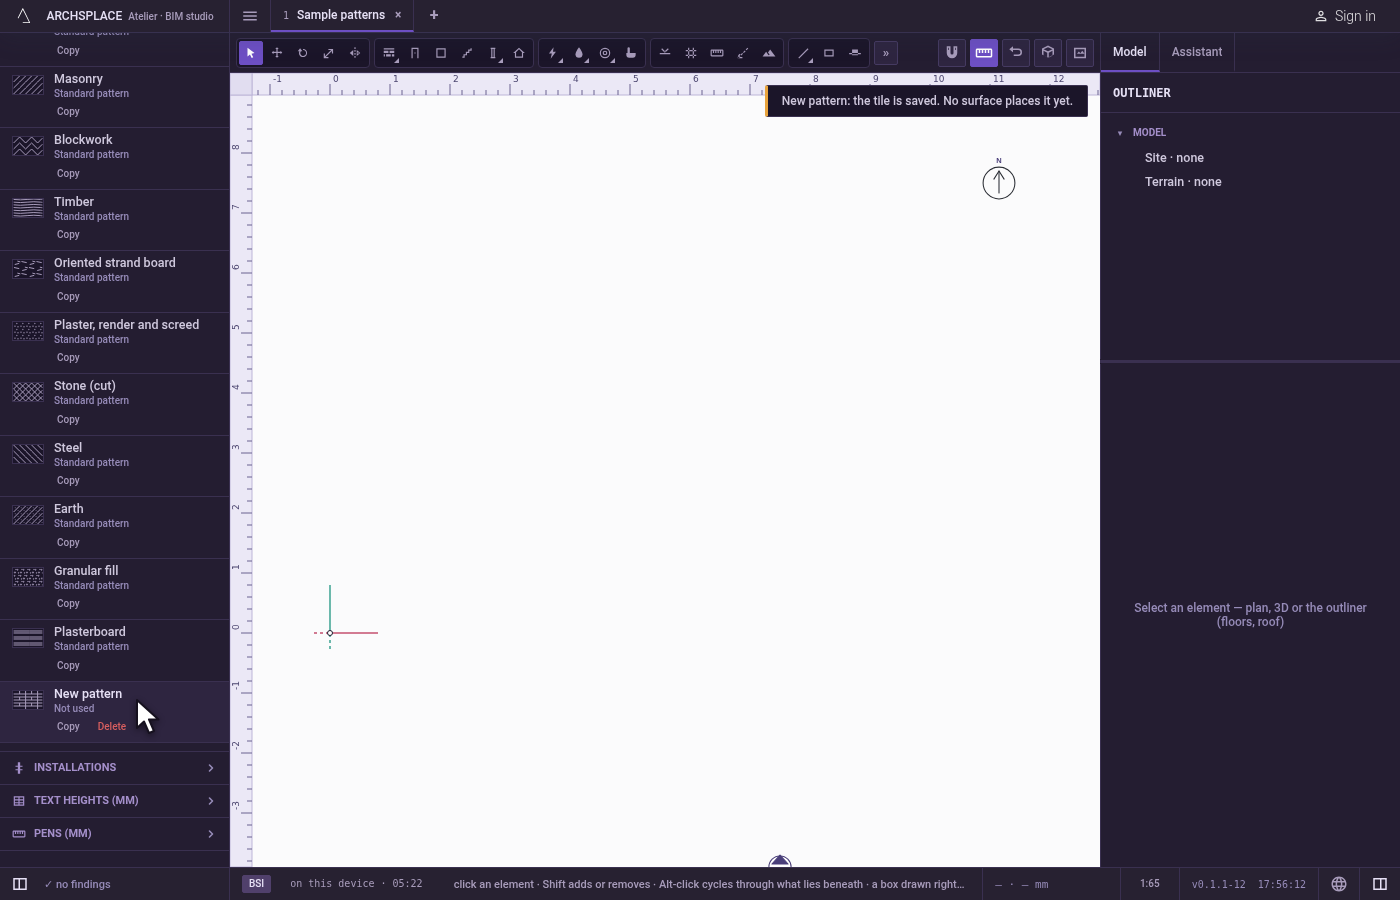
What it refuses
- A joint under a millimetre. It is refused with a joint under 1 mm is refused, and your first point stays in hand. A second click on the first point is refused the same way.
- A point outside the tile. A click outside lands on the nearest edge. A typed point outside is moved onto the edge, and the editor says the point was outside the tile. A typed text that is not a point is refused, with the forms it accepts.
- A joint that crosses the edge. It is not refused: the part outside is cut away and only the part inside is kept.
What it writes to the contract
Nothing while you draw: the joint stays in the tile editor, where Ctrl+Z takes it back. When you press Done, the whole tile is written to the project's patterns in one step you can undo. A straight joint is stored as its two points, in metres from the tile's lower-left corner (paper millimetres for a drafting hatch). A standard pattern is never changed: Done saves the project's own version of it under the same name, and every surface that lays it follows. Save as new writes a new pattern instead. Cancel writes nothing.
Related
Common questions
How do I draw a joint of an exact length?
Click the first point, point in the direction you want, type the length and press Enter. To give a horizontal and a vertical distance instead, type them as width x height, for example 0.3x0.1, and press Enter.
What happens if my joint goes past the edge of the tile?
The joint is cut where it meets the tile's edge, and the editor says so. Only the part inside the tile is kept.
Why was my joint refused?
A joint shorter than one millimetre is refused, and the editor keeps your first point so you can try again with a longer one.