Views
Plans of a level
Each level has five plans, each its own drawing of the same model: Floor, Ceiling, Roof, Topography and Site. They are opened from the Plans list or the View menu, and the overlays lay any discipline over any of them.
What it is
A level is drawn five ways. Each plan is a drawing of its own, worked out from the model each time it opens, and each one names what it looks at:
- Floor, the floor plan: the level cut at its plan height, the walls cut, the doors with their swings, the windows, the rooms, the stairs and the slabs, with the facades and their openings dimensioned.
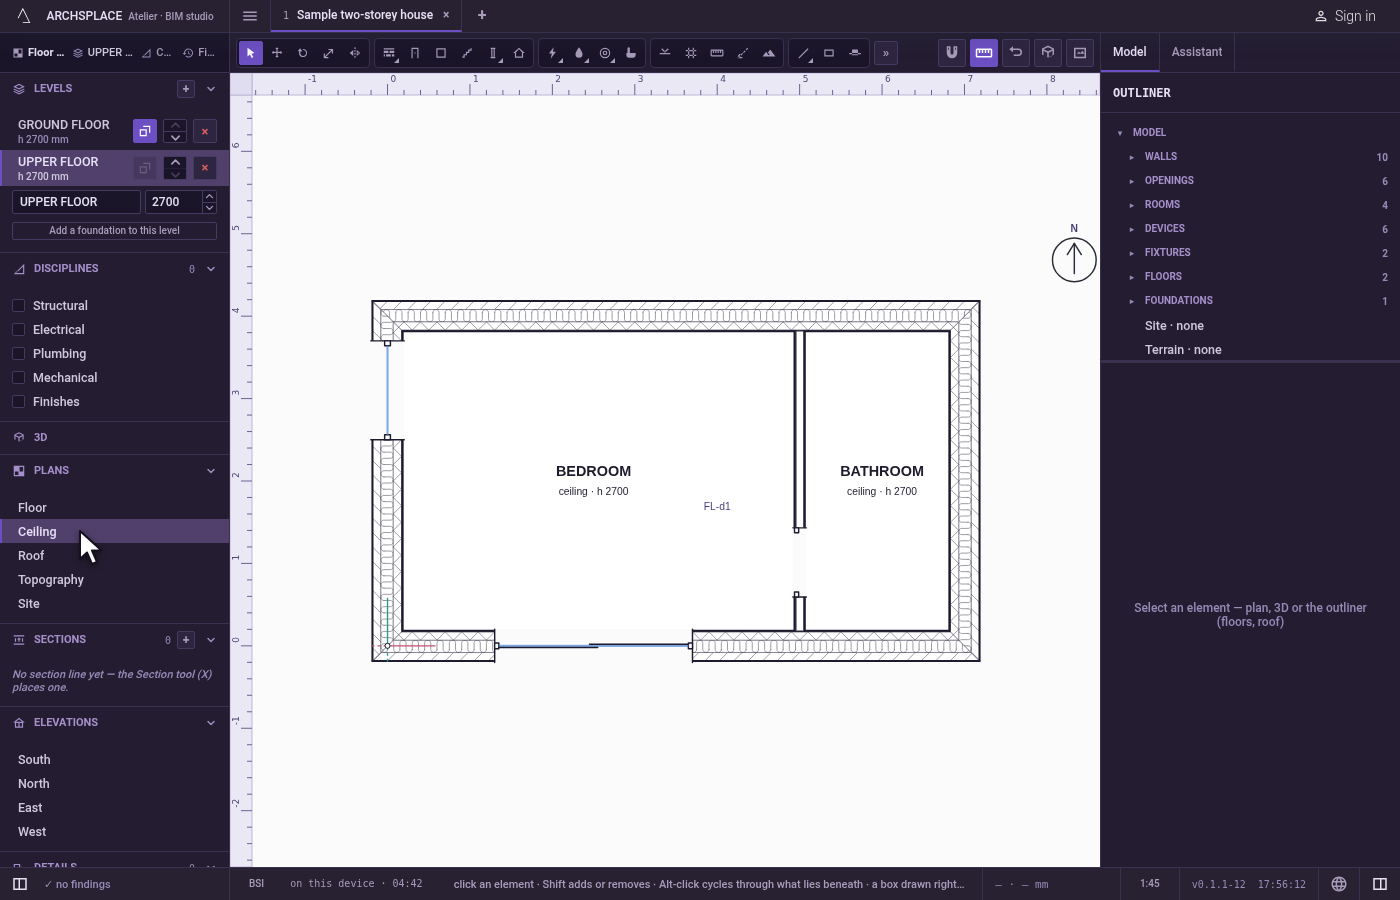
- Ceiling, the reflected ceiling plan: the same cut looking up. The rooms are named by their ceiling and its height, a lowered ceiling shows dashed, the beams overhead, the ceiling lights and devices are drawn, and every void in the slab above reads "open above". Nothing that stands on the floor is shown, and doors show their opening, not their leaf.
- Roof, the roof plan: nothing cut. Every roof seen from above, the walls under them dashed, the grids and the section marks, and the roof dimensioned on the south and the west: its eaves, the walls' corners under them, the ridges, and the overall.
- Topography, the plan of the ground and the foundations: the survey with its contours and each reading as a small cross with its figure, and on it the foundations of the level that stands on the ground. It is the same whatever level is open.
- Site, the whole site from above, at 1:200 to begin with: contours every 50 cm with every fifth one labelled, the shadow the building casts for the date and hour of the session's sun, the roofs over it, the natural ground's heights at the building's corners and the north.
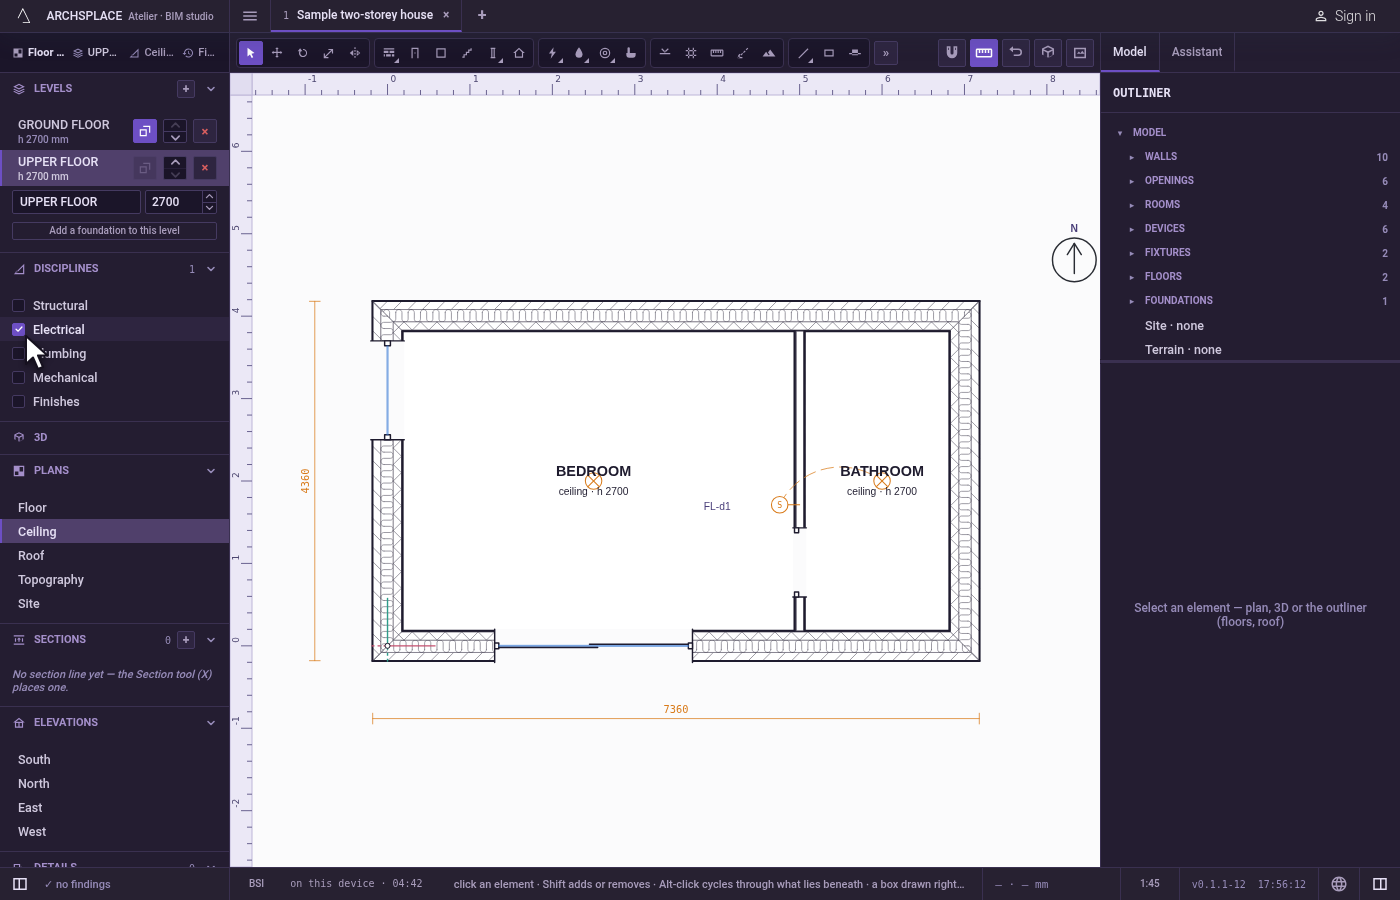
The site plan carries the plan tools and the magnet, like the floor plan. The disciplines are not plans of their own: Structural, Electrical, Plumbing, Mechanical and Finishes are overlays laid over any of them (see Overlays).
When to use it
- Drawing on the floor plan, and checking the ceilings, the lights and the ducts on the ceiling plan.
- Checking the roofs and their dimensions on the roof plan.
- Setting out the terrain and the foundations on the Topography plan.
- Preparing the site plan of a planning application, with its contours and its shadow.
The steps
Open the level. In the Levels list of the navigator, open the level to draw.
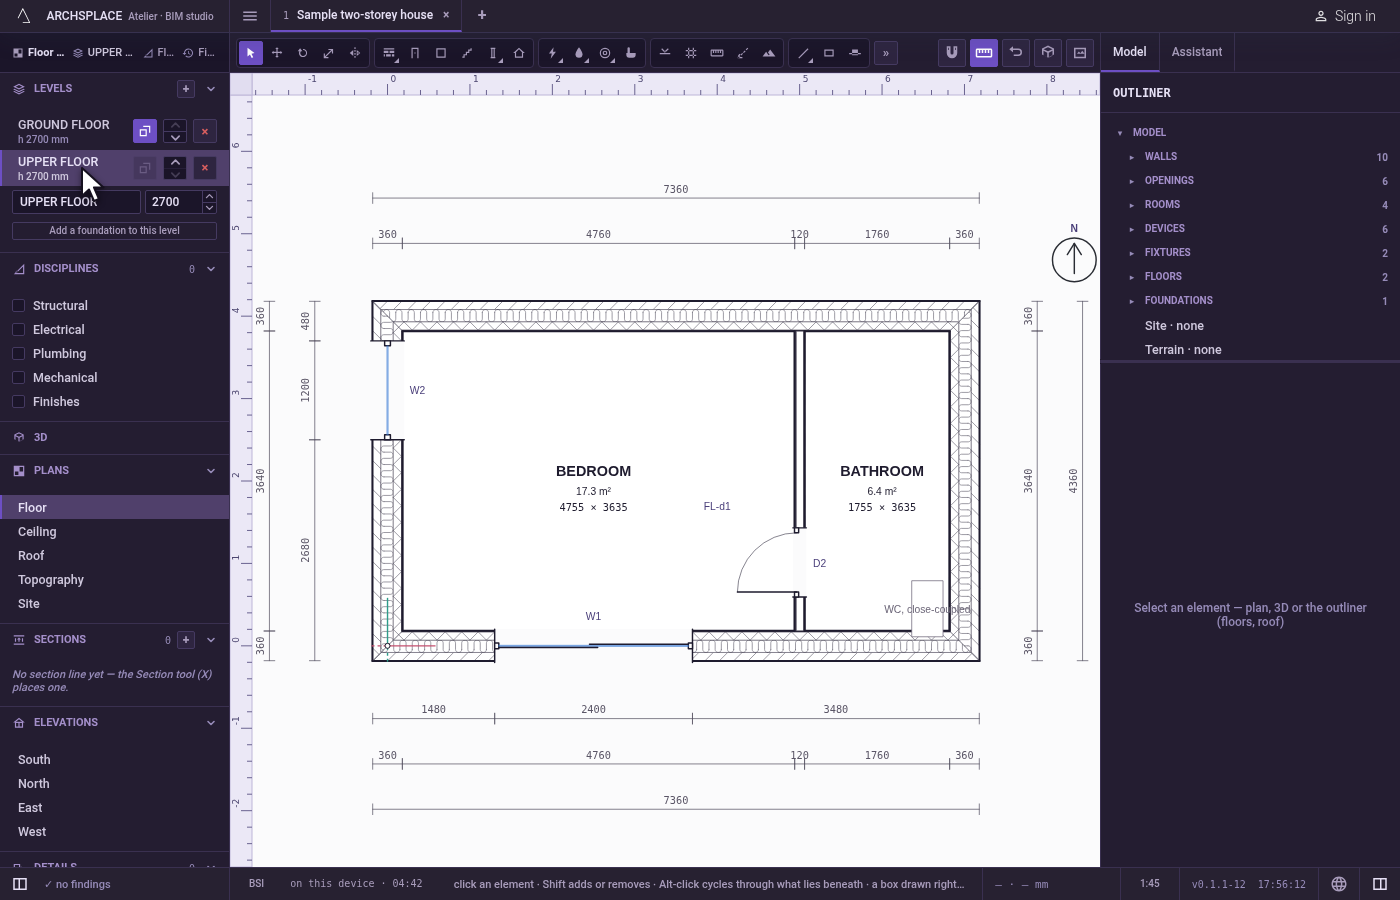
Open a plan. In the navigator's Plans list, click Floor, Ceiling, Roof, Topography or Site. The View menu offers the same five: Floor plan, Ceiling plan, Roof plan, Topography and Site.
Lay the overlays you need. In the Disciplines list, tick the overlays to lay over the plan. The plan remembers them for this project.
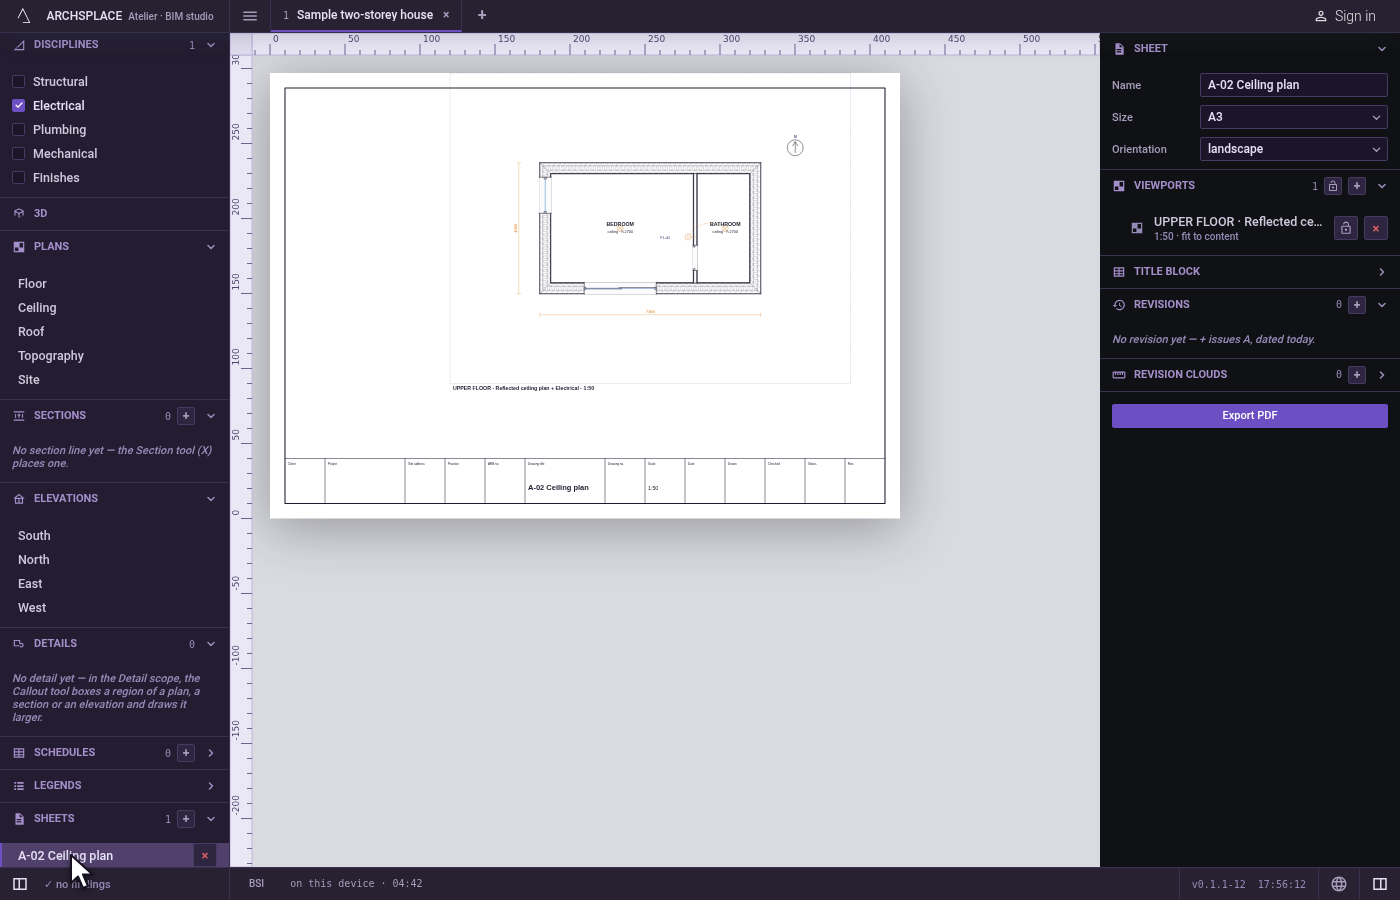
Put it on a sheet. A sheet's viewport can show any of these plans, with overlays of its own.
What it refuses
- A plan of a discipline. There is no structural or electrical plan of its own: a discipline is an overlay, and the plan under it stays the same cut.
- Writing on the ground through the floor plan. Taking the Terrain tool or selecting the terrain opens the Topography plan, where the ground lives.
What it writes to the contract
Nothing. Opening a plan, or turning an overlay on or off, changes only what you look at; the overlays are remembered for the project on this computer. Only what you draw on a plan, and a sheet's viewport placed on a sheet, is written to the project.
Common questions
Where is the structural plan?
There is none of its own. Structure is an overlay: open the floor plan and turn on Structural in the Disciplines list to lay the grids, columns, beams and foundations over it.
Why does the Topography plan look the same on every level?
It is the plan of the ground, not of a storey. Whatever level is open, it draws the survey and the foundations of the level that stands on the ground.