PlanTOin the studio
Terrain
Terrain draws the limit of the surveyed field by its corners, then lays a survey grid inside it and opens the terrain so you can type each point's measured height. The ground is measured, never sculpted: its shape comes only from those heights.
What it is
Terrain sets out the ground the building stands on. You click the corners of the field that was surveyed, and the studio lays a survey grid inside it, at the grid's spacing (one metre unless you change it in the terrain's panel), each point waiting for the height measured there. The terrain then opens for those readings. The ground is measured, never sculpted: its surface, its contours on the plans and its solid in 3D all come from the heights you type.
The terrain lives on the Topography plan: taking the tool opens that plan of the level, and the readings show there as small crosses with their figures.
When to use it
- Starting the site of a project from a survey.
- Redrawing the limit of the field when the survey covers more ground.
The steps
Take the tool. Type
TthenOquickly, or click the Terrain button. The plan switches to Topography. The status bar says to click the corners of the surveyed field and to close on the first or press Enter.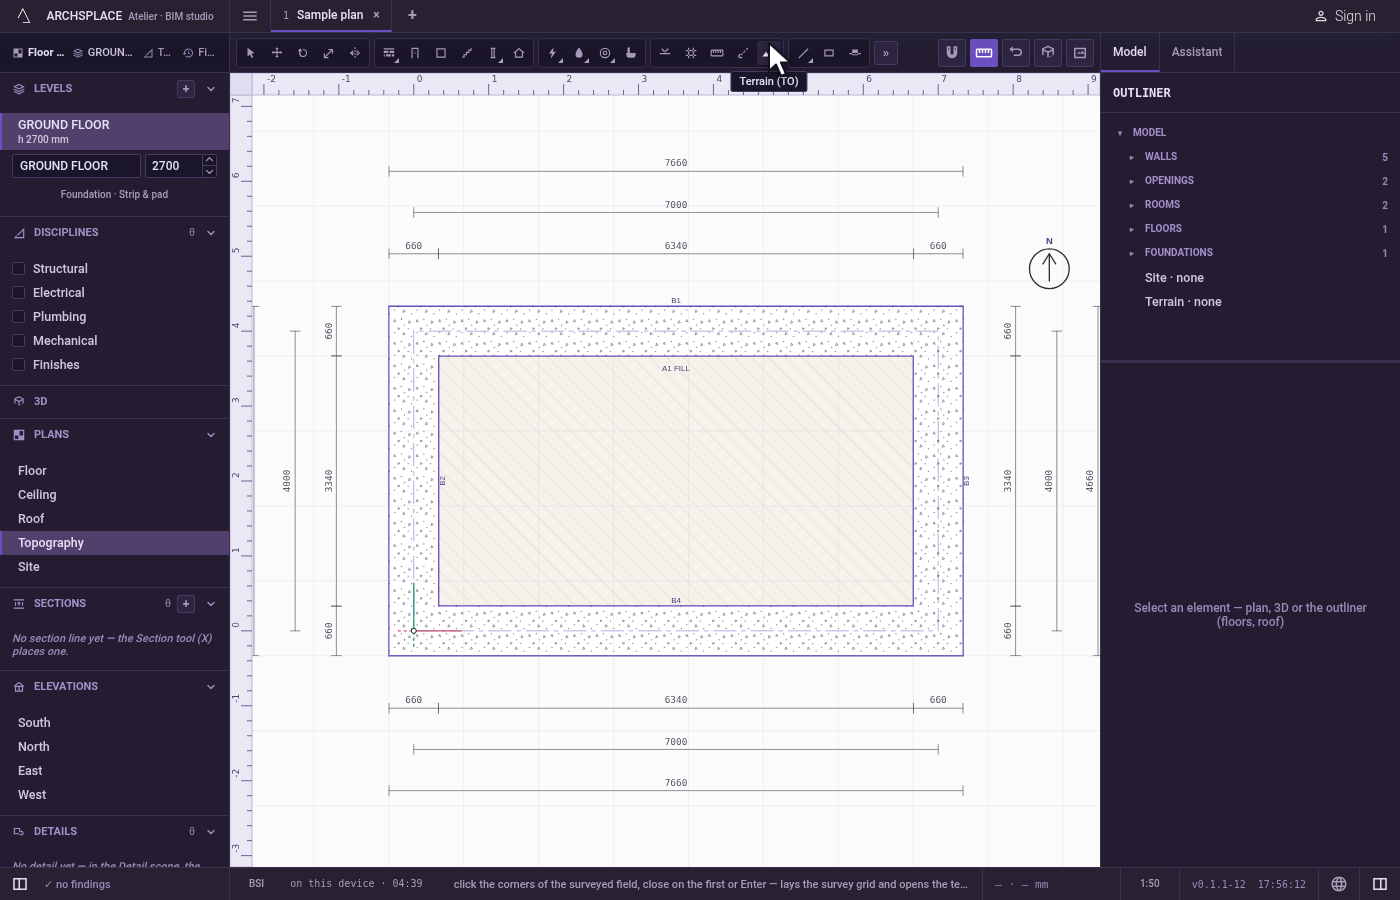
Click the corners. Click each corner of the field; the magnet holds the clicks on points within reach, including the readings already measured, and Shift, or F8 while it is on, keeps an edge horizontal or vertical. Typing a length and Enter places the next corner that far towards the cursor. The label beside the cursor counts the corners.
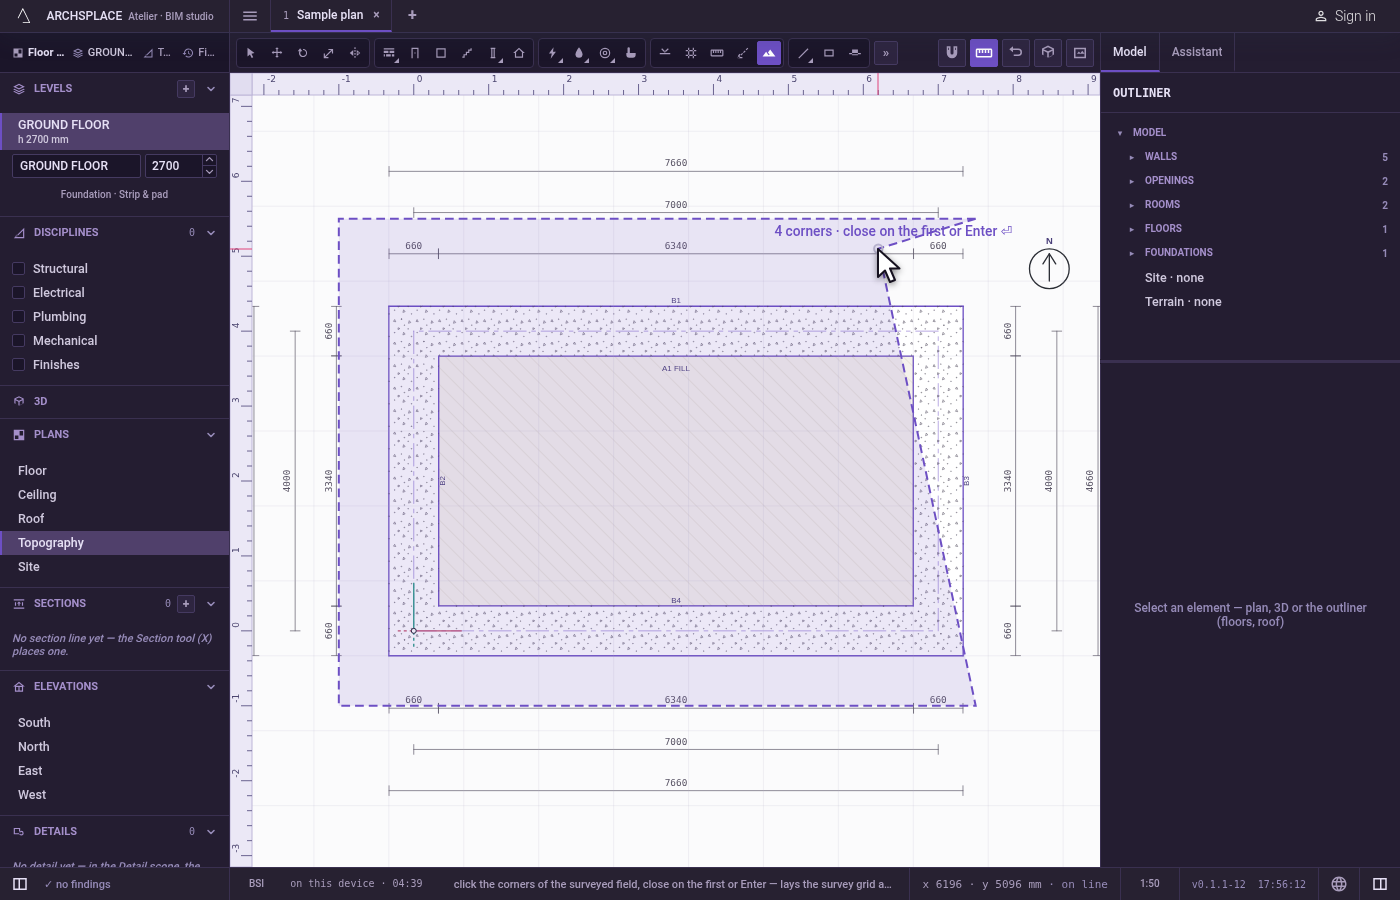
Close the field. Click the first corner again, or press Enter once there are three or more. The survey grid is laid inside the field, the terrain is selected and its scope opens.
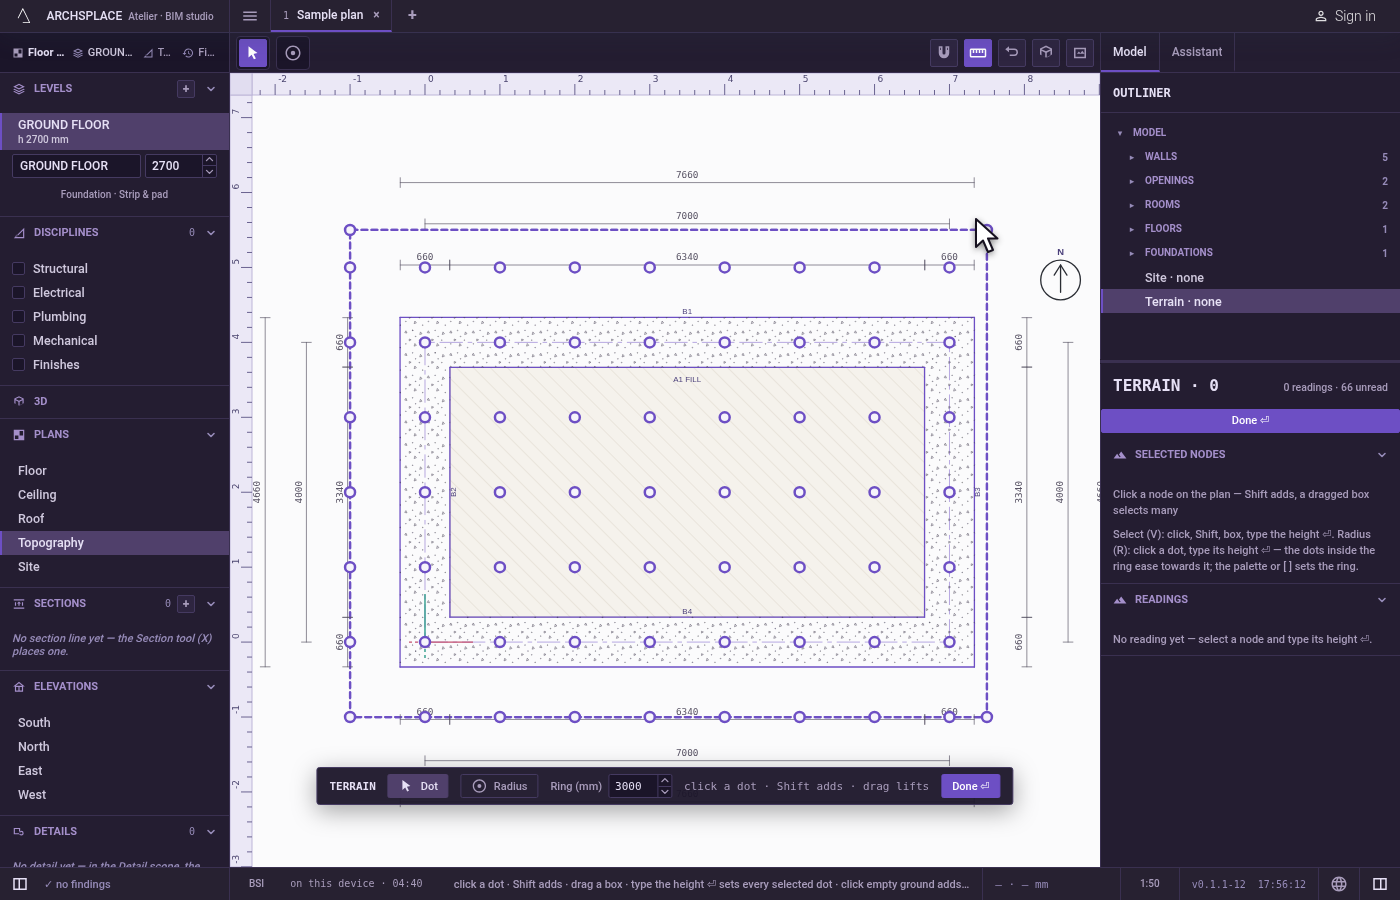
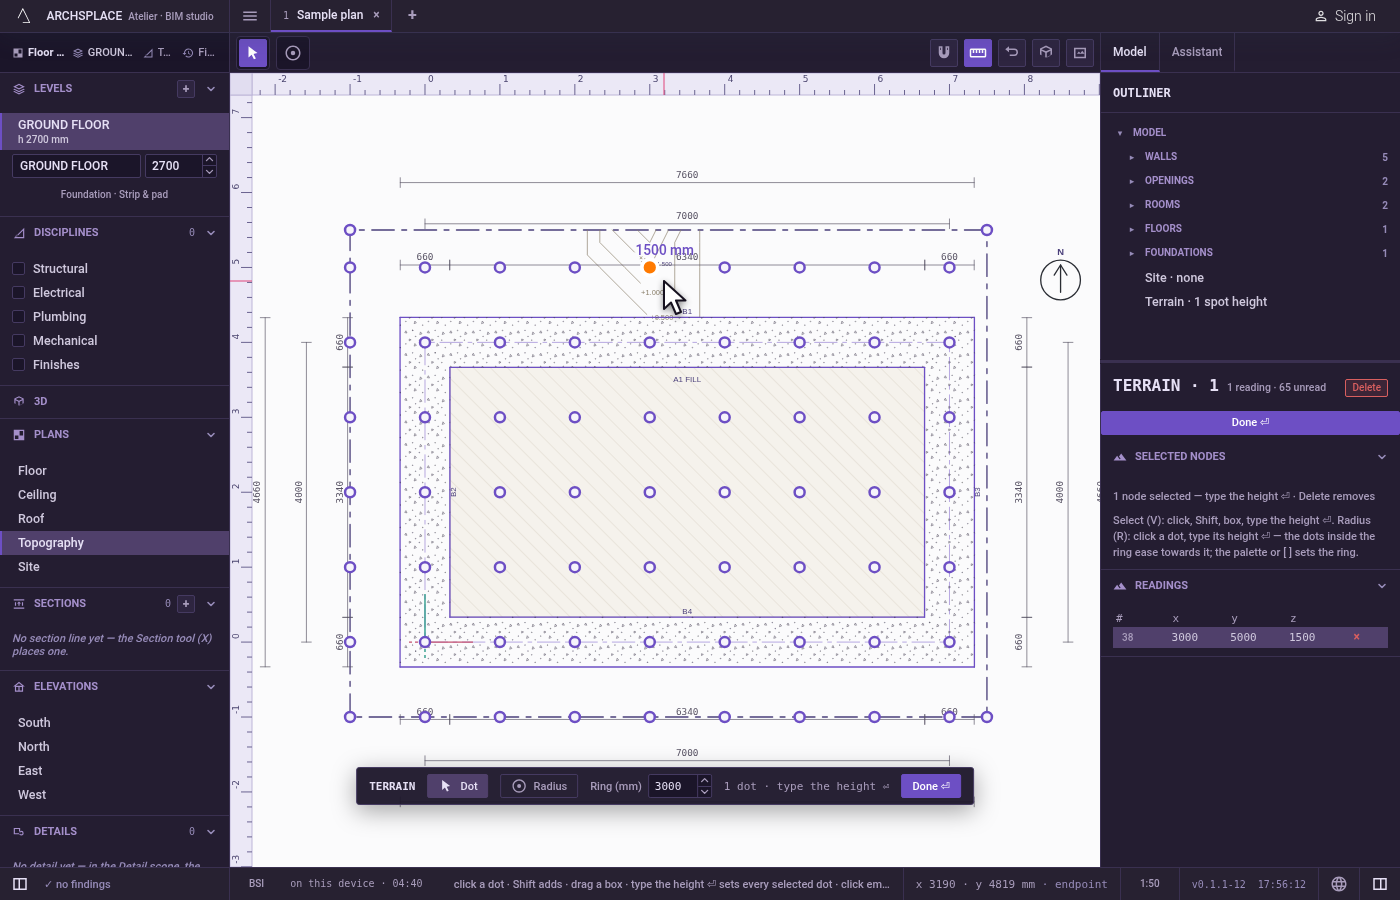
Type the heights. In the terrain's scope, click a point and type its measured height, then press Enter; Shift and a click, or a box, takes several points for one height. A click on empty ground adds a point where it was measured. Enter or Esc leaves the scope.
What it refuses
- A field of two corners. Enter does nothing until there are three corners, and Esc drops the corners clicked so far.
- Two corners on one. A click within 12 cm of the last corner adds nothing.
- Moving the ground. The ground cannot be moved or rotated as a whole: its points are where they were measured, edited one by one in its scope.
What it writes to the contract
One step, which one undo takes back: the field's corners in metres, and the points of the survey grid laid inside it at its spacing, each with no height until you type one. Until then, an unread point stands at the height the terrain's panel sets for unread points. Points measured before are kept. The surface, the contours and the solid are never written: they are worked out from the points each time the project is built.
Concepts
Related
Common questions
How do I give the ground its shape?
By typing the measured height of its points. After you close the field, the terrain opens with its survey grid: click a point, or several with Shift or a box, type the height and press Enter.
Why does the plan switch to Topography?
The terrain lives on the Topography plan. Taking the Terrain tool, or selecting the terrain, opens that plan on its own.