PlanWCin the studio
Curved wall
Curved wall draws a wall along an arc: you click its start and its end, then a point the arc passes through, or type its radius. Like the straight wall it chains, joins other walls' ends and takes the thickness of the wall type you choose.
What it is
Curved wall draws a wall whose axis is an arc. Three points make it: the start, the end, and a point the arc passes through. You can type the distance from the start to the end, and the radius of the arc, instead of clicking them. The wall takes the thickness and the layers of the wall type chosen beside the tools, spread evenly on both sides of the arc.
The tool chains like Wall: the next curved wall starts where the last one ended. Its ends join other walls' ends the same way, and the magnet catches a curved wall's ends, its middle, its centre and its faces along the curve.
When to use it
- A bay, an apse or a rounded corner of a facade.
- A curved partition, such as the wall of a round shower or a reception desk.
- Redrawing a curved wall of a survey with its measured radius.
The steps
Take the tool. Type
WthenCquickly, or pick it on the toolbar, where it shares one button with Wall. The status bar says the three points and that Esc steps back.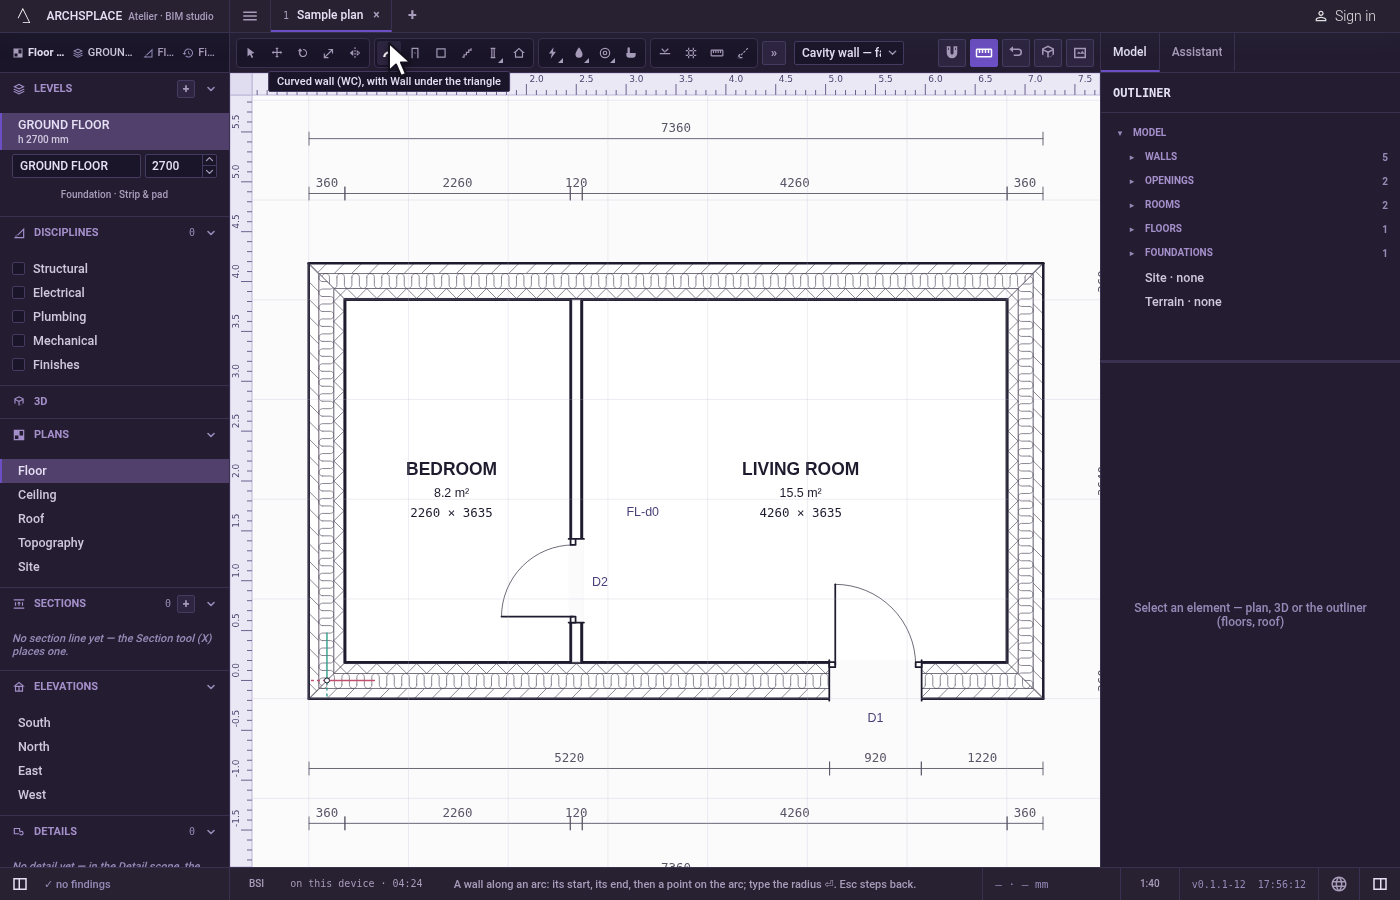
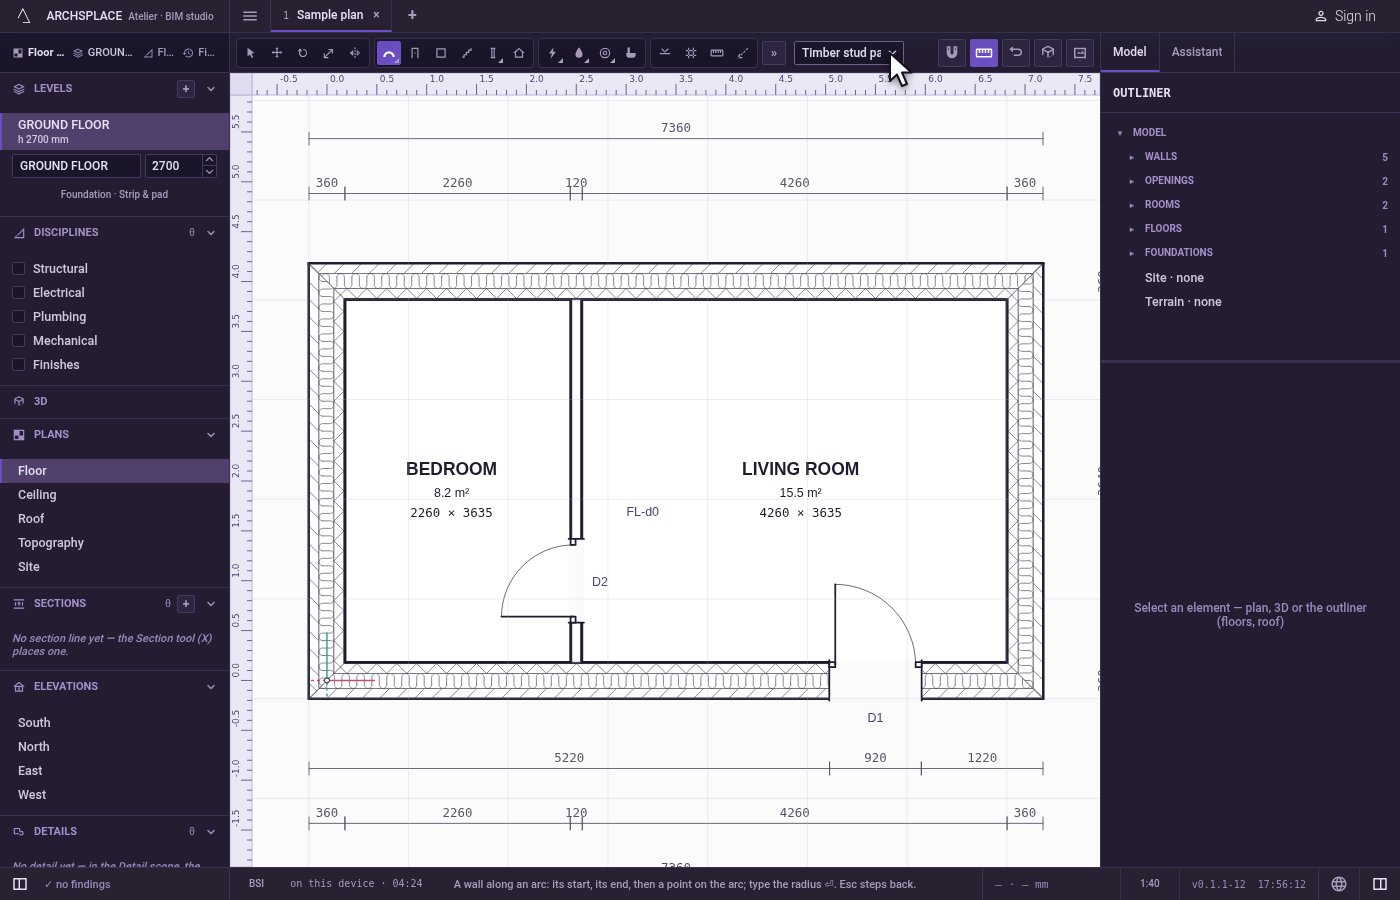
Choose the wall type. The list beside the tools offers the project's wall types. If you have not chosen one for curved walls, the type chosen for straight walls is used.
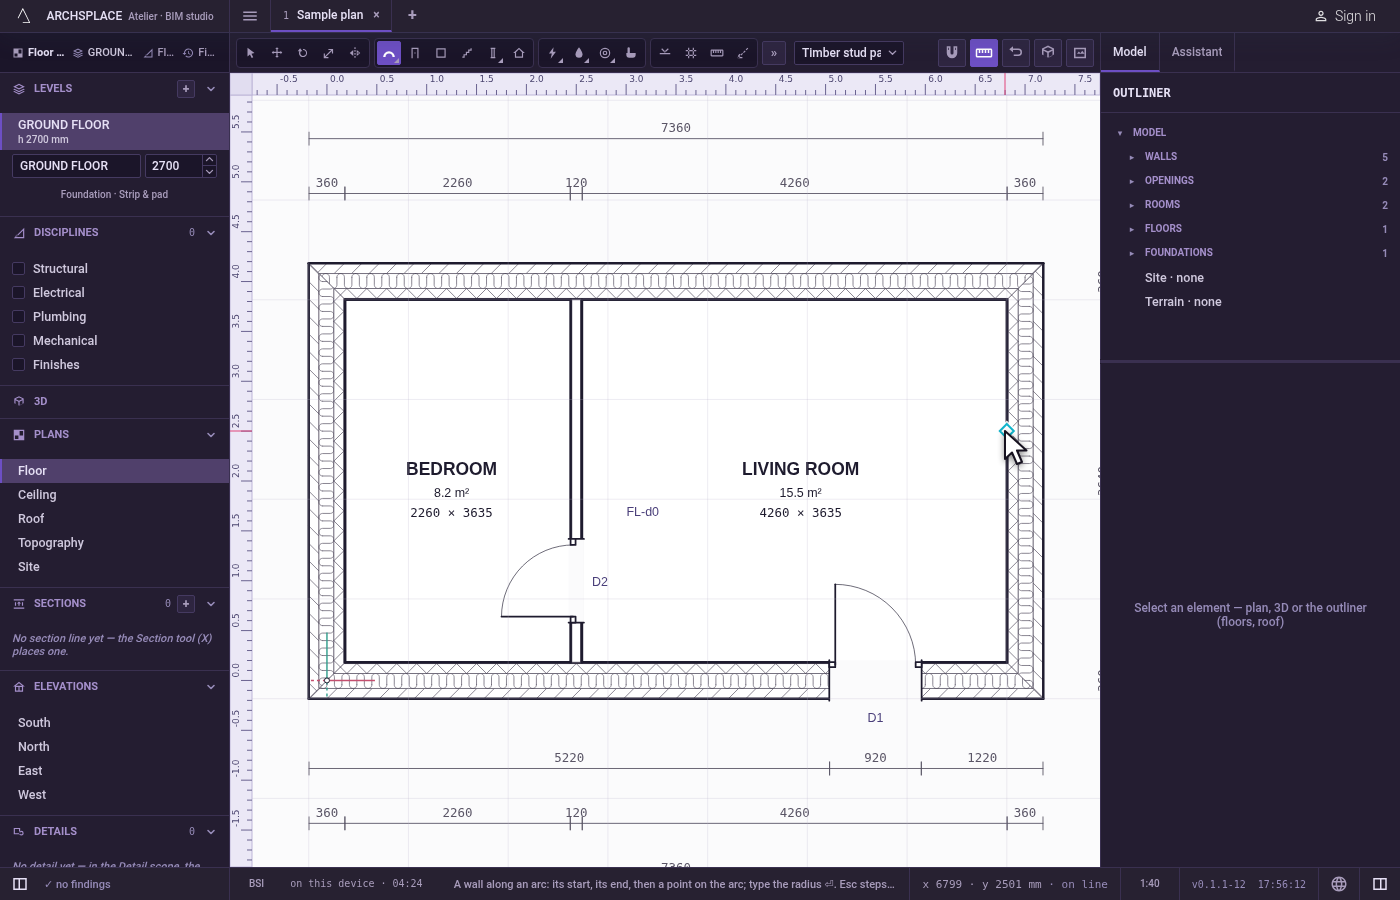
Click the start. The magnet holds the click on the nearest point within reach.
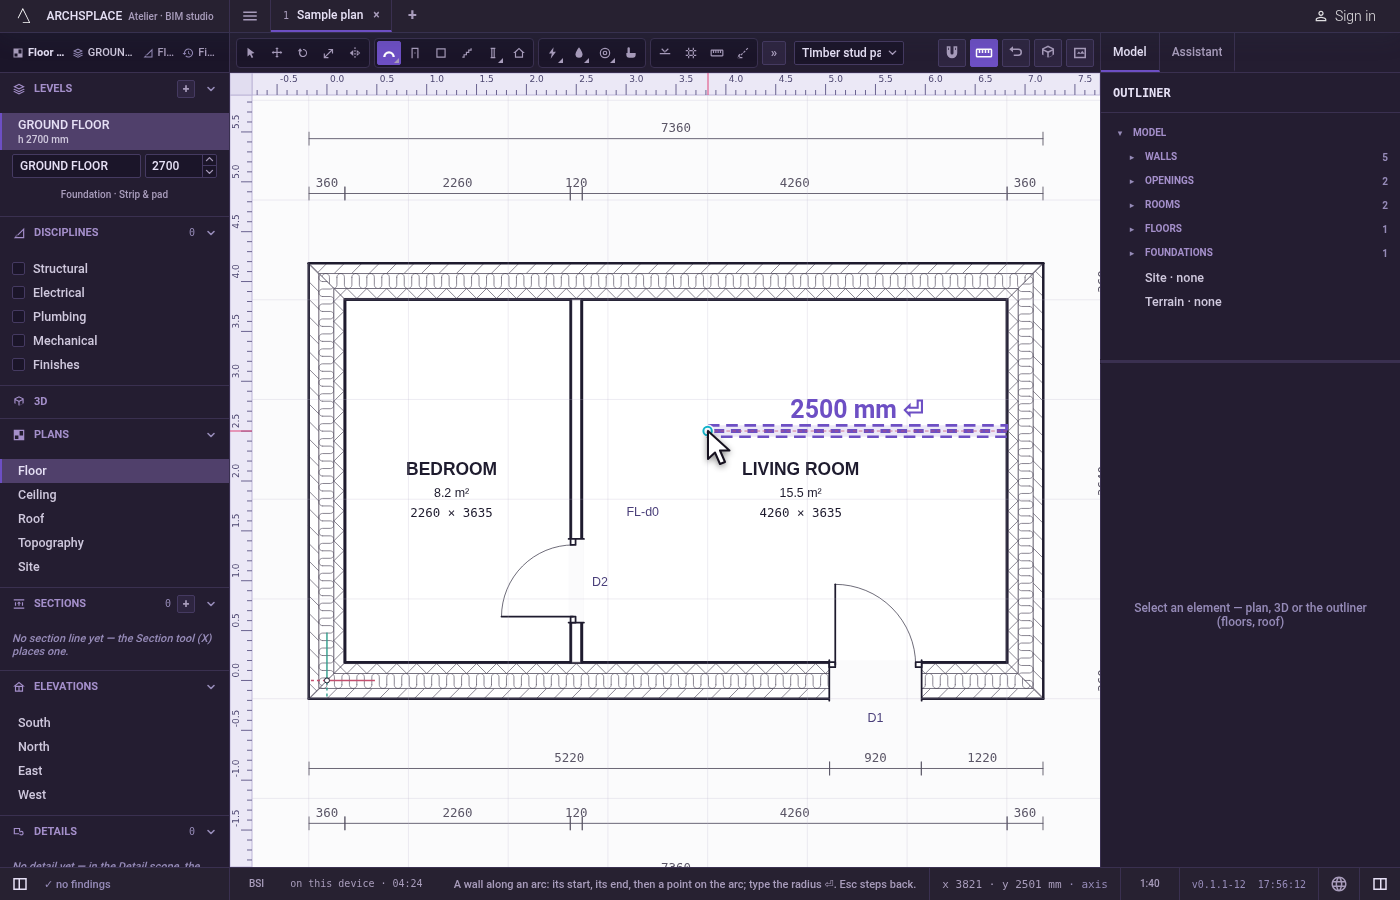
Click the end, or type the chord. Click where the wall ends. Or type the straight distance from the start to the end and press Enter: the end is placed that far towards the cursor.
Bow the wall. Move the cursor off the line between the two ends: the wall bows through the cursor, at its thickness, and beside it the studio writes its radius and its length along the arc. Click to draw it. Or type a radius and press Enter: the wall bows to the side of the chord the cursor stands on, along the shorter arc of that radius.
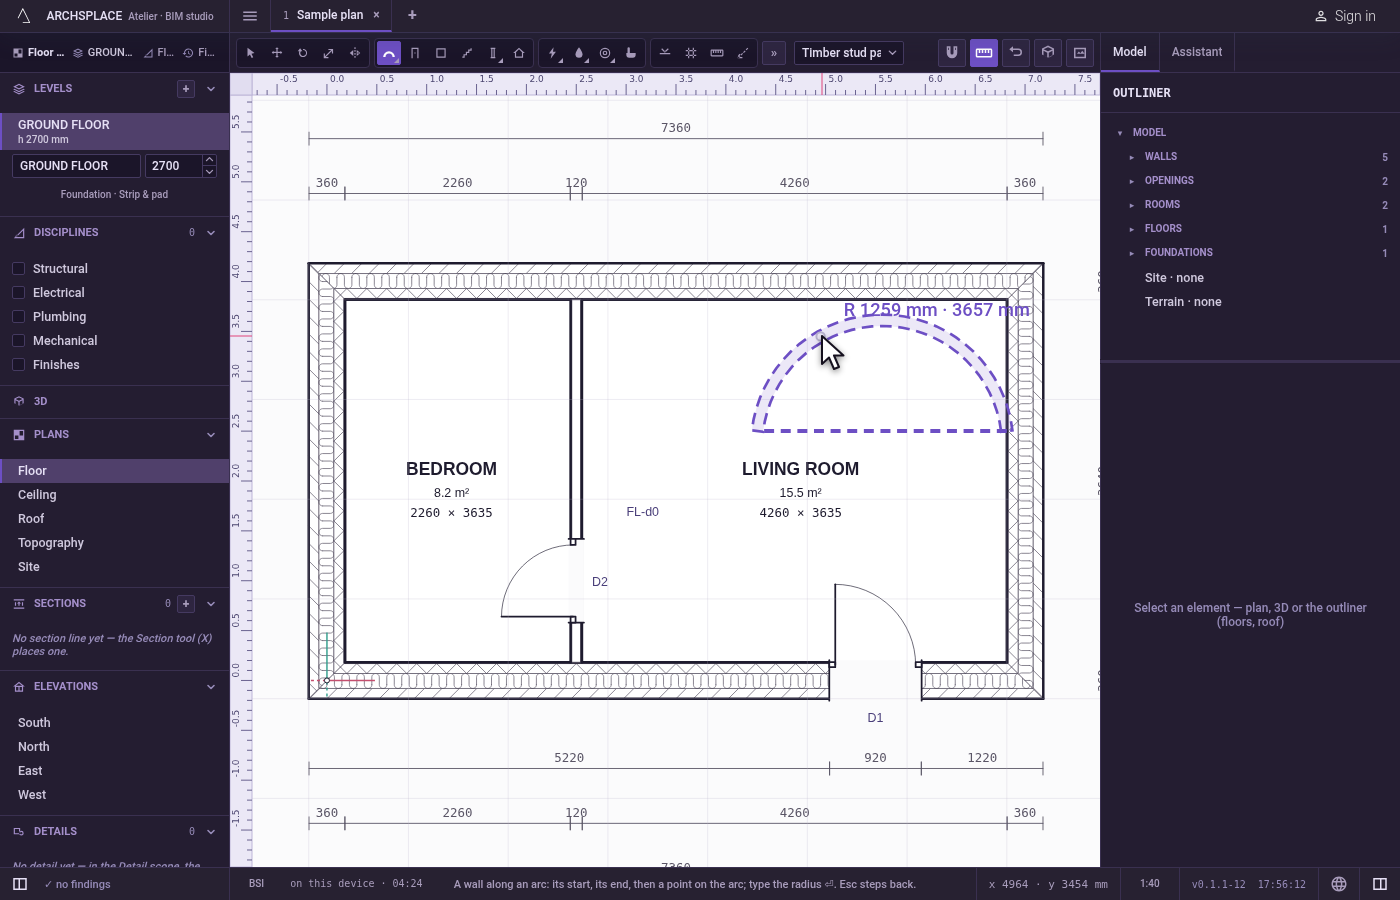
Keep the chain going, or step back. The next curved wall starts at the end of this one.
Escsteps back one point at a time: from the bow to the end, from the end to the start, from the start to nothing. With nothing pending,Escputs Select back in your hand.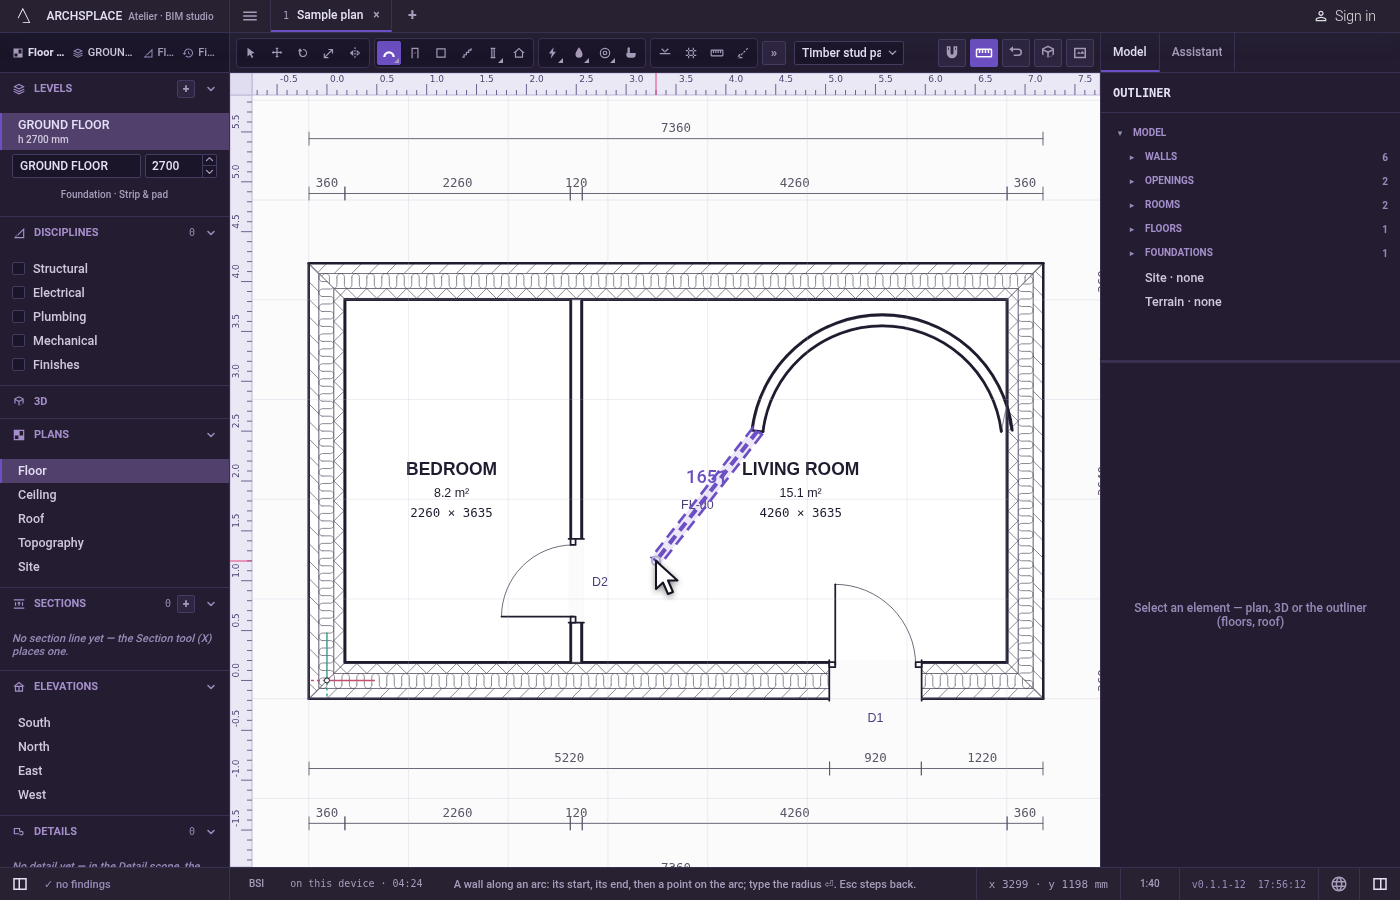
What it refuses
- A straight bow. With the cursor on the line between the ends, nothing is drawn: the studio says to move off the chord to bow the wall.
- More than a half circle. A bow past a half circle is shown at its limit and refused, with that reason.
- A radius shorter than half the chord. No arc of that radius joins the two ends, so a typed radius under half their distance is refused, with that reason.
- A second click on the start. A click within the magnet's reach of the start does nothing.
What it writes to the contract
Each curved wall adds one entry to the project's list of walls, as one step that one undo takes back: its level, its two ends in metres, how much it bows (a number that reads 1 for a half circle on one side and minus 1 on the other), its wall type and its phase. The centre and the radius are not stored; they follow from the ends and the bow.
Concepts
Related
Common questions
How do I give a curved wall an exact radius?
After the start and the end, put the cursor on the side the wall should bow towards, type the radius and press Enter. The wall takes the shorter of the two arcs of that radius on that side.
Can a curved wall be more than a half circle?
No. A curved wall bends at most a half circle. For a fuller curve, draw two curved walls end to end.