PlanGin the studio
Guide
Guide places a construction line: parallel to a face or a line you click, at a distance you show or type, or through a point towards a second point or a typed angle. Every tool snaps to guides and their crossings, and guides never enter the project.
What it is
A guide is a construction line that runs across the whole plan. It is how you set out a distance before you draw: a guide 1.2 m inside a wall, a guide through a corner at 30 degrees. Every tool's magnet follows guides and catches the points where they cross each other, walls and grid axes.
The tool has two ways of placing a line. Click a line the magnet follows (a wall's face, an edge, a grid axis or another guide) and the guide runs parallel to it, at the distance you show or type. Click a point or empty ground and the guide runs through it, towards a second point or at an angle you type. Guides are also pulled from the rulers along the plan's edges.
Guides are not part of the project. They are kept on this computer beside it, so they never print, never export and never reach anyone else, yet undo and redo bring them back as they stood at each step.
When to use it
- Setting out a wall at a measured distance from another before drawing it.
- Marking an alignment, such as the axis of a row of windows.
- Finding a point at an angle from a corner.
The steps
Take the tool. Press
G, or click the Guide button. The status bar describes both ways: a wall face, an edge or a guide for a parallel line, a point or empty ground for a line through it.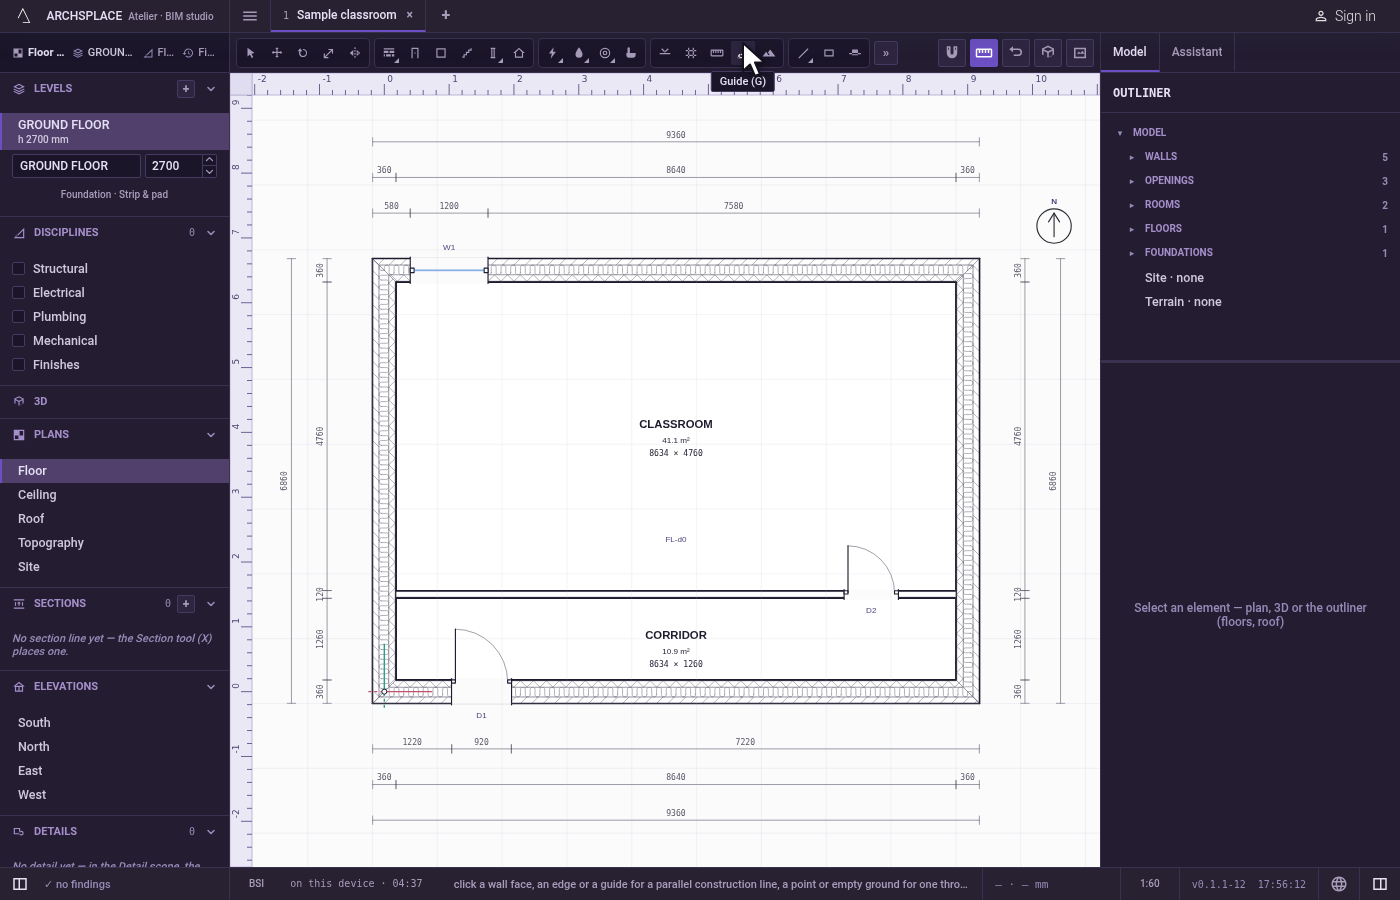
Click the reference. Click on a line the magnet follows to place a guide parallel to it. Or click a point, or empty ground, to place one through it.
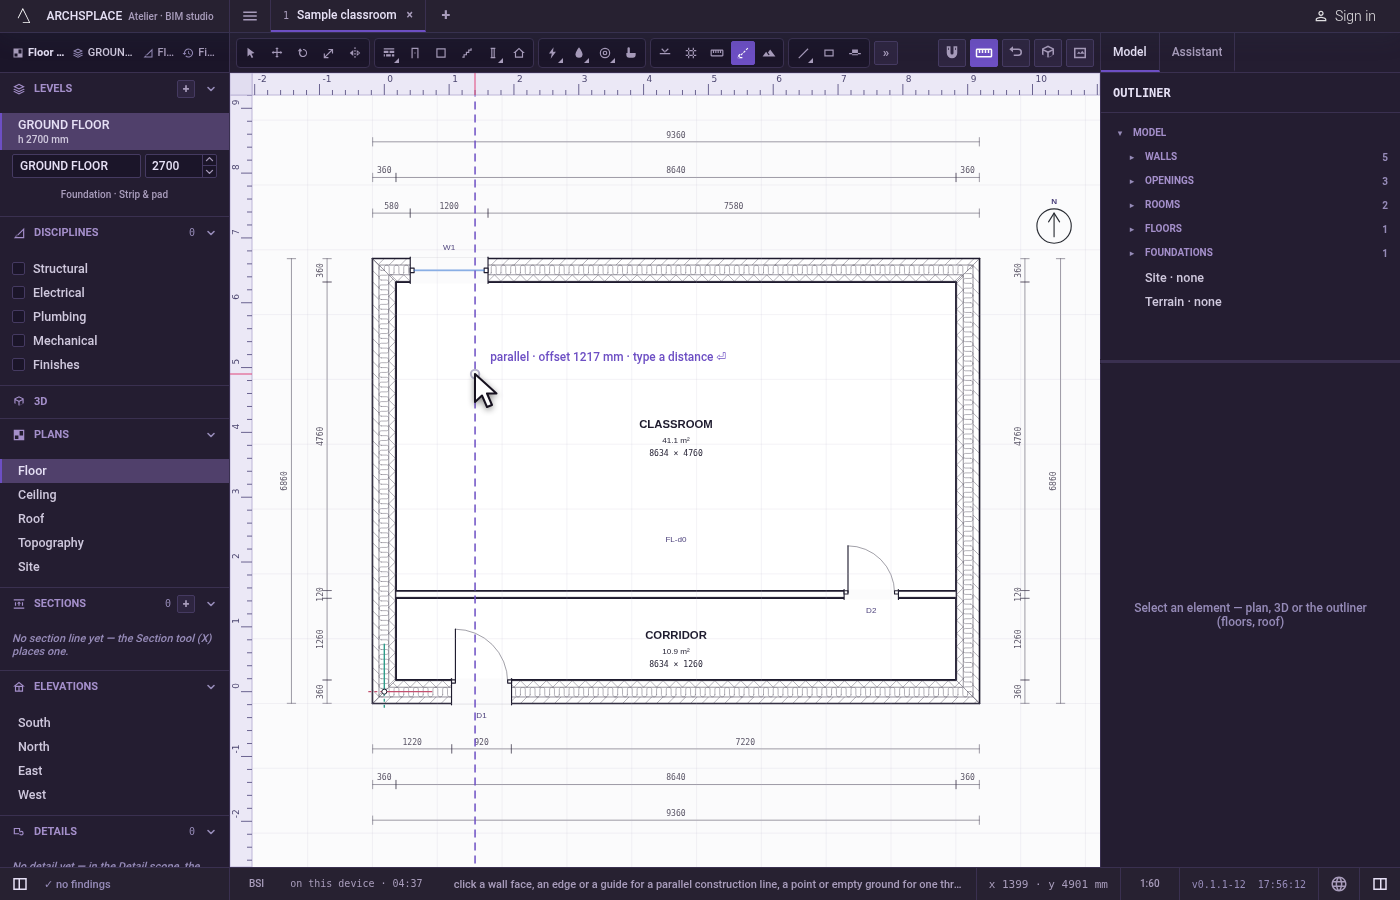
Parallel: show or type the distance. A dashed line follows the cursor, parallel to the reference, and the label beside it reads its distance. Click to place it, or type the distance in the project's units and press Enter: the guide is placed that far on the side of the cursor.
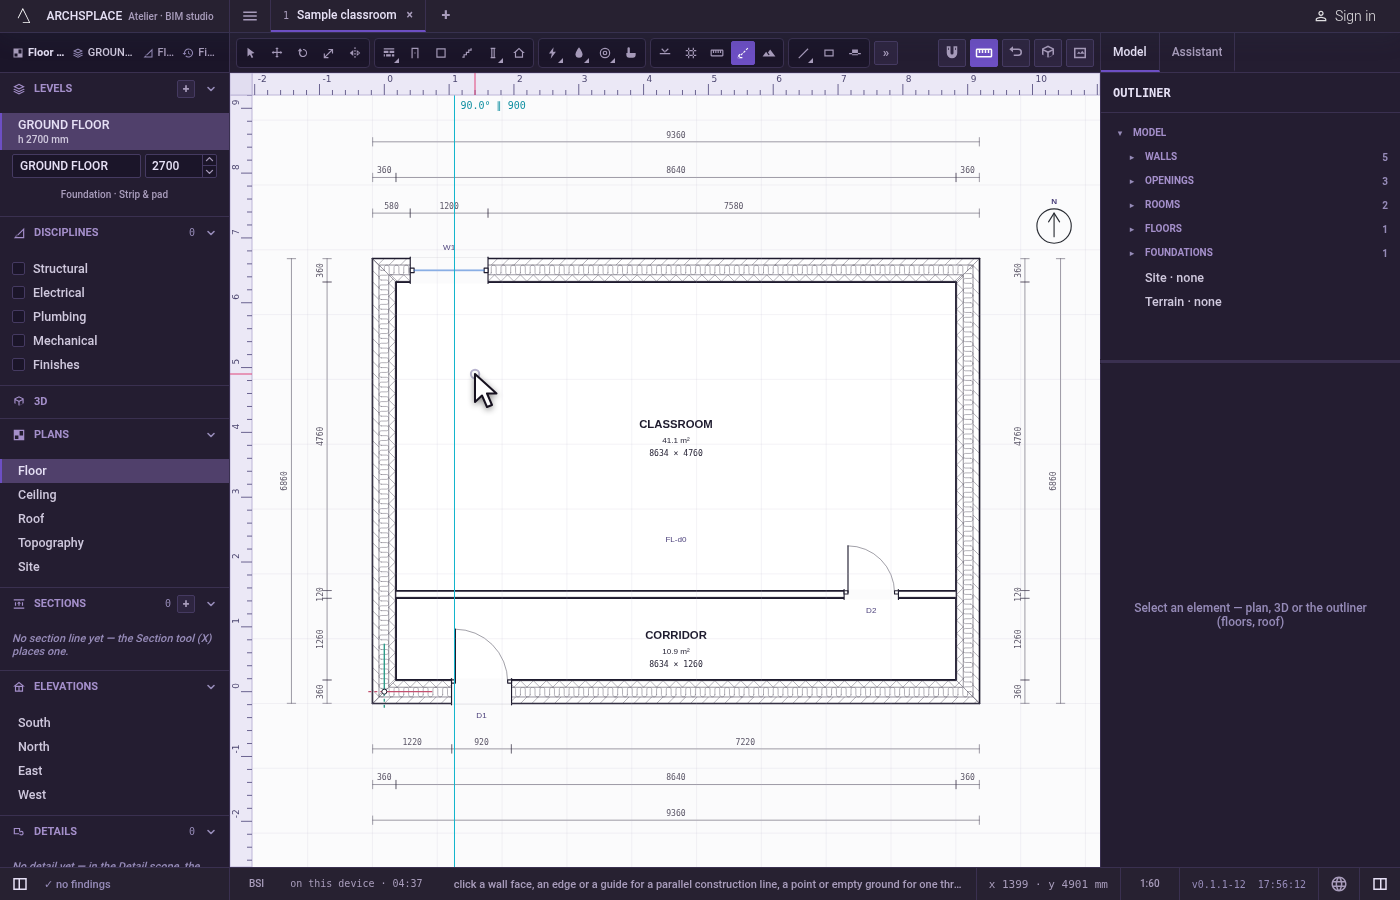
Or, through a point: show or type the direction. The line turns about the point towards the cursor, and the label reads its angle. Click a second point to place it; Shift, or F8 while it is on, keeps it vertical or horizontal. Or type
<followed by an angle in degrees, anticlockwise from the plan's horizontal, and press Enter.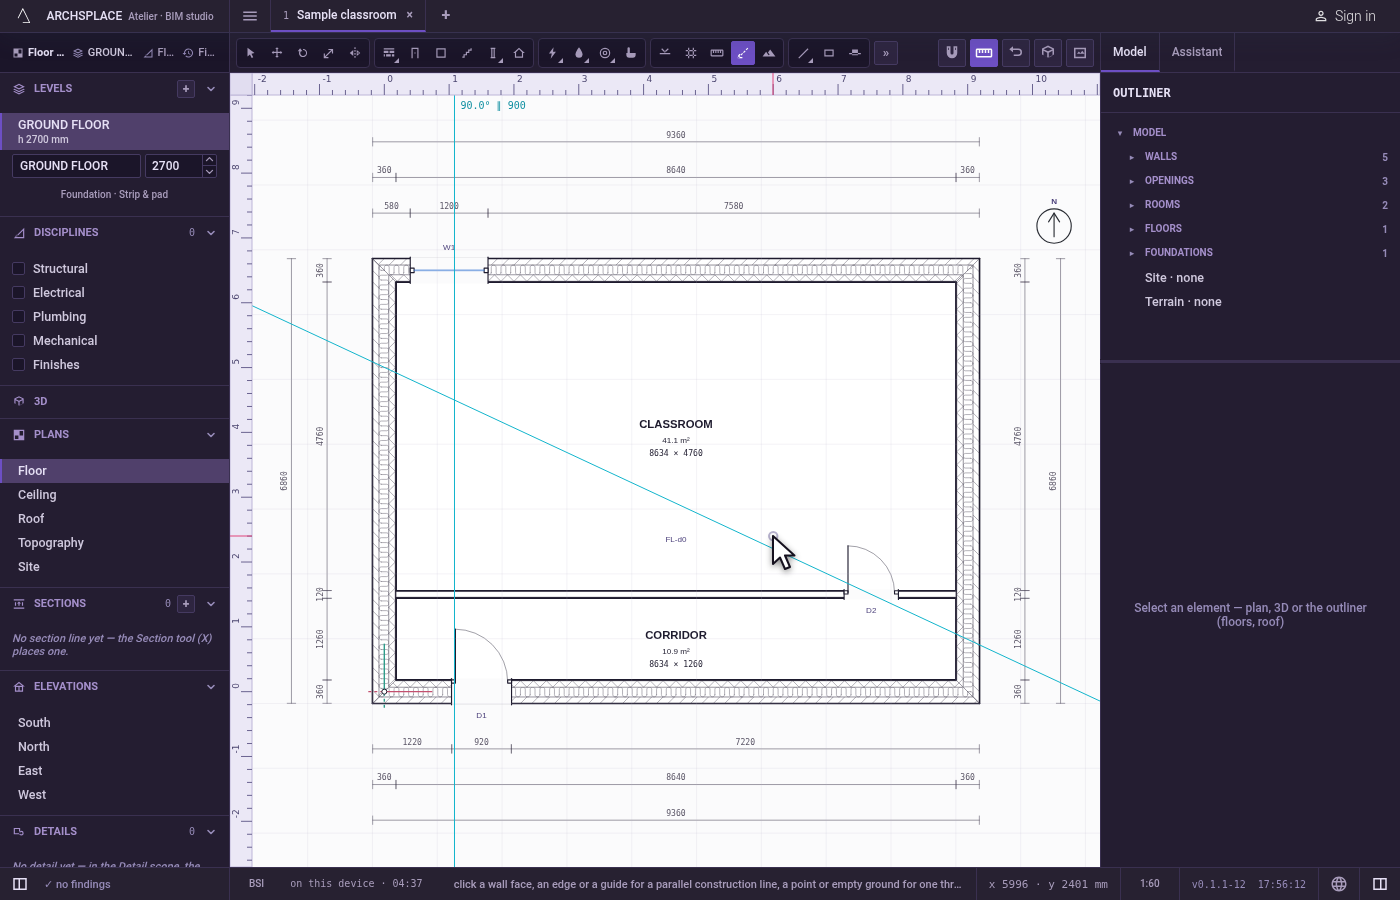
Show or hide the guide lines.
Ctrl+;(⌘;on a Mac) hides every guide in every view, and shows them again. A hidden guide does not attract.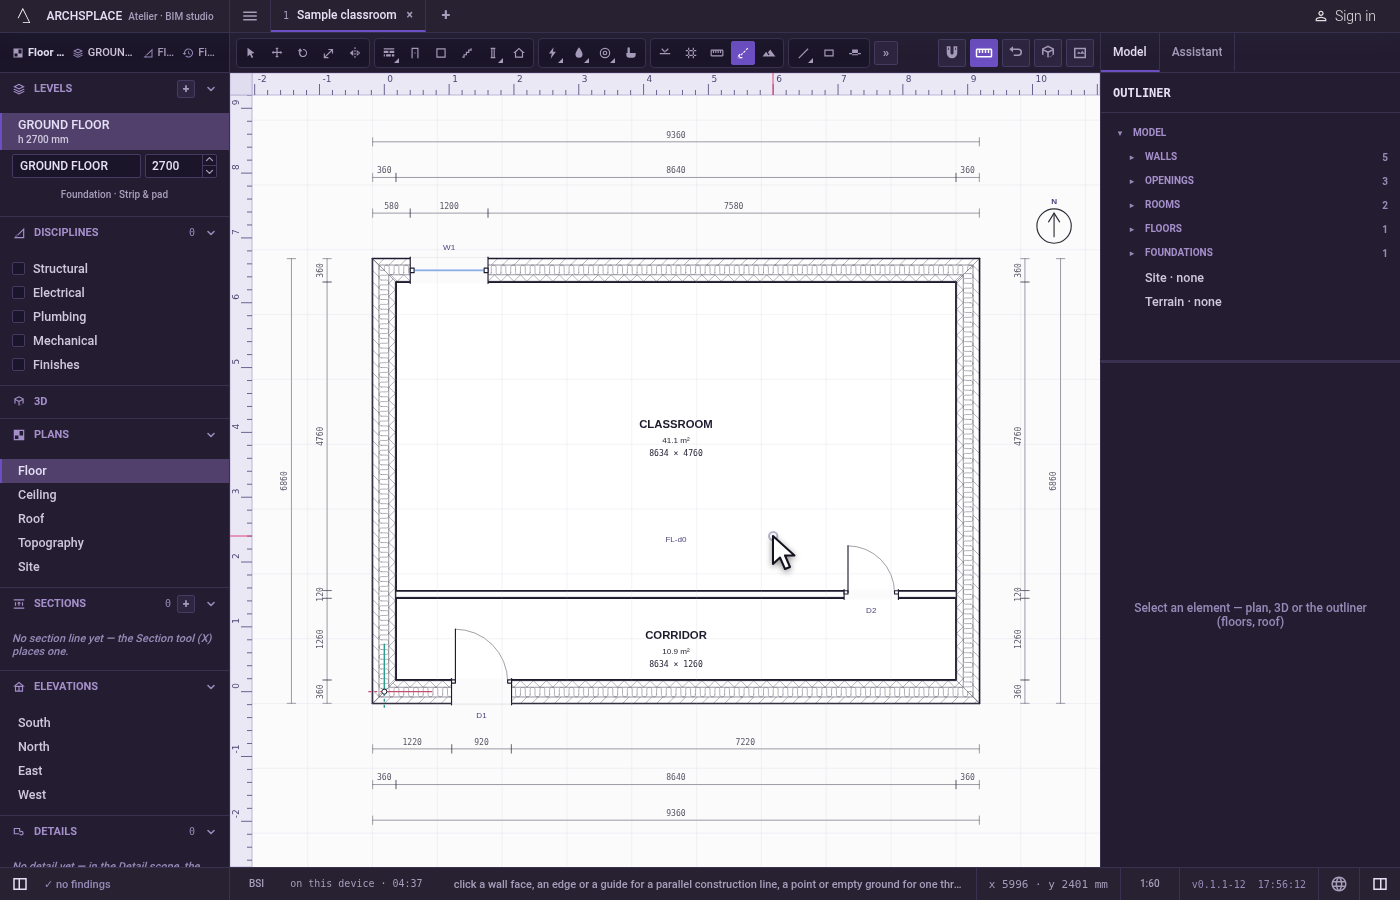
What it refuses
- A guide on its reference. A parallel guide at zero distance is refused, with a message to move the cursor or type a distance.
- A second point on the first. A direction needs a second point away from the first; the studio says so.
- A typed value that is not one. A distance must be a positive length, and an angle reads like
<45; anything else is refused with a reminder of the form. - A box over guides. A box and Select all never take a guide.
What it writes to the contract
Nothing. A guide is kept on this computer beside the project, never in it. Placing one is still a step of the History, so one undo takes it back.
Concepts
Common questions
Are guides saved in my project?
No. Guides are kept on this computer beside the project, never in it, so they never reach a drawing, a sheet or another person. Undo and redo bring them back as they were at each step.
How do I hide all the guides?
Press Ctrl and the semicolon key (Command on a Mac). Hidden guides neither draw nor attract, in every view; placing a new guide shows them again.