SketchTin the studio
Trim in the tile editor
Trim takes away the part of a joint you click, up to the next joint or tile edge that crosses it on each side. The part it would take is lit before you click, a box or a fence trims many parts at once, and Shift turns it into Extend.
What it is
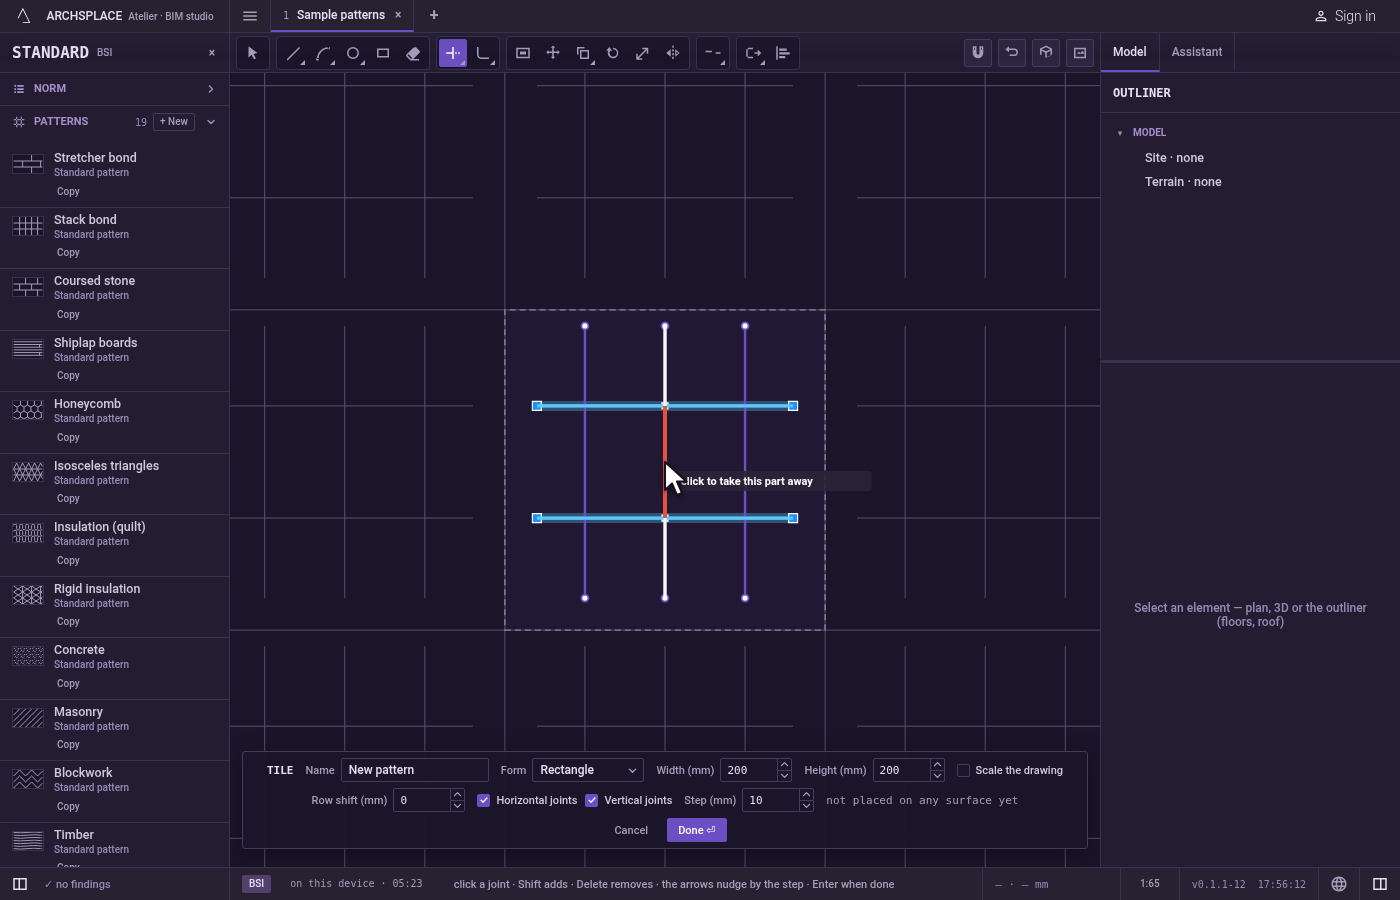
Trim cleans up where joints cross. Point at a part of a joint, and Trim finds the joints (and the tile's edges) that cross it on either side: the part between those two crossings lights in red, and a click takes it away. A joint crossed on one side only loses everything from that crossing to its end. A closed joint, such as a circle or a rectangle, needs two crossings, and what is left becomes one open joint: a circle trimmed between two crossings leaves an arc, still a true arc.
It is the same Trim as in the other editors of the studio, acting here on the joints of the tile.
When to use it
- To cut the overhanging ends of joints drawn long, back to the joints they meet.
- To open a gap in a joint between two others, as in a basket weave or a herringbone.
- To turn a circle or a rectangle into the part you want by cutting it against other joints.
The steps
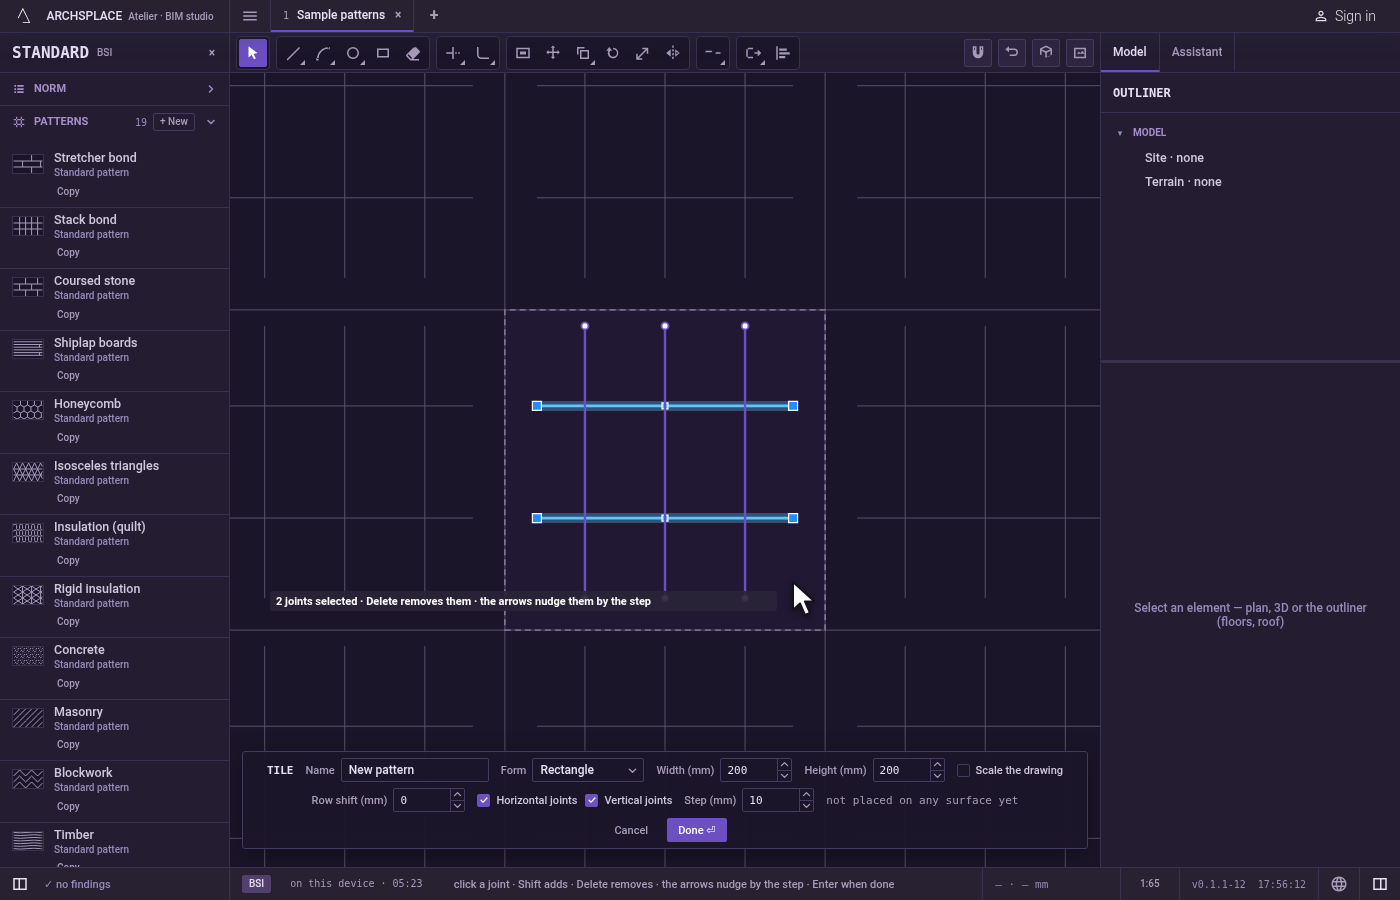
Choose the cutting joints, if you want only some. Select the joints that should cut first. With none selected, every other joint and the tile's edges cut. With some selected, only those cut, and the tile's edges do not.
Take the tool. Press
T(or typeTR), or click Trim on the bar. It shares its button with Extend. The hint says what cuts: the selected joints, or everything.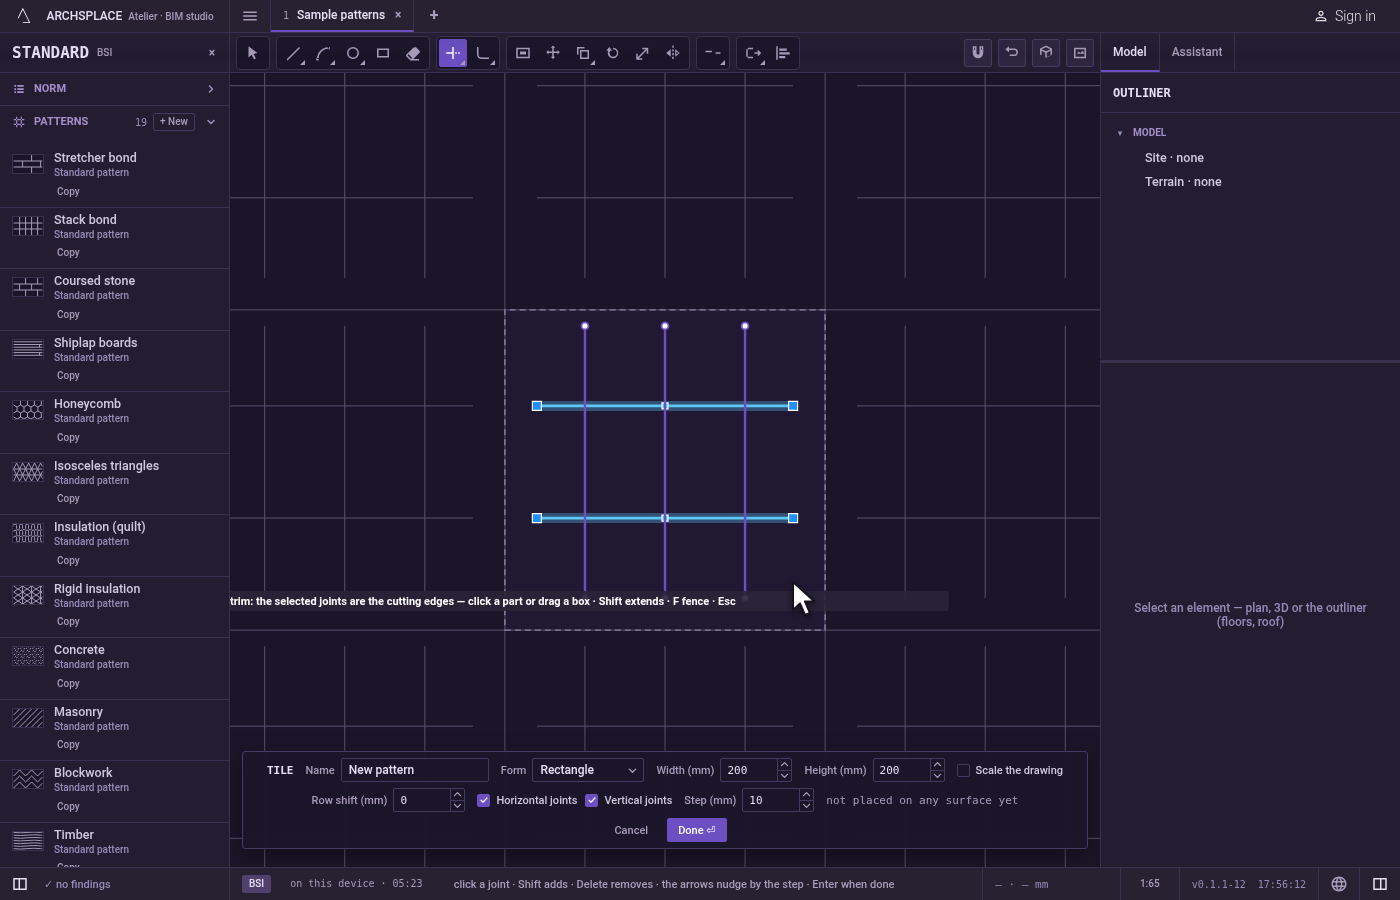
Point at the part to take away. As the pointer passes over a joint, the part a click would take lights in red and the hint says click to take this part away. If nothing can be taken there, the hint says why.
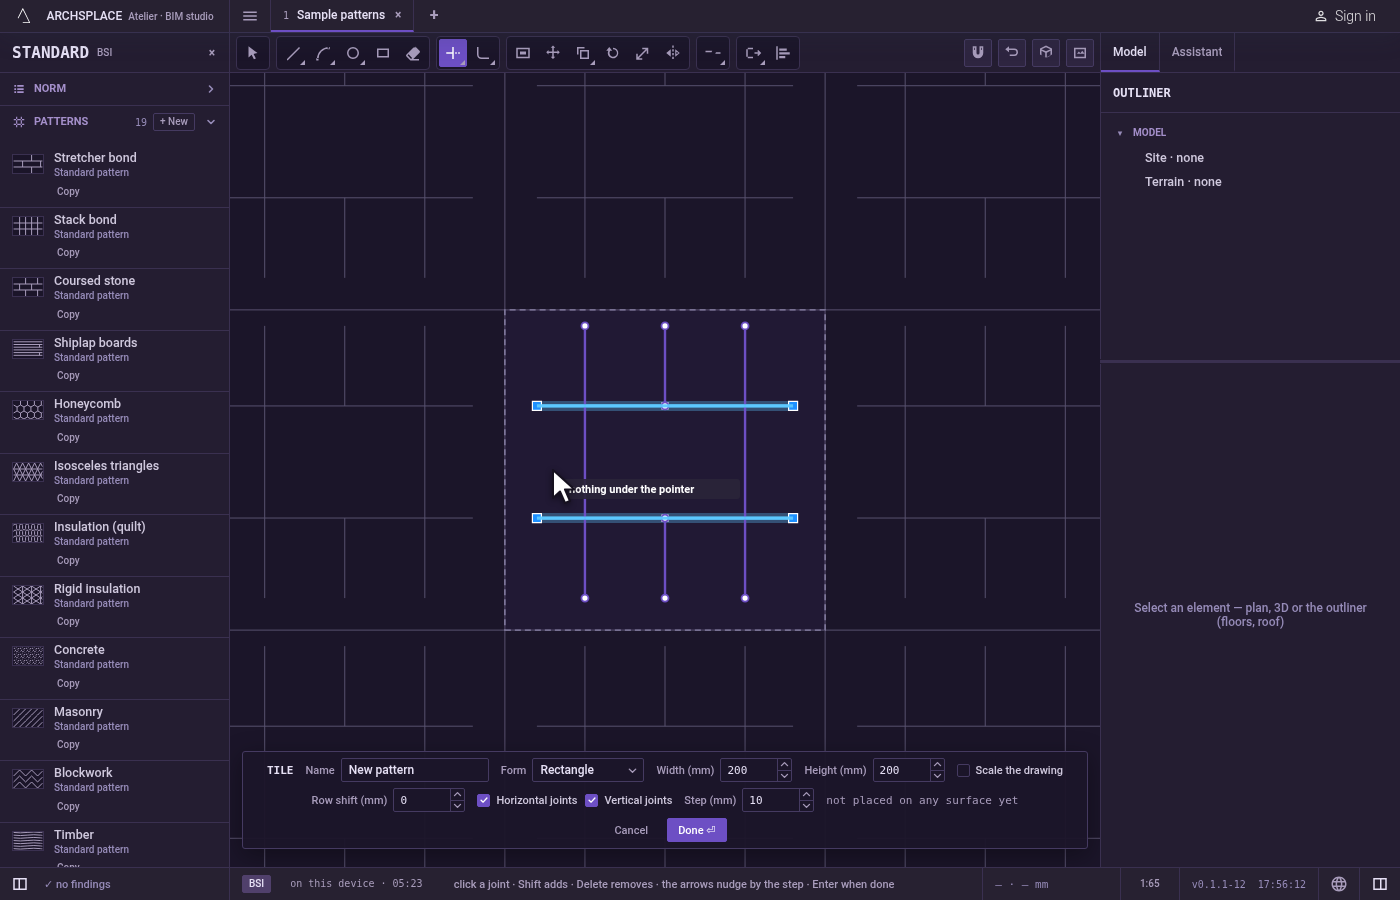
Click. The part goes. The click acts when you release the button, and the cutting joints you chose stay selected for the next cut. A piece shorter than a millimetre left by the cut goes with it.
Or trim many parts at once. Drag a box across the parts, in either direction: every stretch between two cutting joints that the box touches lights in red, and releasing takes them all away. The editor then says how many parts were done. Or press
F, click the points of a fence across the joints, and pressEnter: each joint the fence crosses is trimmed where it crosses.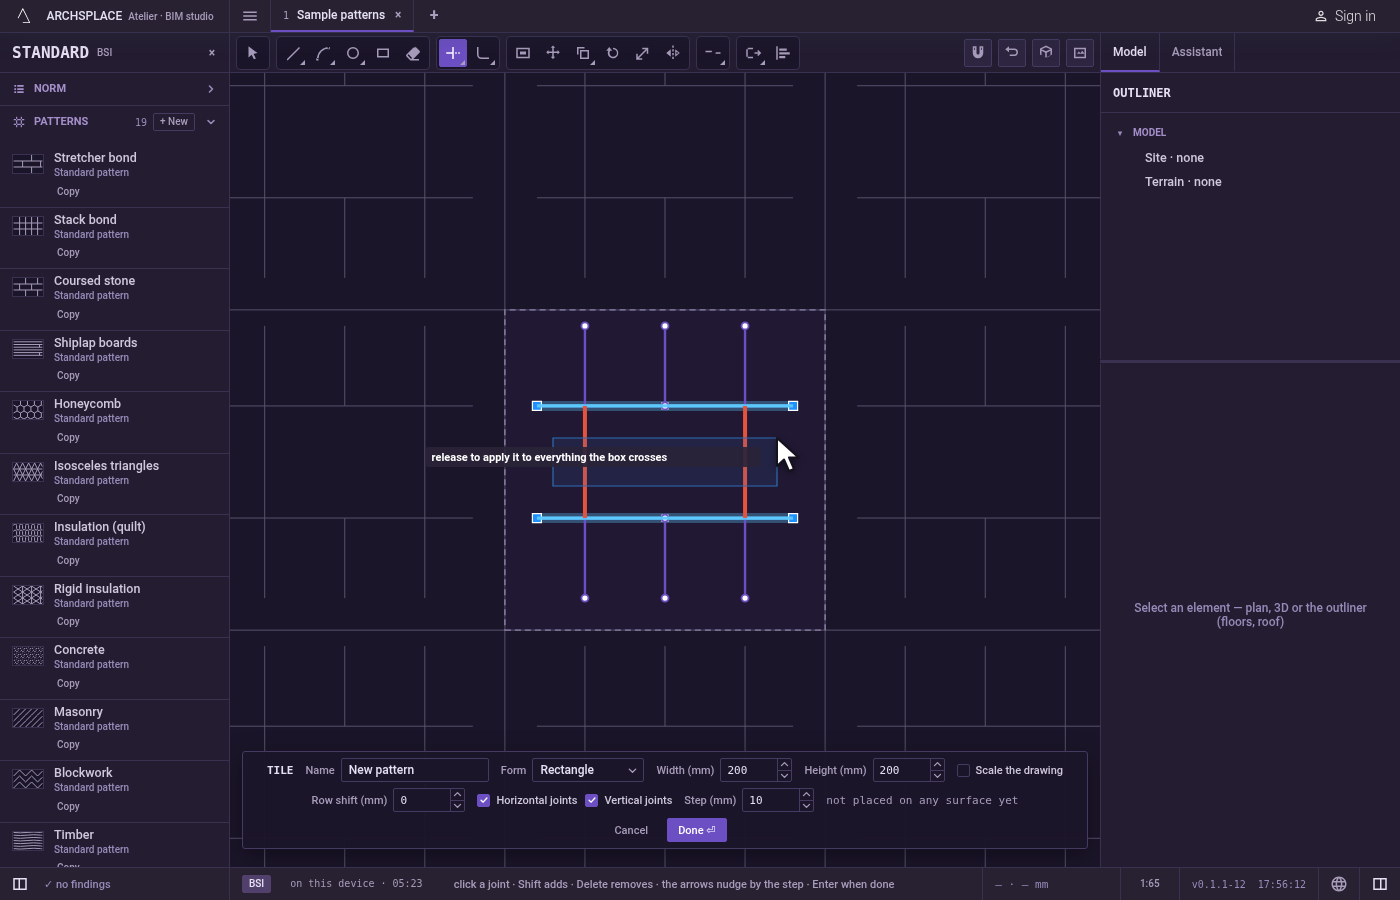
Extend instead. Hold
Shiftwhile you click, drag or fence: Trim then grows the joint's end to the next joint or edge ahead, as Extend does.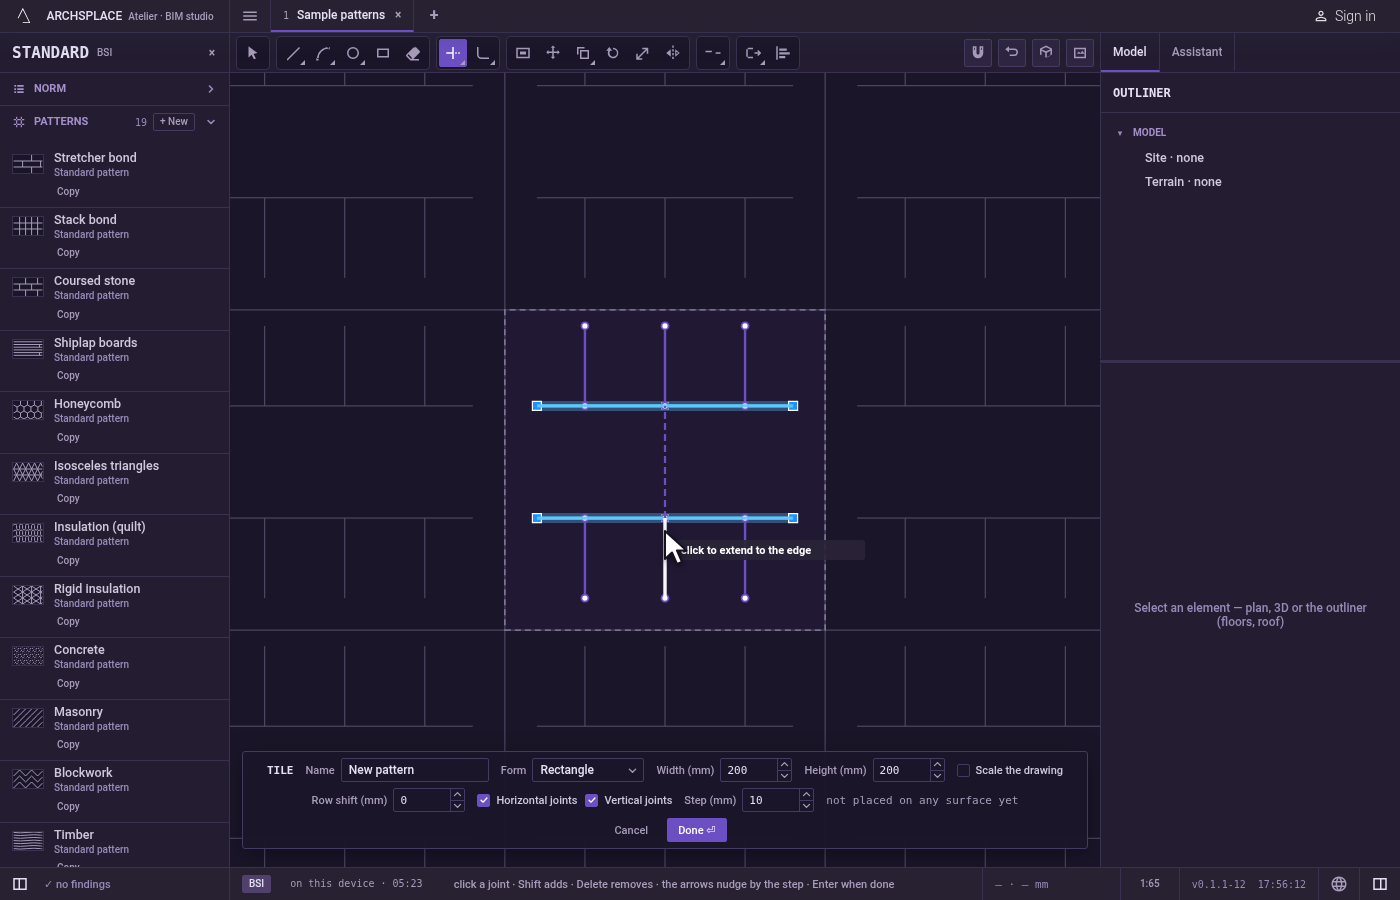
Finish.
Escapeleaves Trim for Select.Ctrl+Zundoes the last cut. Press Done on the bar at the foot, orEnter, to hand the tile back.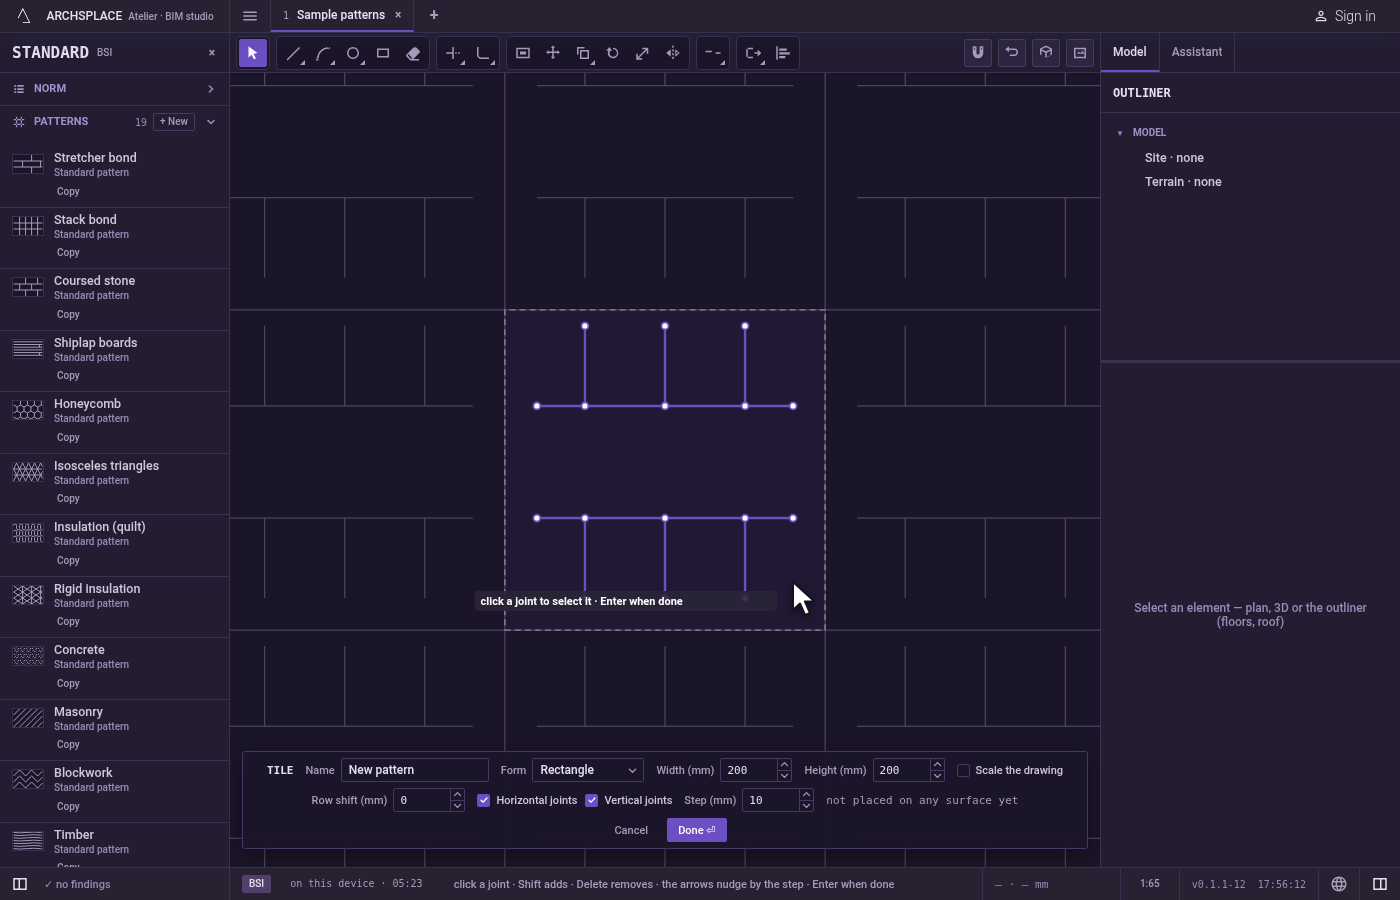
What it refuses
- A click on nothing. It takes nothing, and the hint says nothing under the pointer.
- A joint nothing crosses. If no joint or edge cuts the joint you clicked, nothing is taken, and the hint says no edge cuts this line. A closed joint crossed only once is refused the same way.
- A shape's own corner. Where two sides of one polyline or rectangle meet at a corner, that corner does not count as a crossing.
- A box or a fence that touches nothing to trim. It changes nothing, and the editor says so.
What it writes to the contract
Nothing while you work: the change stays in the tile editor, where Ctrl+Z steps back through it. When you press Done, the whole tile is written to the project's patterns in one step you can undo, every joint as its points in metres from the tile's lower-left corner. A trimmed closed joint is written as the open joint that remains, its arcs kept as arcs. A standard pattern is never changed: Done saves the project's own version of it under the same name, and every surface that lays it follows. Save as new writes a new pattern instead. Cancel writes nothing.
Related
Common questions
Which joints does Trim cut against?
When no joint is selected, every other joint and the tile's own edges cut. When you select some joints before trimming, only those cut, and the tile's edges no longer do.
How do I trim many parts at once?
Drag a box across them: every part between two cutting joints that the box touches is taken away, and the parts are lit in red before you release. You can also press F and draw a fence across them.
How do I extend instead of trimming?
Hold Shift while you click. Trim then grows the end of the joint to the next joint or edge ahead of it, as Extend does.