PlanTin the studio
Stair
Stair draws a stair by its walk line: you click its foot, any turns, then walk on until the treads reach the next level and press Enter. Its walk line, its winders and how it is built are then edited in its panel.
What it is
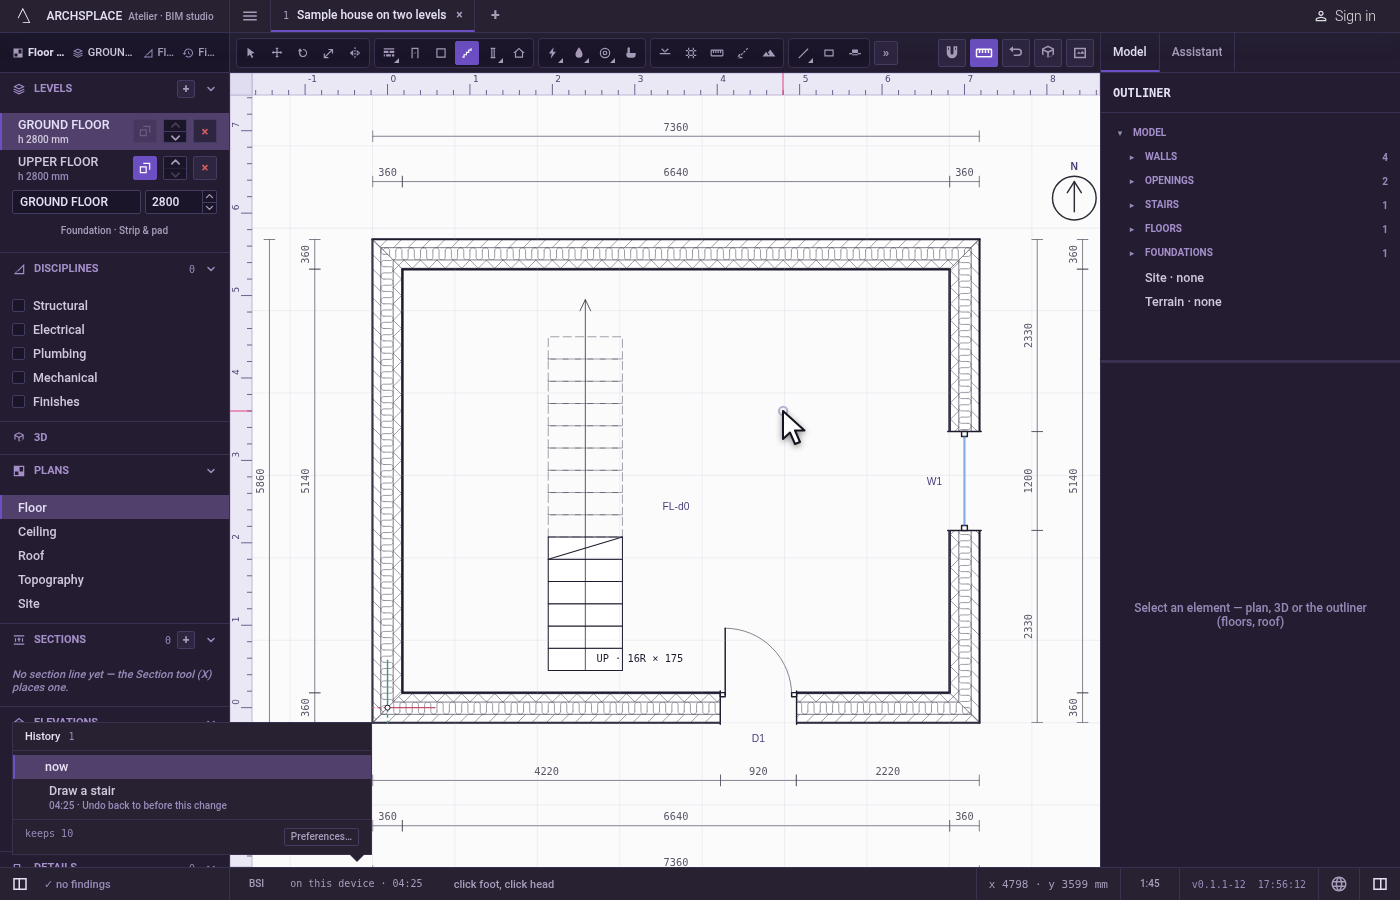
Stair draws a stair from its walk line, the line a person walks up. You click the foot, a point at each turn, and go on until the stair reaches the next level. While you draw, the studio lays the treads along the line as they would be built, from the height between the levels and your template's stair rules, and tells you how many are placed and how many are still missing. The turns take winders, three per turn to begin with.
The stair climbs to the level above the one open on the plan; drawn on the top level, it comes from the level below. Its panel then sets its width, the level it reaches, the winders per turn, its walk line point by point, and its construction: a concrete mass, a stringer beam or open treads, closed or open risers.
When to use it
- Placing a straight, an L-shaped or a U-shaped stair between two levels.
- Fitting a stair into a given stairwell by drawing its walk line inside it.
- Redrawing a surveyed stair with its measured runs.
The steps
Take the tool. Press
T, or click the Stair button.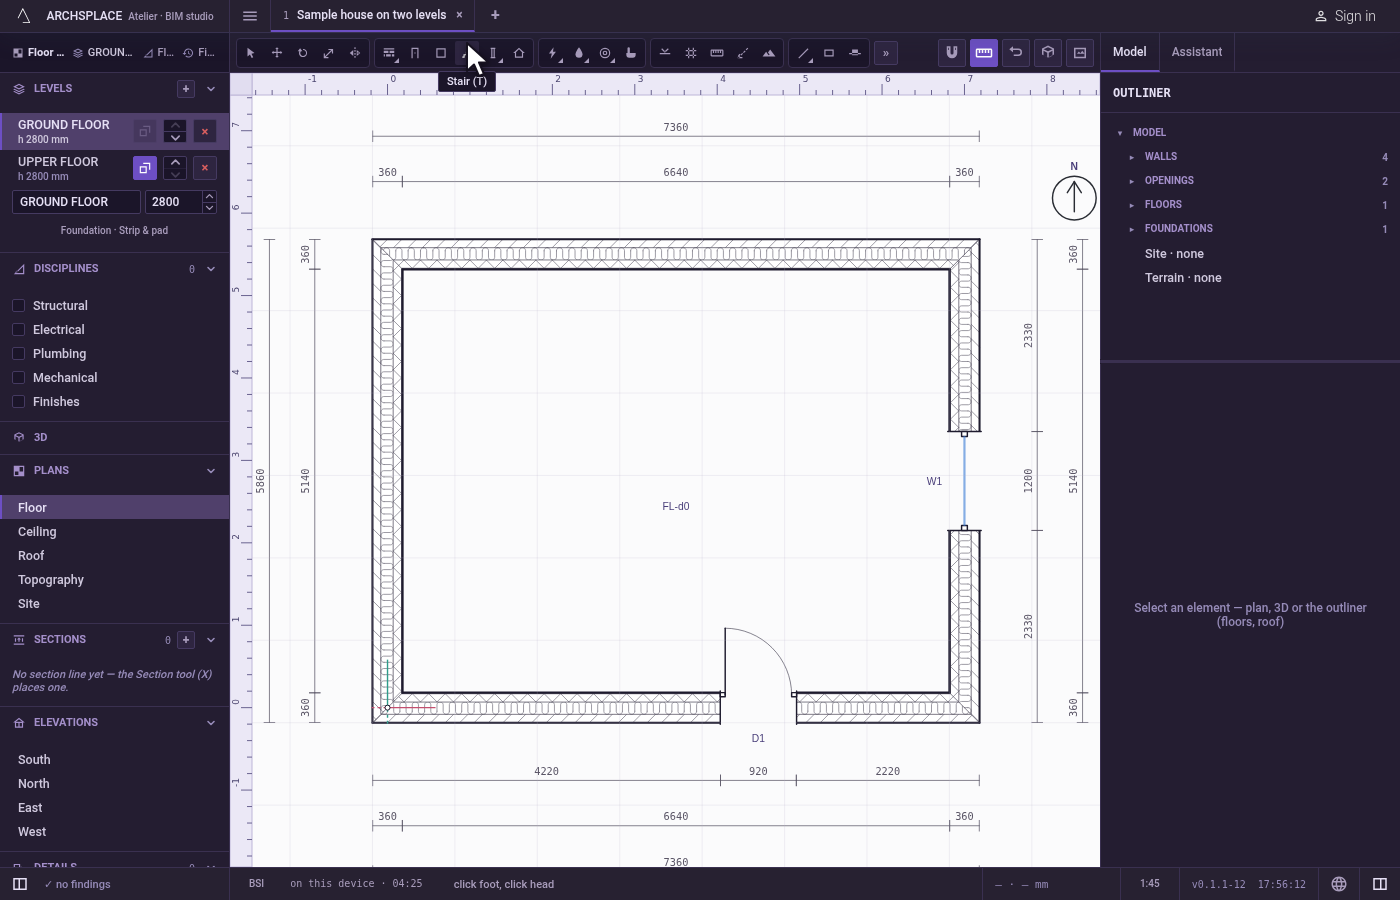
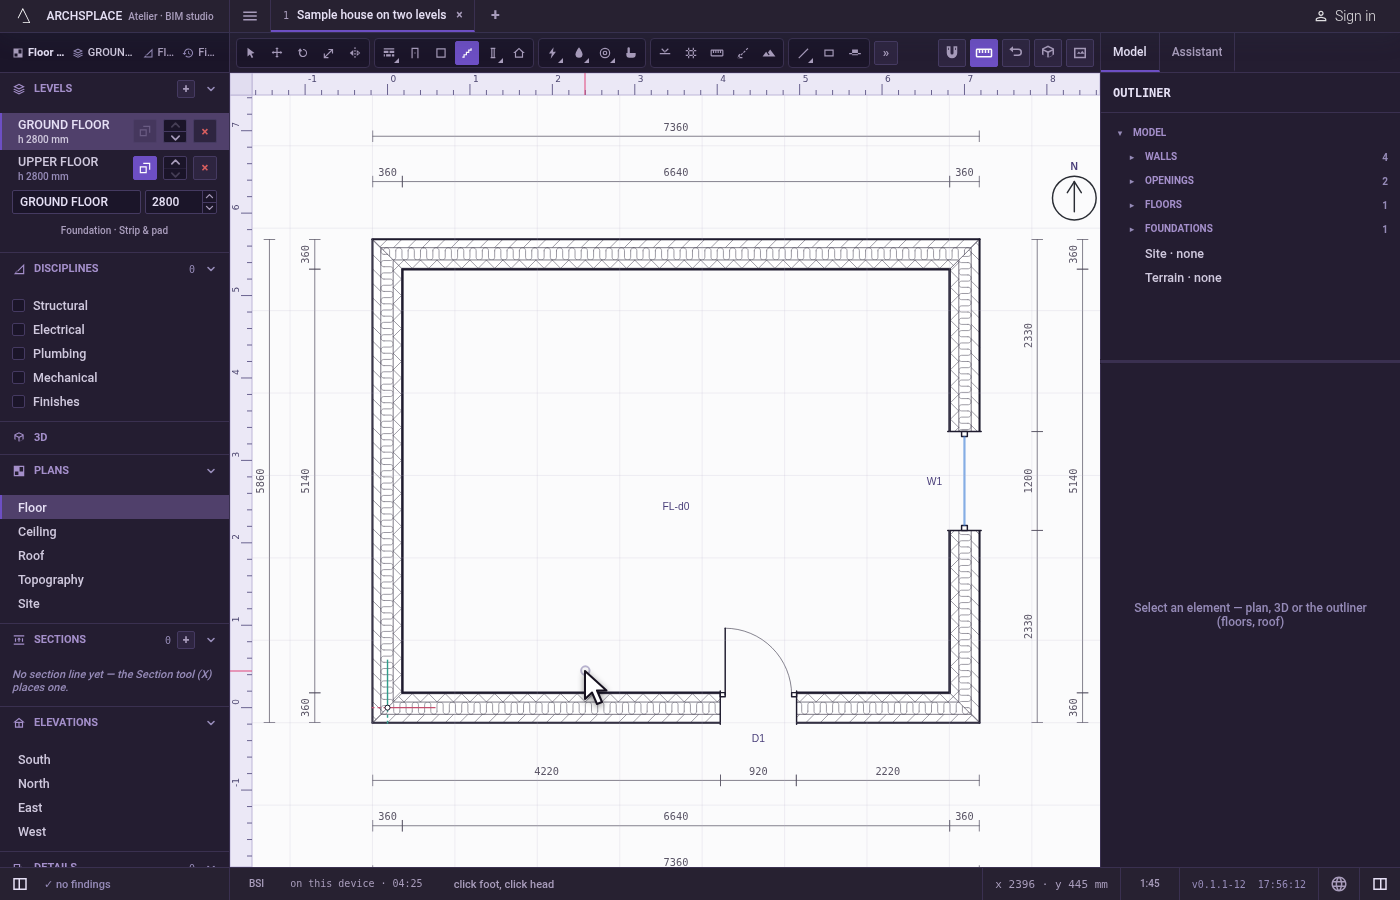
Click the foot. The magnet holds the click on the nearest point within reach. The walk line starts there.
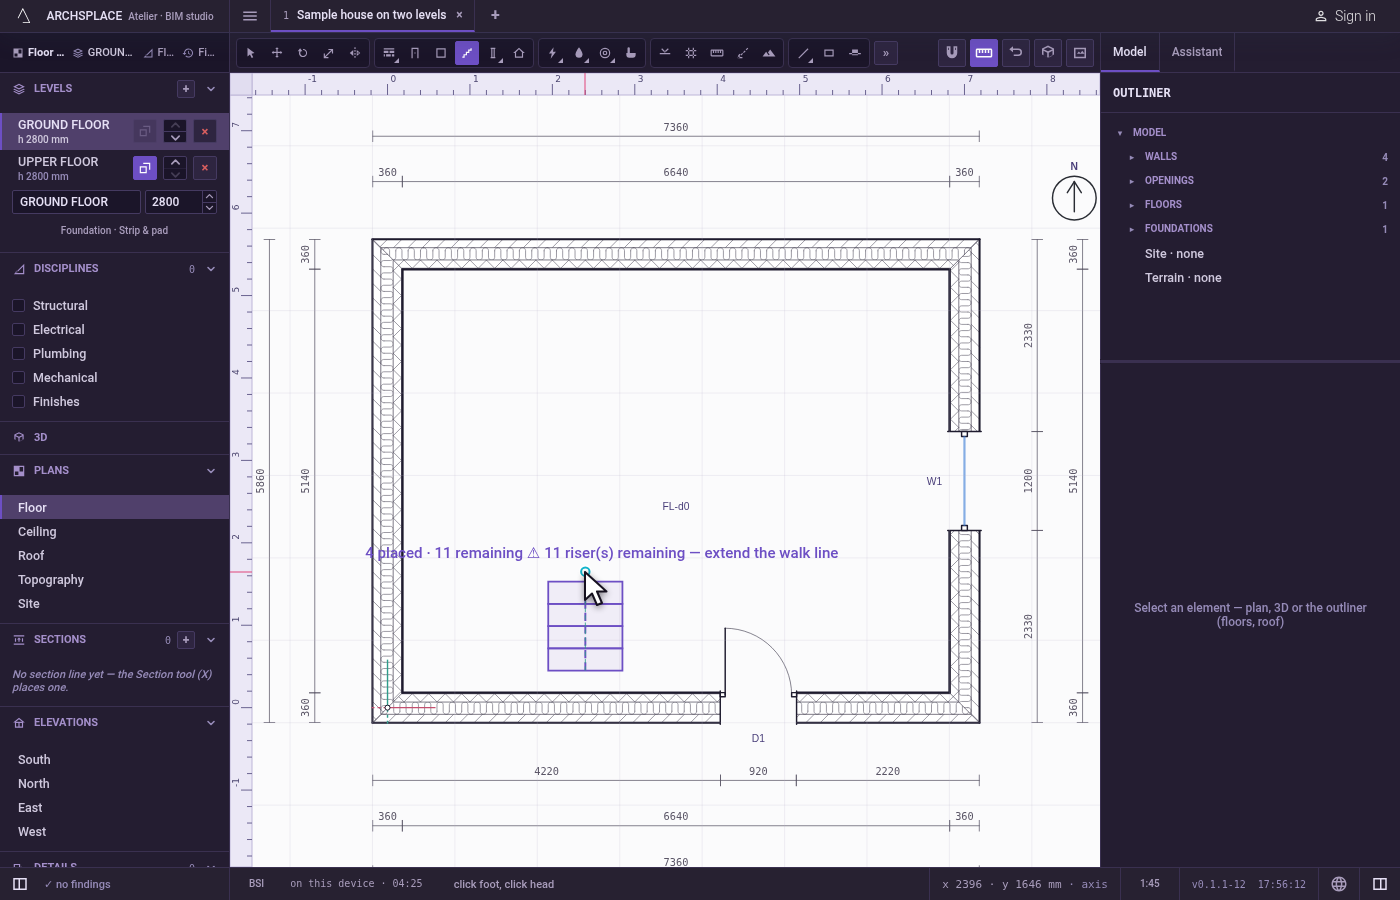
Walk the line. Move the cursor: the treads appear along the line, and the label beside the cursor reads how many are placed and how many remain. Shift, or F8 while it is on, keeps a run horizontal or vertical. Click to place a turn, or type the length of a run in the project's units and press Enter to place the turn that far towards the cursor.
Reach the level. When the treads reach the next level, the label turns to a tick with the number of risers and their height, and a dot marks where the last tread ends. A warning sign joins it when a rule is not met, such as winders too narrow at the walk line.
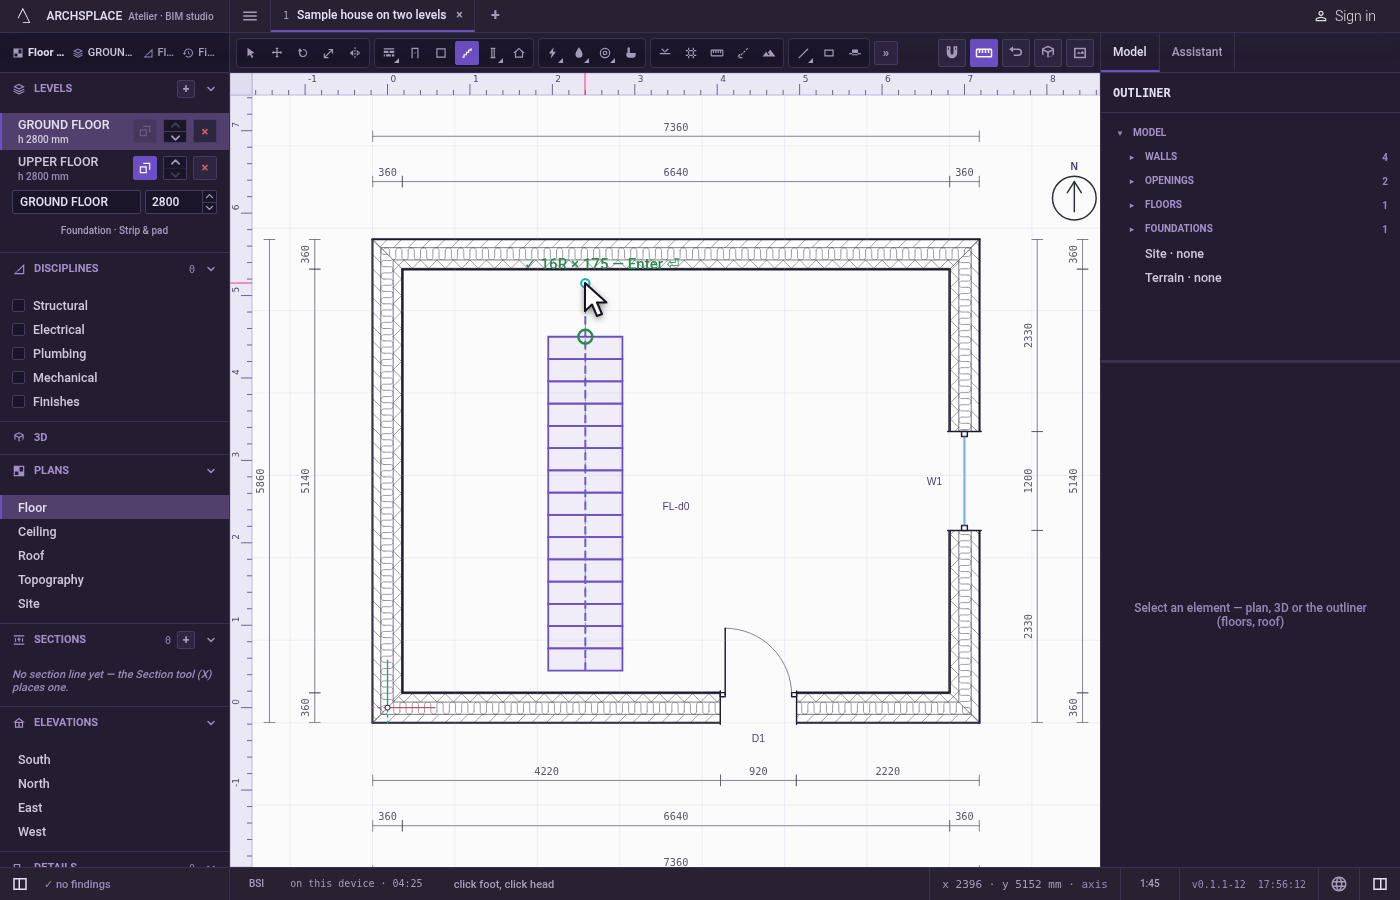
Press Enter. The stair is written. Points closer than 5 cm to each other are merged, and a turn of less than about 5 degrees is taken out, so a hand-drawn line never grows a turn you did not mean. The tool stays in hand for another stair.
Finish it in its panel. Select the stair: set its width, the level it reaches, the winders per turn and its construction. Double-click the stair, or press Enter while it is selected, to edit its walk line on the plan: its turning points and runs can be dragged, nudged with the arrow keys, given a typed length, or deleted with
Delete. Enter or Esc leaves.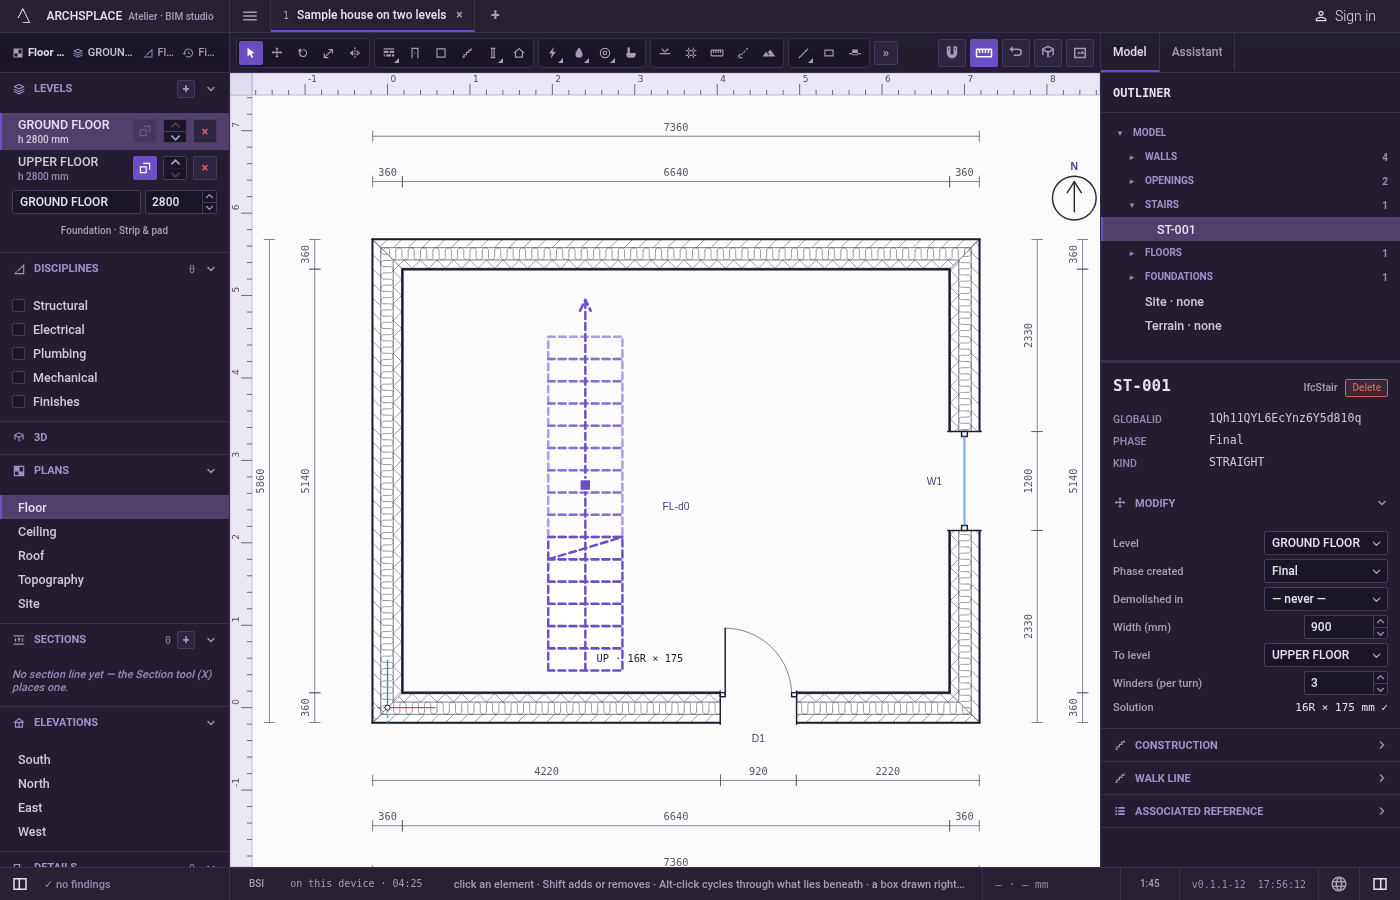
What it refuses
- A walk line of one point. Enter writes nothing until the line has two points.
- A second click on the same point. A click within 12 cm of the last point adds nothing.
- A stair that does not reach. A stair whose treads do not reach the other level is written, but its panel and the status bar say how many risers are missing: extend the walk line.
- A stair too narrow. The project refuses a width under the physical minimum, and its checks flag one under your template's legal or comfort minimum, or winders too narrow on the walk line.
What it writes to the contract
One new entry at the end of the project's list of stairs, as one step that one undo takes back: the level it starts on, the level it reaches, its walk line as a list of points in metres, three winders per turn, a width of 90 cm, and the phase the view draws in. The treads, the risers and their heights are never written: they are solved from the walk line and the levels each time the project is built, and so is the opening the stair needs in the floor above. The construction is written when you set it in the panel.
Concepts
Common questions
How does the atelier know how many steps my stair needs?
From the height between the two levels and your template's stair rules. While you draw the walk line, the label beside the cursor counts the treads placed and those still missing, and turns to a tick with the number of risers and their height when the stair reaches the next level.
How do I make a stair that turns?
Click a point at each turn of the walk line. The turns take winders, three per turn by default; change that number in the stair's panel.
How do I change the stair after drawing it?
Double-click it, or select it and press Enter, to edit its walk line: its turning points and runs can be dragged, nudged with the arrow keys, typed or deleted.